How to use AutoBackup on StarlightTM VM
AutoBackup is a paid add-on (a free 7-day trial is available) that offers you the following options: daily AutoBackup creation, backup restoration operation status, full AutoBackup restoration (files; replace option), backup details display, and refresh account state after backup restoration (keep stats and website entities up to date).
Two AutoBackup service plans are available for StarlightTM VM:
1 daily backup (latest only) - The first backup is created automatically within 24 hours, and a new one is created daily.
5 daily backups (last 5 days) - Backups rotate automatically, with the newest replacing the oldest once the 5-backup limit is reached.
The AutoBackup service storage limit corresponds to your VM size.
Adding AutoBackup to a VPS
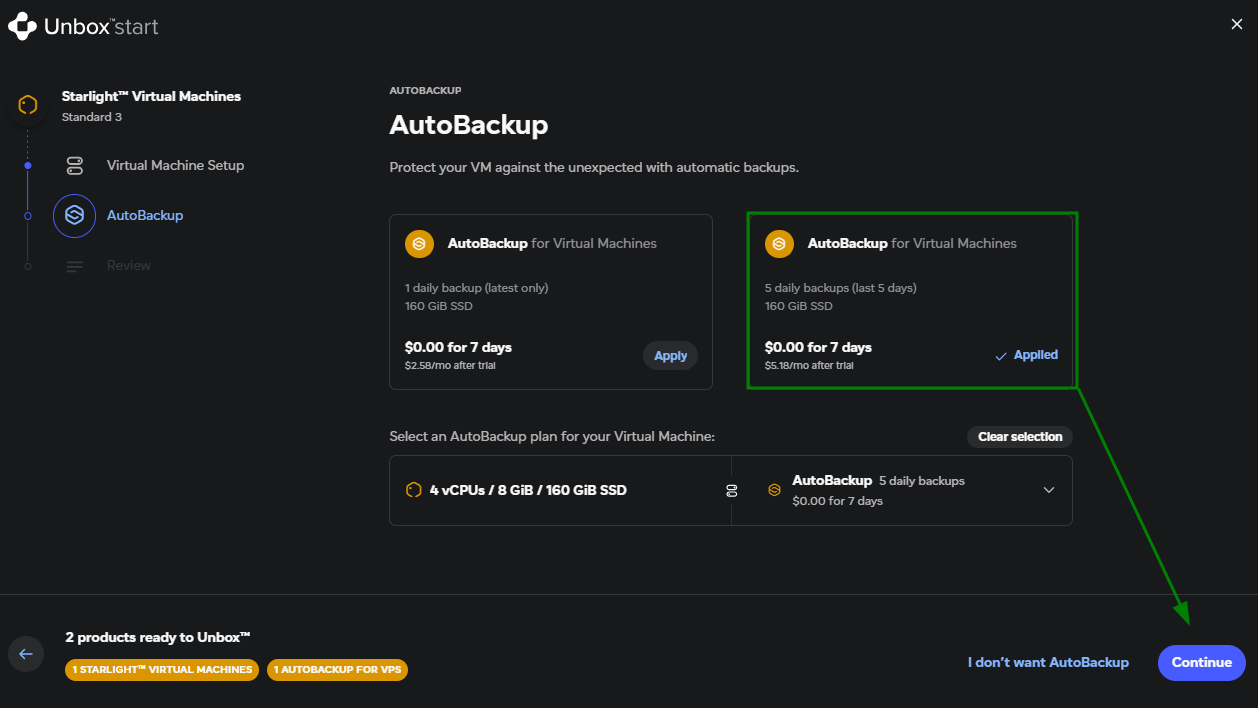
The service can be added to a StarlightTM VM subscription either at the subscription “Unbox” stage, after performing a Virtual Machine setup:
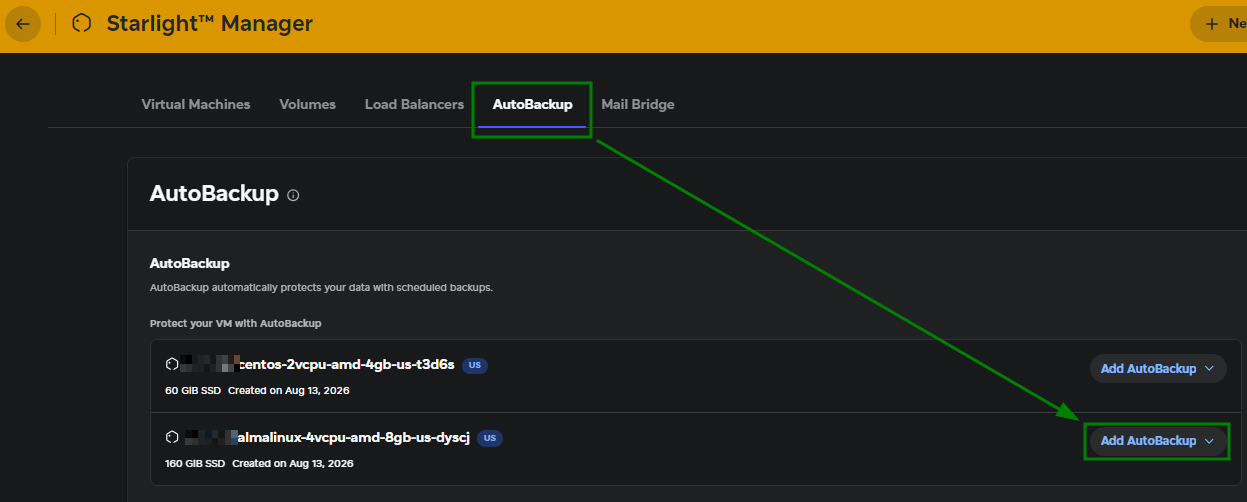
Or after purchasing StarlightTM VM, directly from the StarlightTM Manager menu > the AutoBackup section > Add AutoBackup:
Please note that the purchase of AutoBackup storage is not refundable (a free 7-day trial is available).
AutoBackup service management
After AutoBackup is added to your VPS, you can manage it from the AutoBackup tab of StarlightTM Manager.
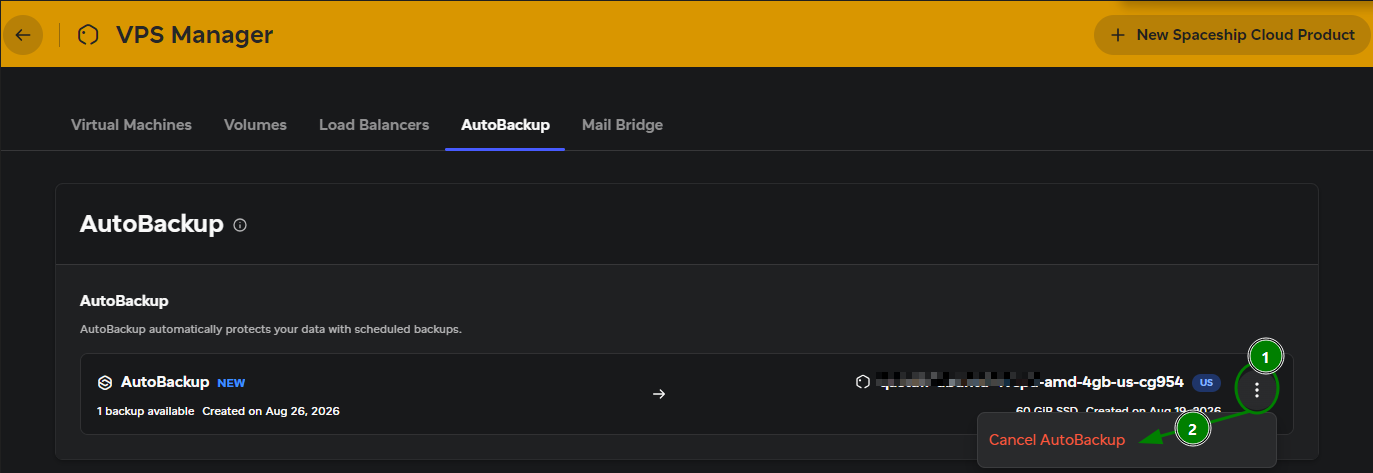
From there, you can also cancel the service by clicking on the three-dot button:
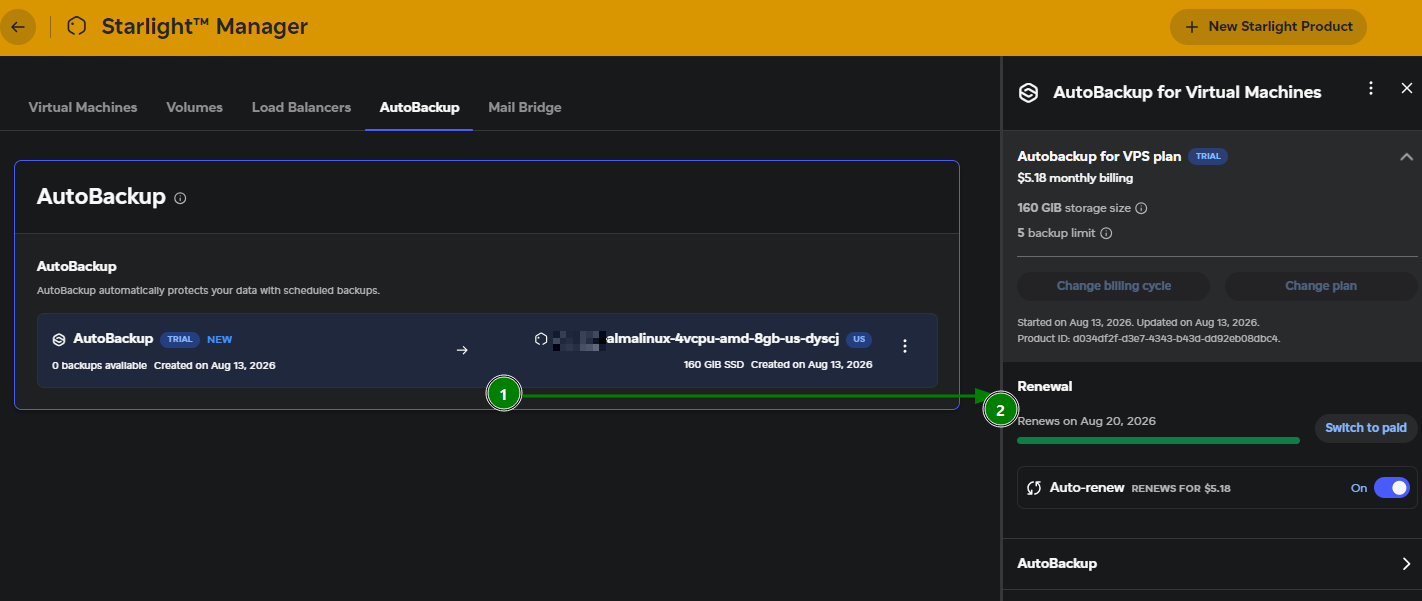
By clicking on the add-on service, a split menu on your right appears where you can see billing information about your AutoBackup subscription, manage its billing cycle, enable/disable auto-renewal, and locate the backups created for your VM:
How to restore backups
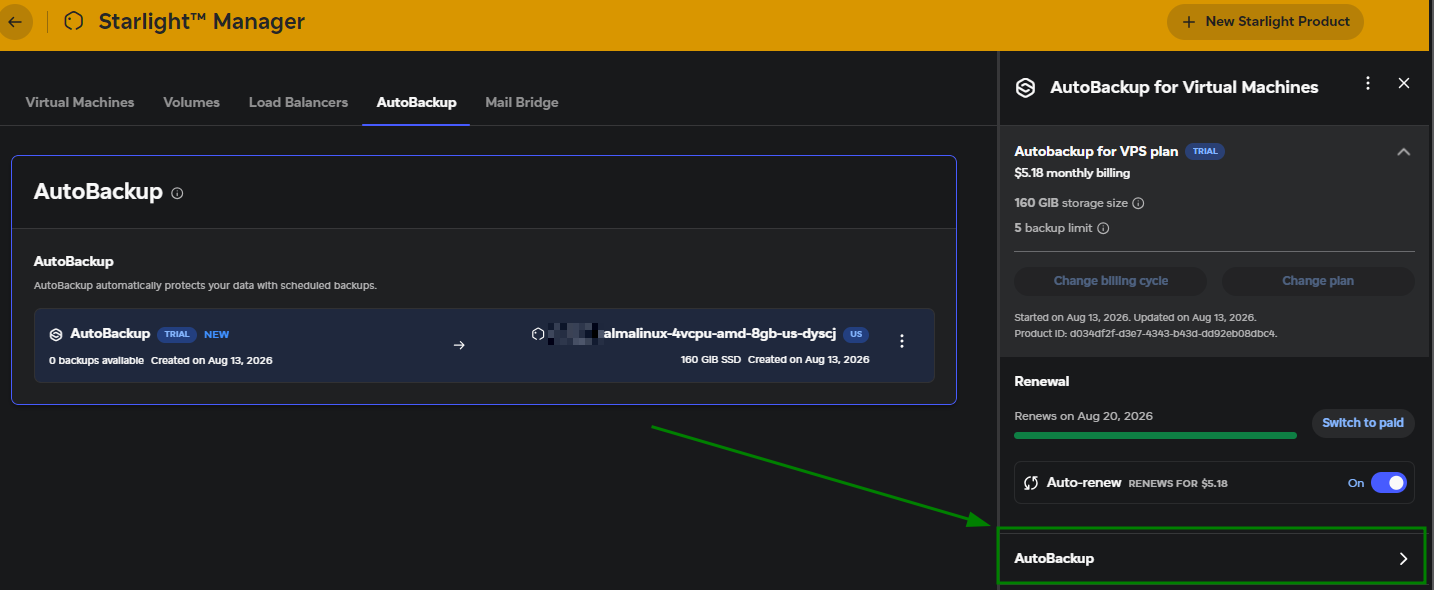
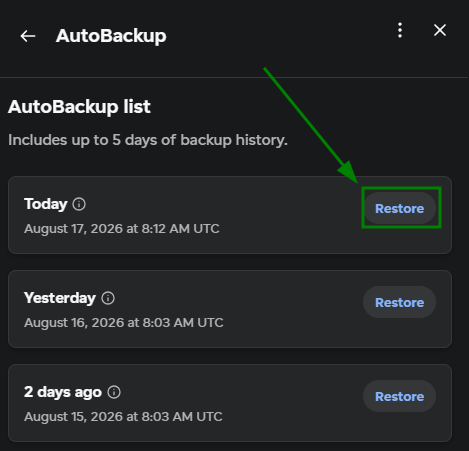
The backups created for your VPS can be located in the AutoBackup section of the split menu:
By hovering over the “i” icon, you can check some useful details about the backup, such as backup date, backup size, and backup ID:
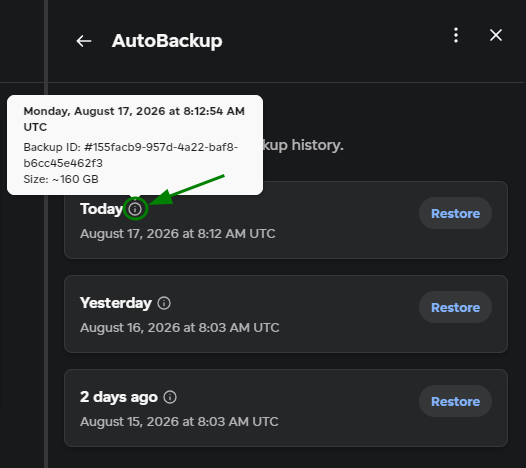
Note: Once the AutoBackup service is purchased for a VM, a backup shall be created according to the schedule within the next 24 hours. AutoBackup creates backup files (1 backup each day) and then rotates by replacing the oldest backup file with the new one.
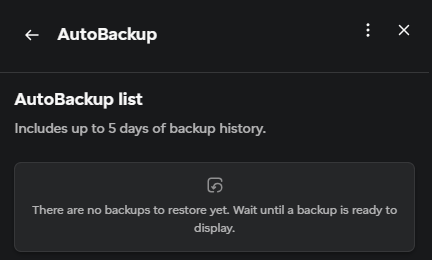
If there are no backups created for the VPS yet, a corresponding message will be displayed:
To restore a backup, click on the Restore button next to the necessary backup:
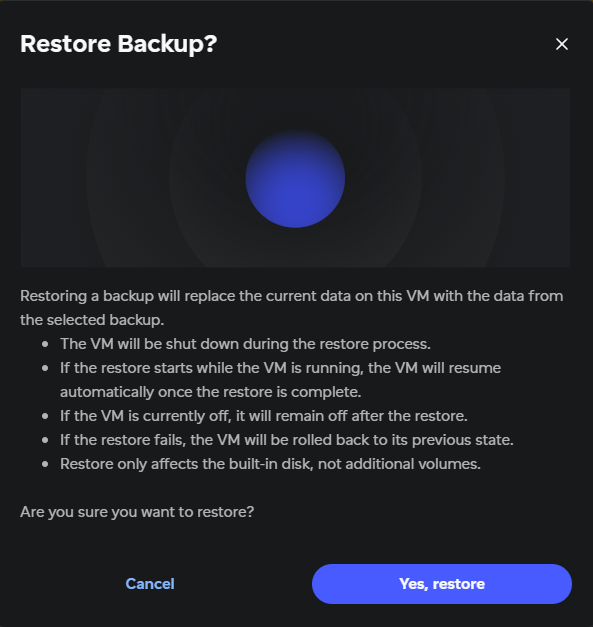
Read the warning, and if you understand and confirm the consequences, click on Yes, restore to initiate the restoration process:
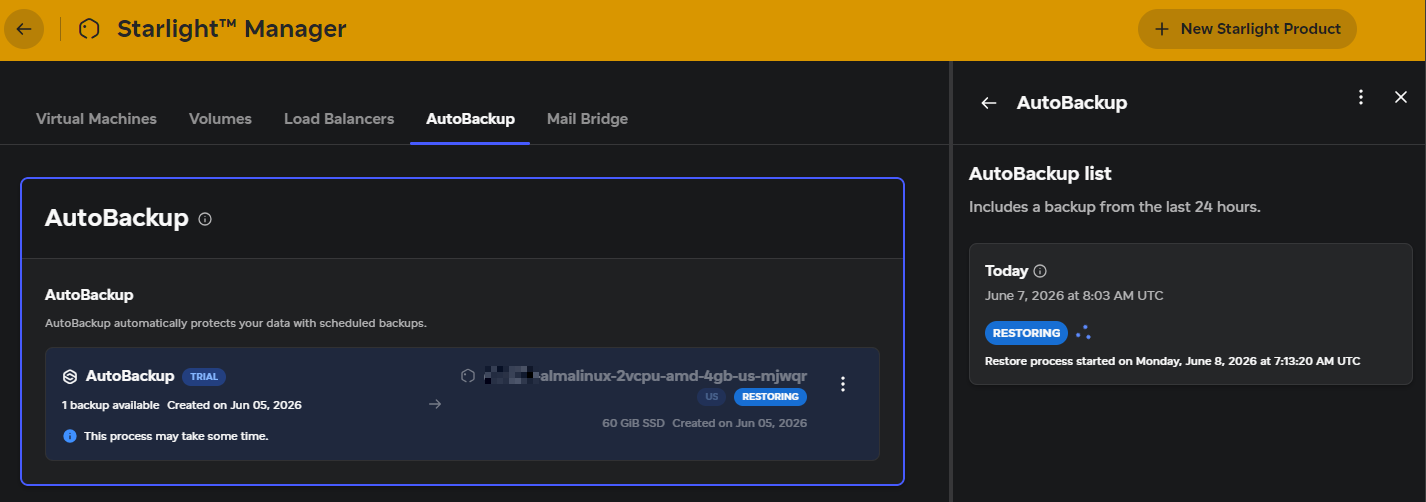
You can monitor the ongoing restoration process via the "AutoBackup" tab of the StarlightTM Manager menu: