Configurarea Spacemail CardDAV în Apple Contacts
În acest articol, vei găsi instrucțiuni detaliate pentru configurarea agendei Spacemail în Apple Contacts prin protocolul CardDAV.
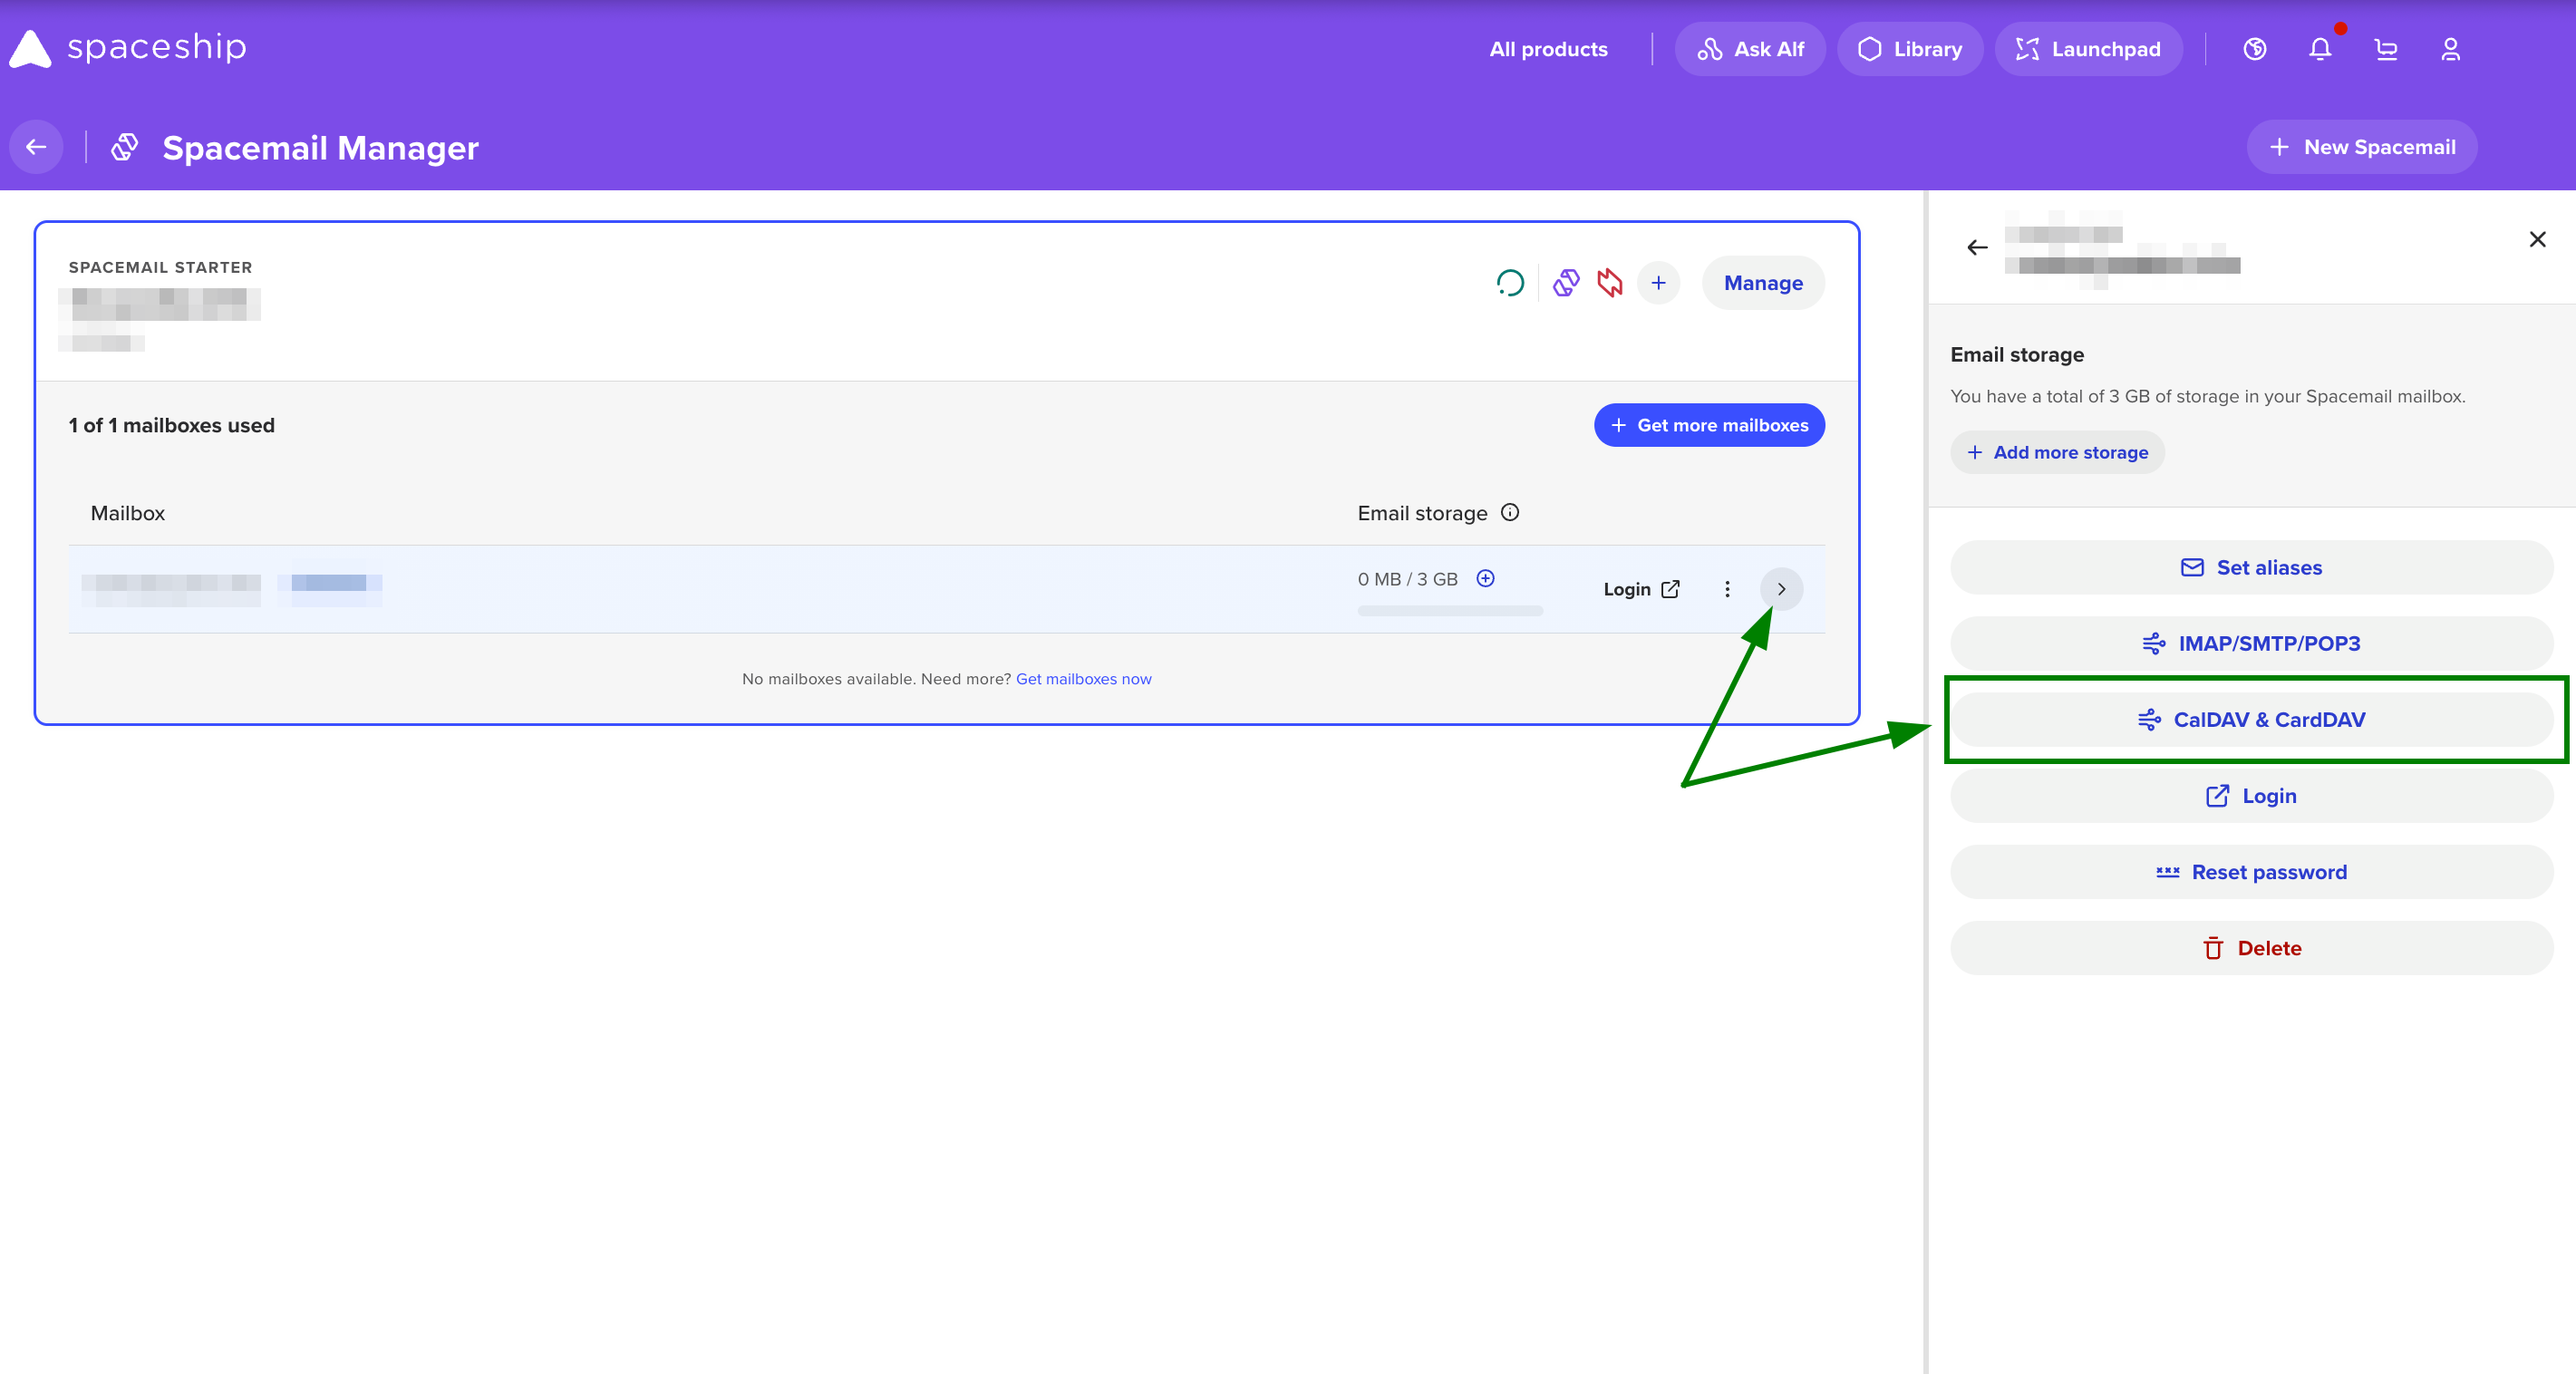
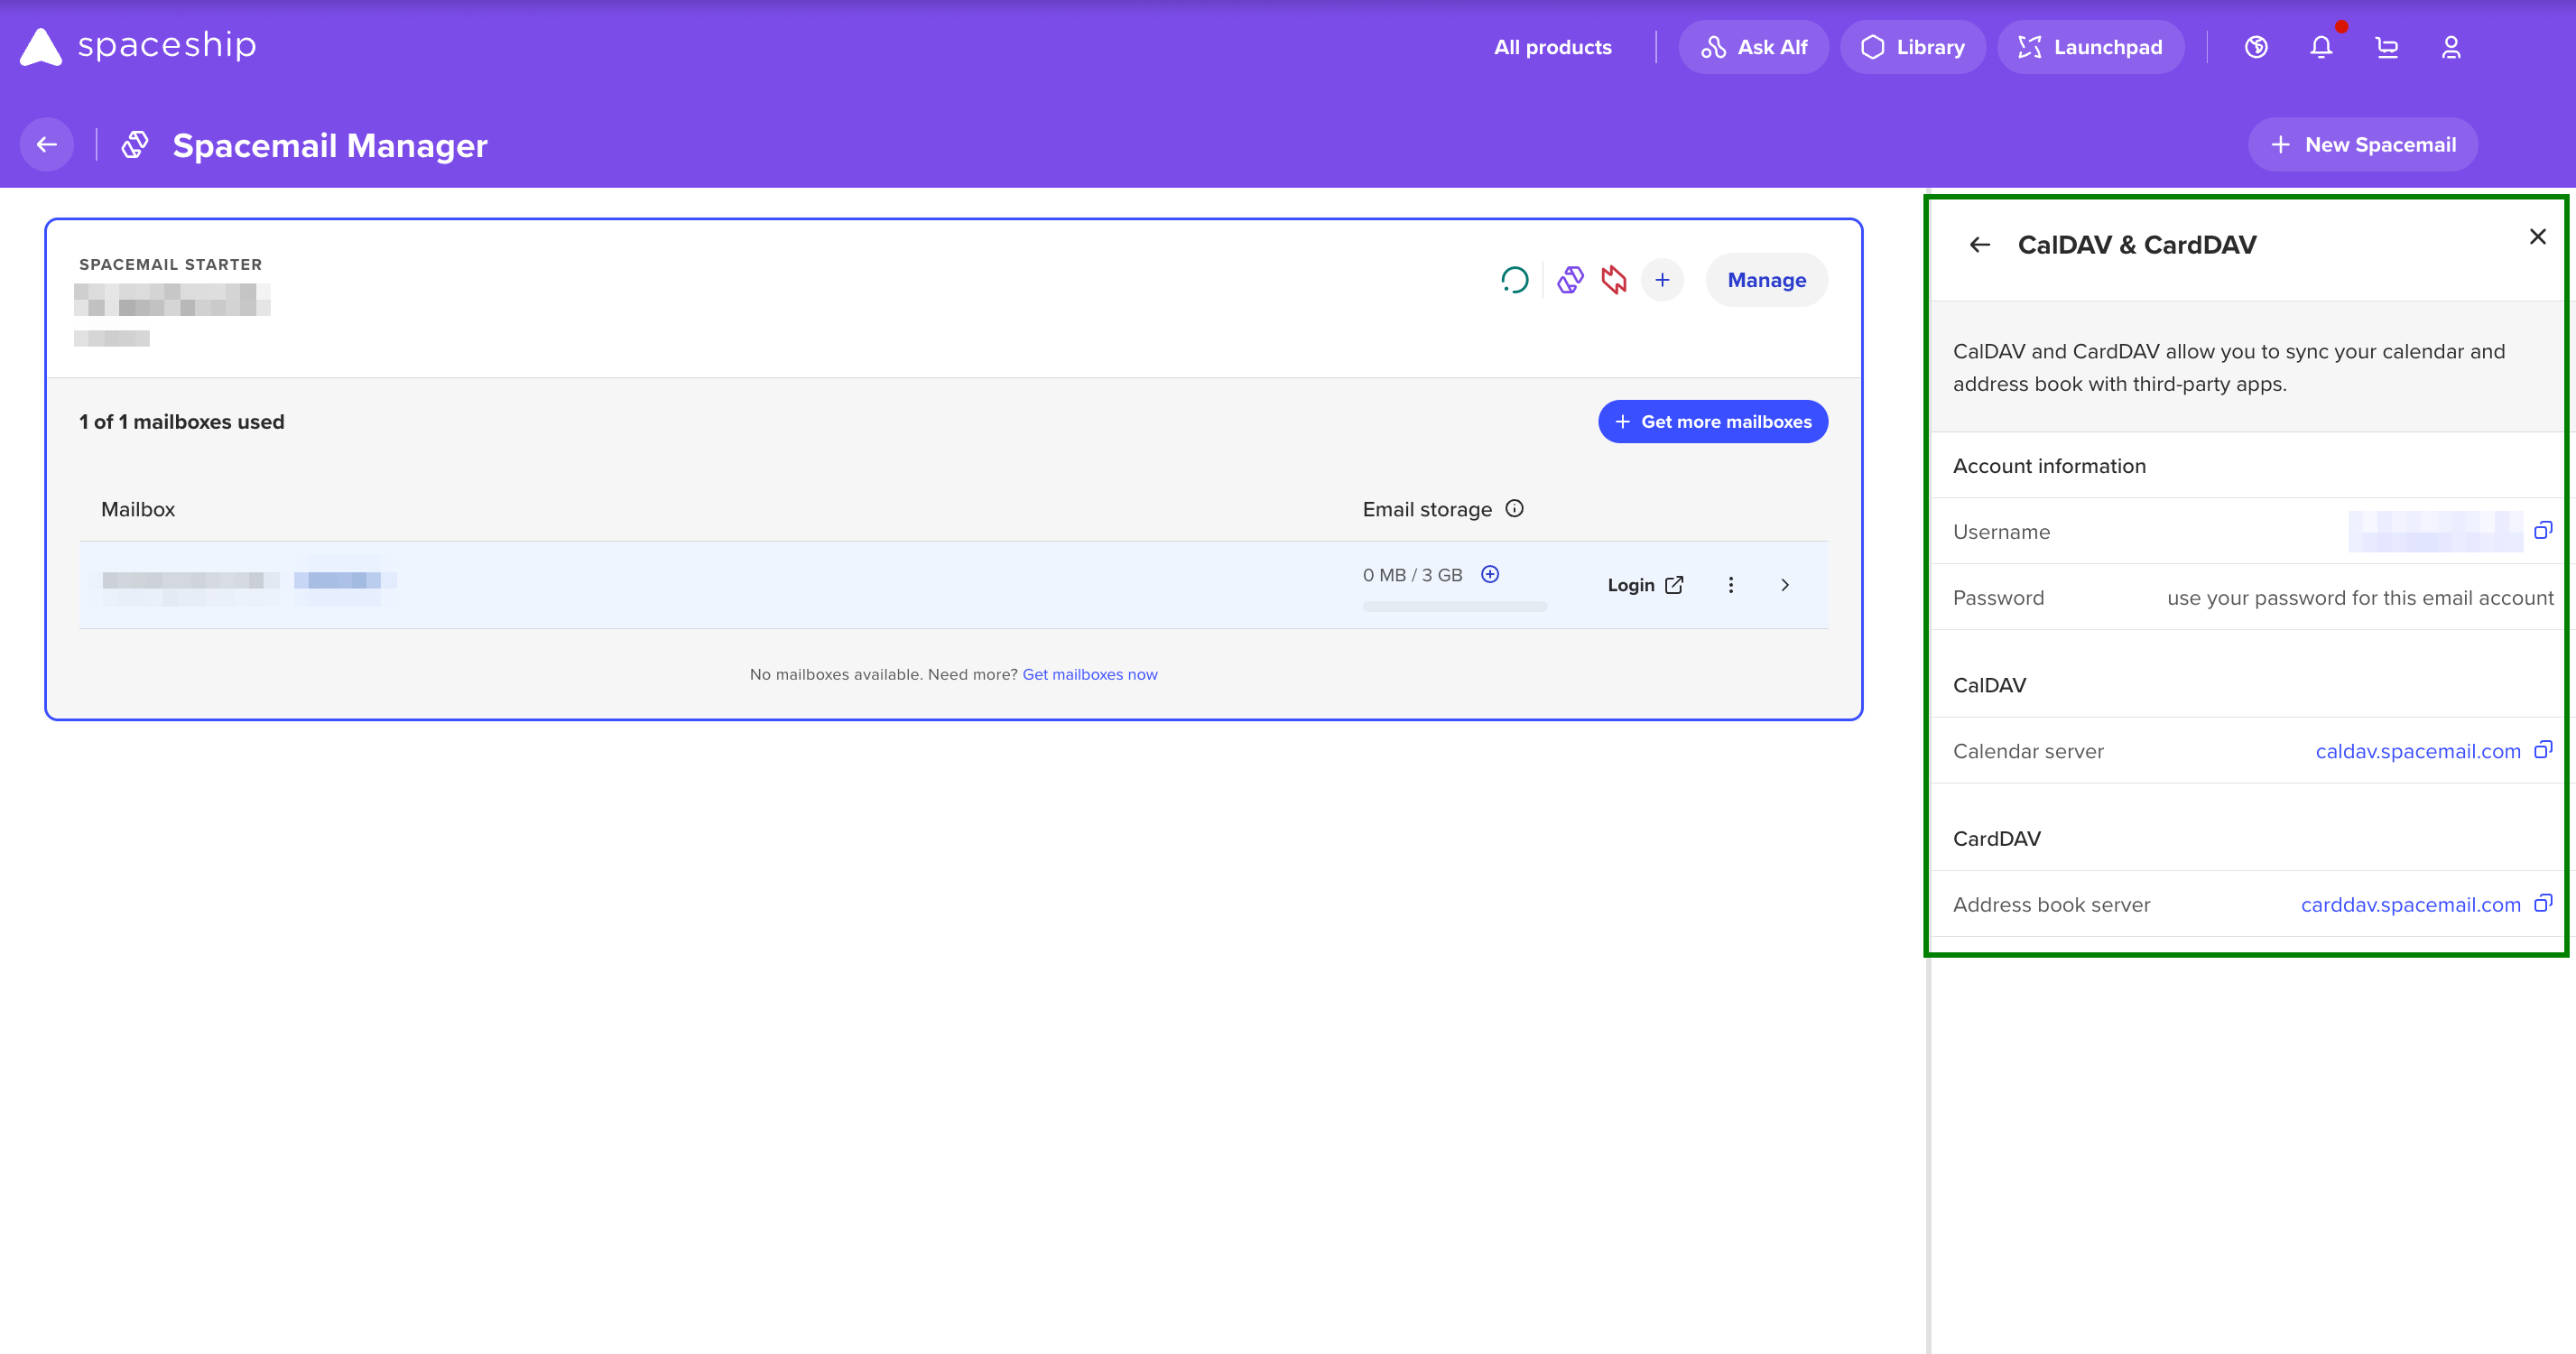
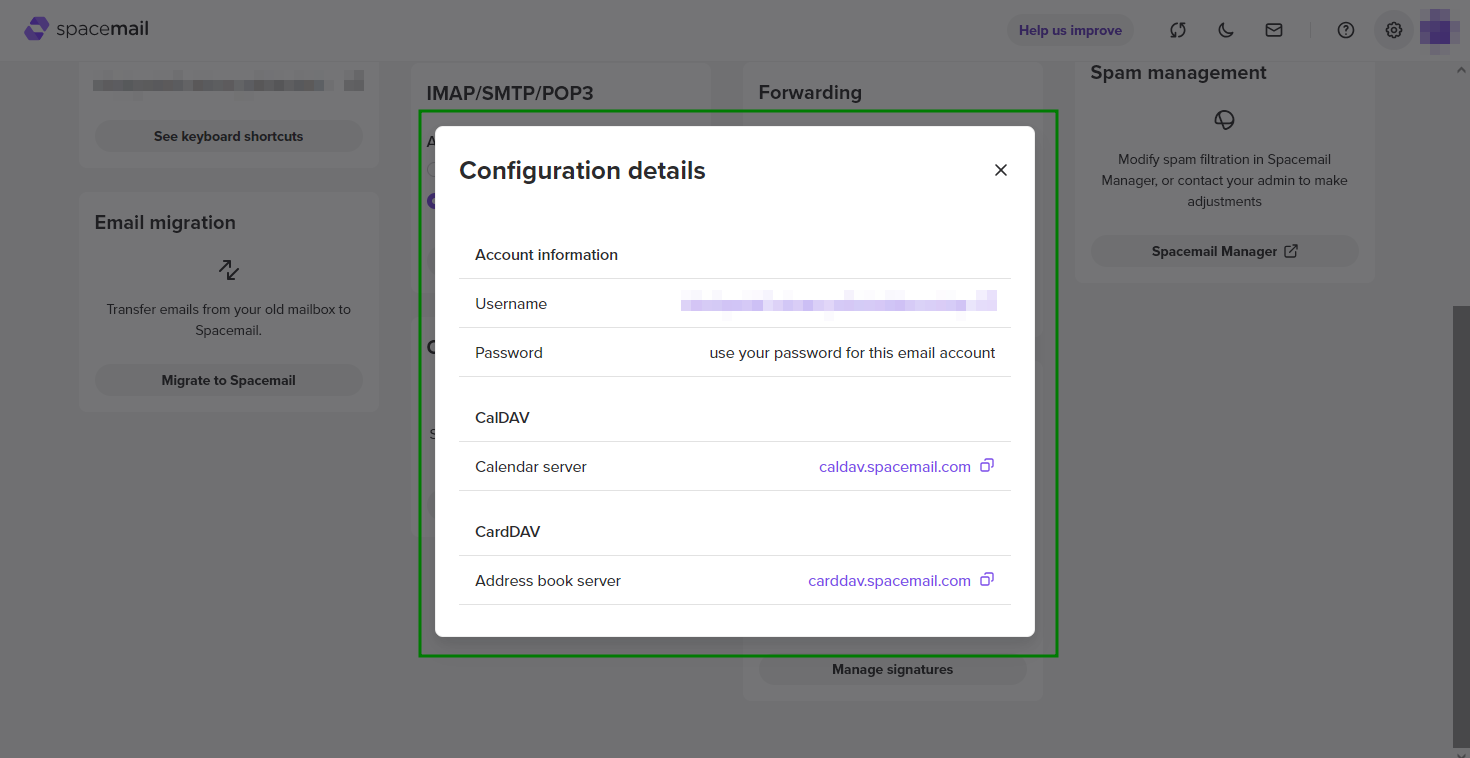
Notă: Detaliile de configurare pot fi verificate făcând clic pe o căsuță poștală în Spacemail Manager; vei vedea un buton etichetat „CalDAV & CardDAV” în panoul lateral al căsuței poștale. Făcând clic pe acest buton se deschide un panou detaliat care afișează toate informațiile despre protocol:
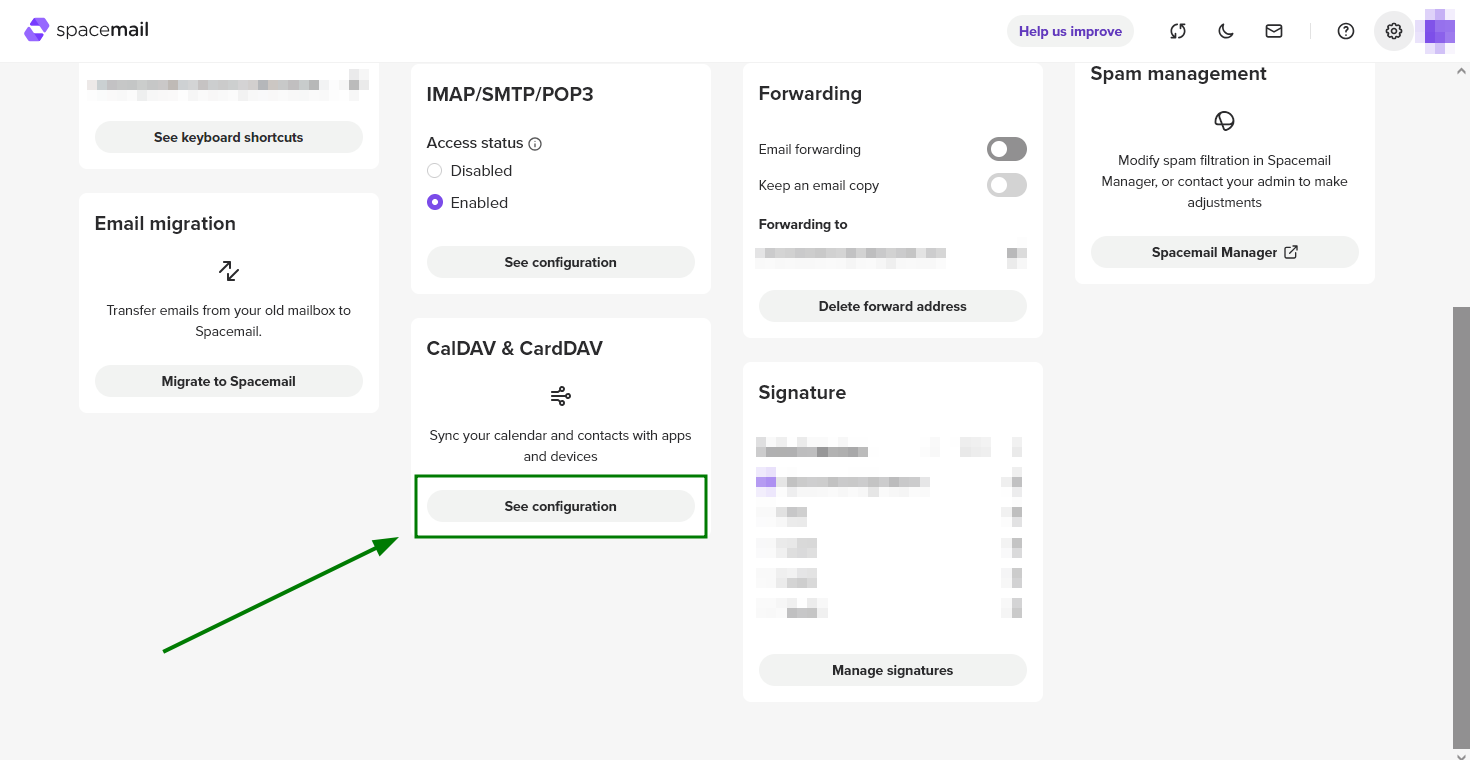
Este posibil să le verifici și conectându-te la căsuța ta Spacemail la https://www.spacemail.com/login > Settings > CalDAV & CardDAV > Vezi configurația:
Pentru a configura un cont CardDAV în Apple Contacts, urmează instrucțiunile de mai jos:
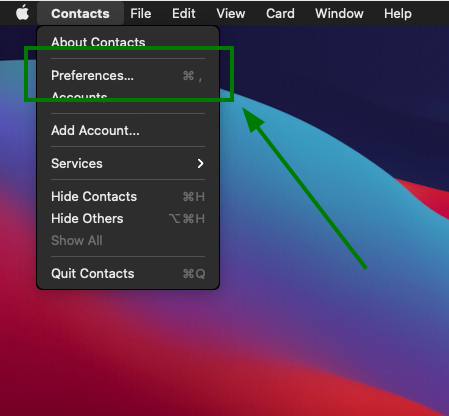
Deschide Apple Contacts Preferences:
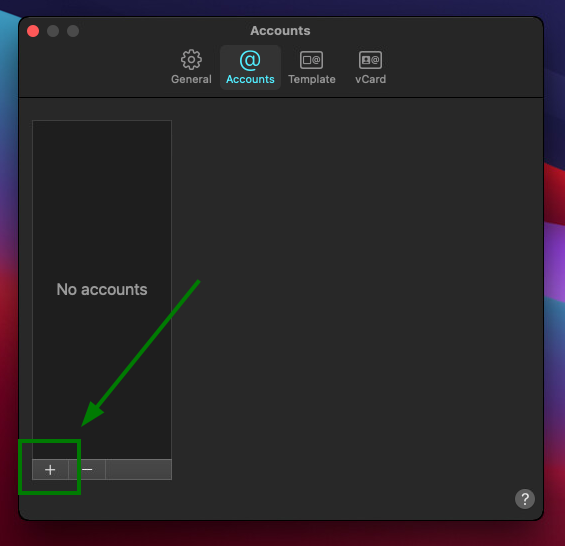
În fereastra „Accounts”, fă clic pe + pentru a adăuga un cont CardDAV nou:
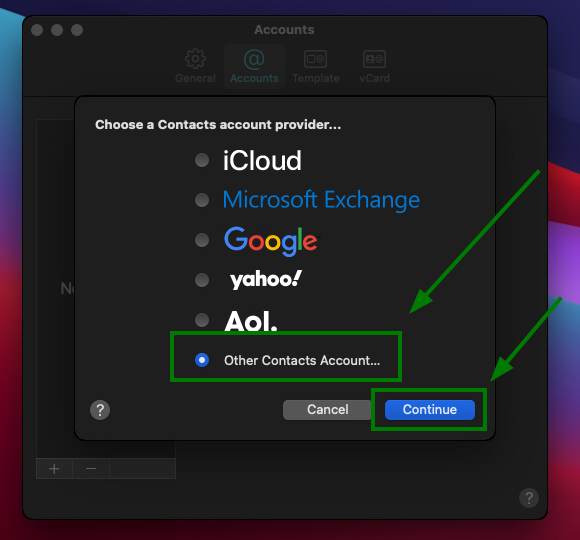
Alege Other Contacts Account și fă clic pe Continue:
După finalizare, ar trebui să apară o fereastră nouă pentru completarea setărilor contului CardDAV.
Setările trebuie completate astfel:
CardDAV
Account Type: Manual
User Name: Adresa ta Spacemail (notă: adresa noastră de test spstest@spaceship.com este folosită ca exemplu)
Password: Parola contului tău Spacemail
Server Address: carddav.spacemail.com
Pentru a adăuga contul CardDAV, fă clic pe Sign in: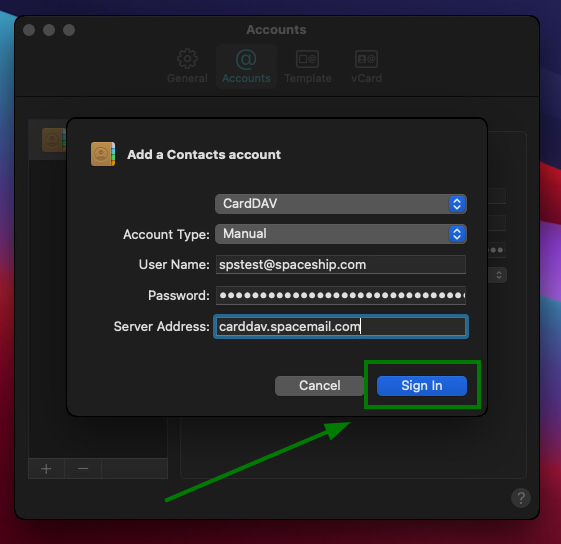
Pentru a finaliza configurarea, închide fereastra „Accounts”:
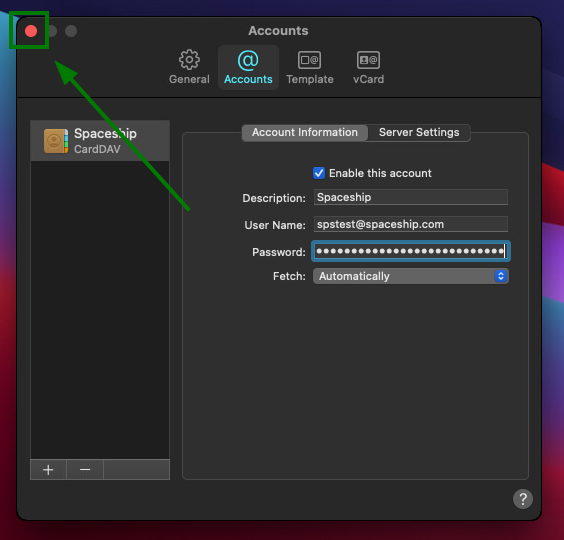
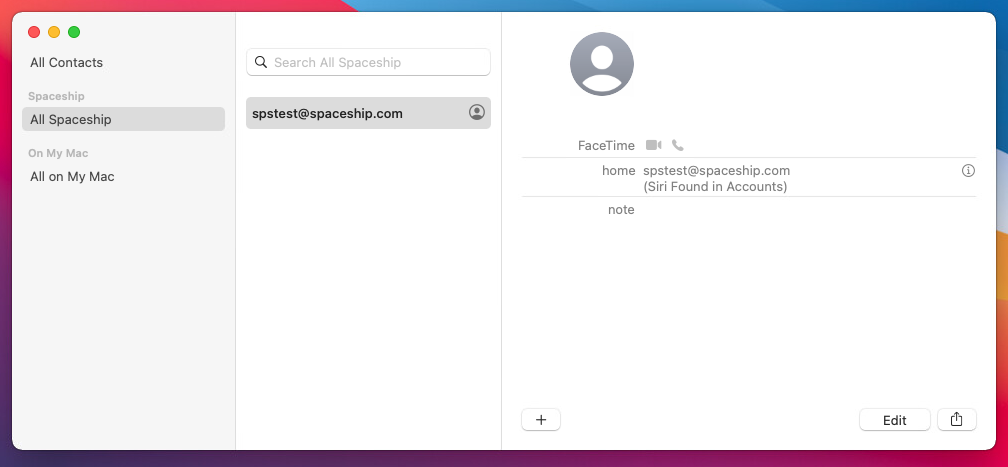
Contul CardDAV Spacemail ar trebui să fie adăugat în Apple Contacts: