Spacemail CalDAV setup in Apple Calendar
This article offers step-by-step guidance on configuring Spacemail calendar in Apple Calendar via CalDAV protocol.
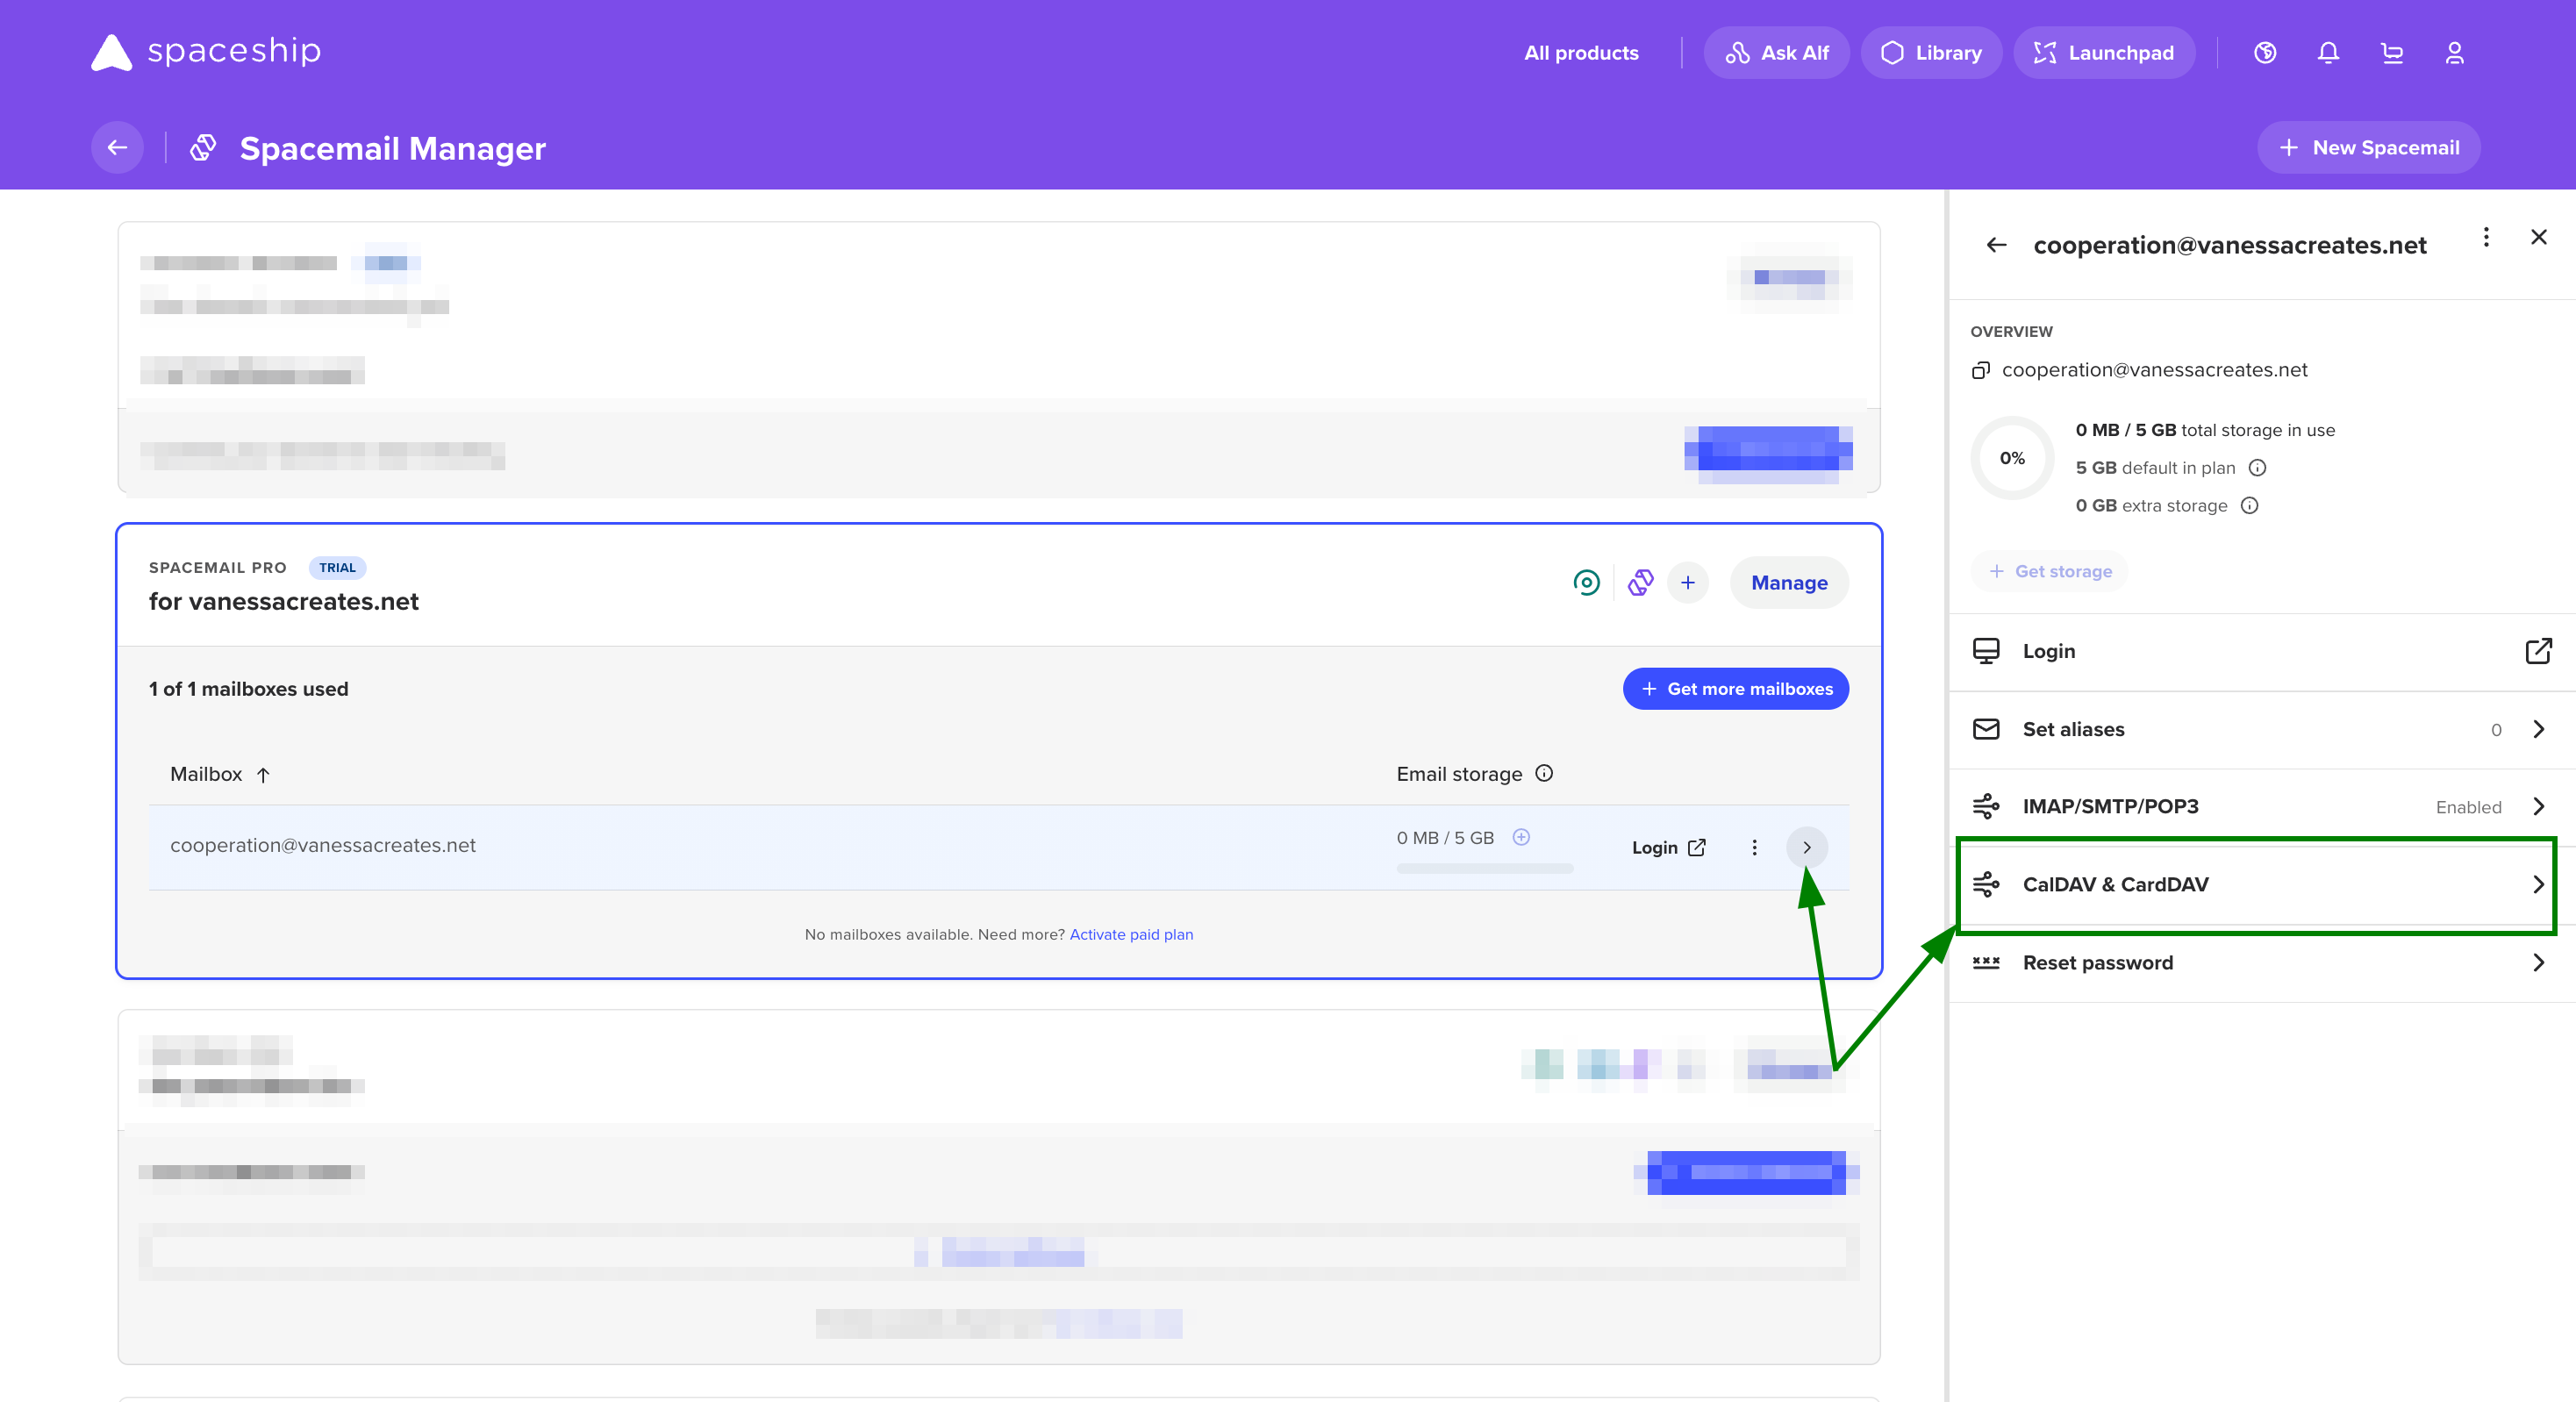
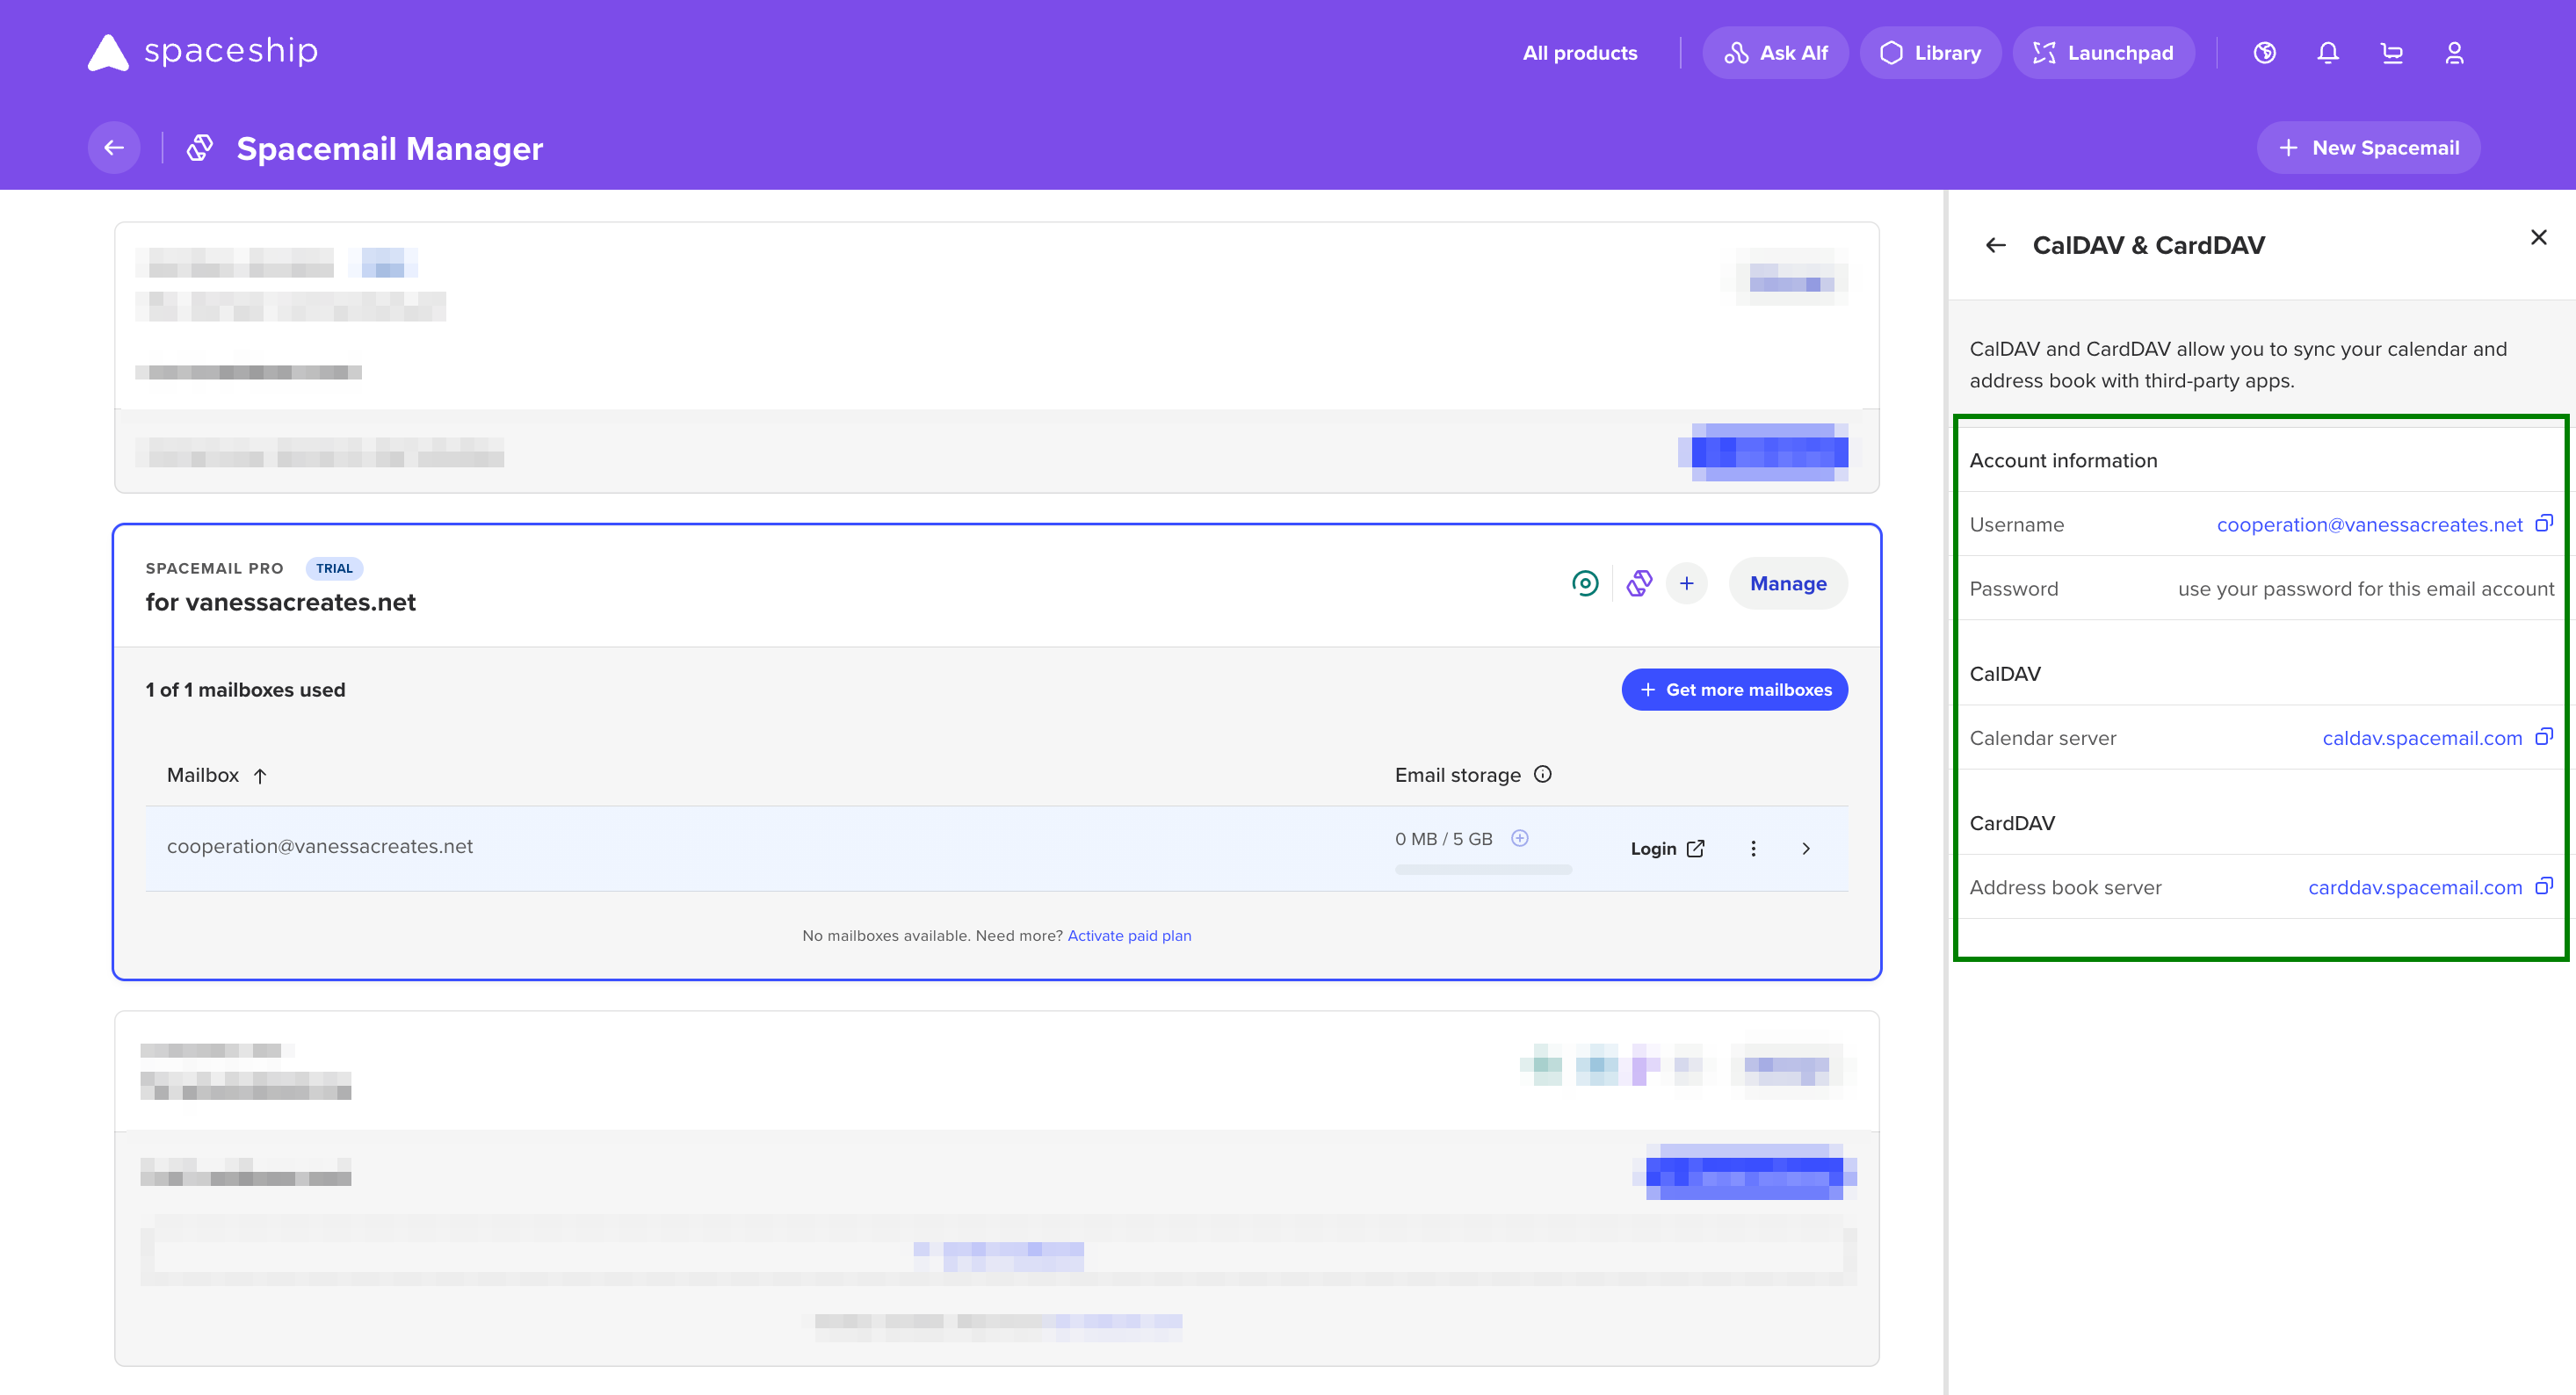
Note: The configuration details can be checked by clicking on a mailbox in Spacemail Manager; you’ll see a button labelled “CalDAV & CardDAV” in the mailbox side panel. Clicking this button opens a detailed panel displaying all protocol information:
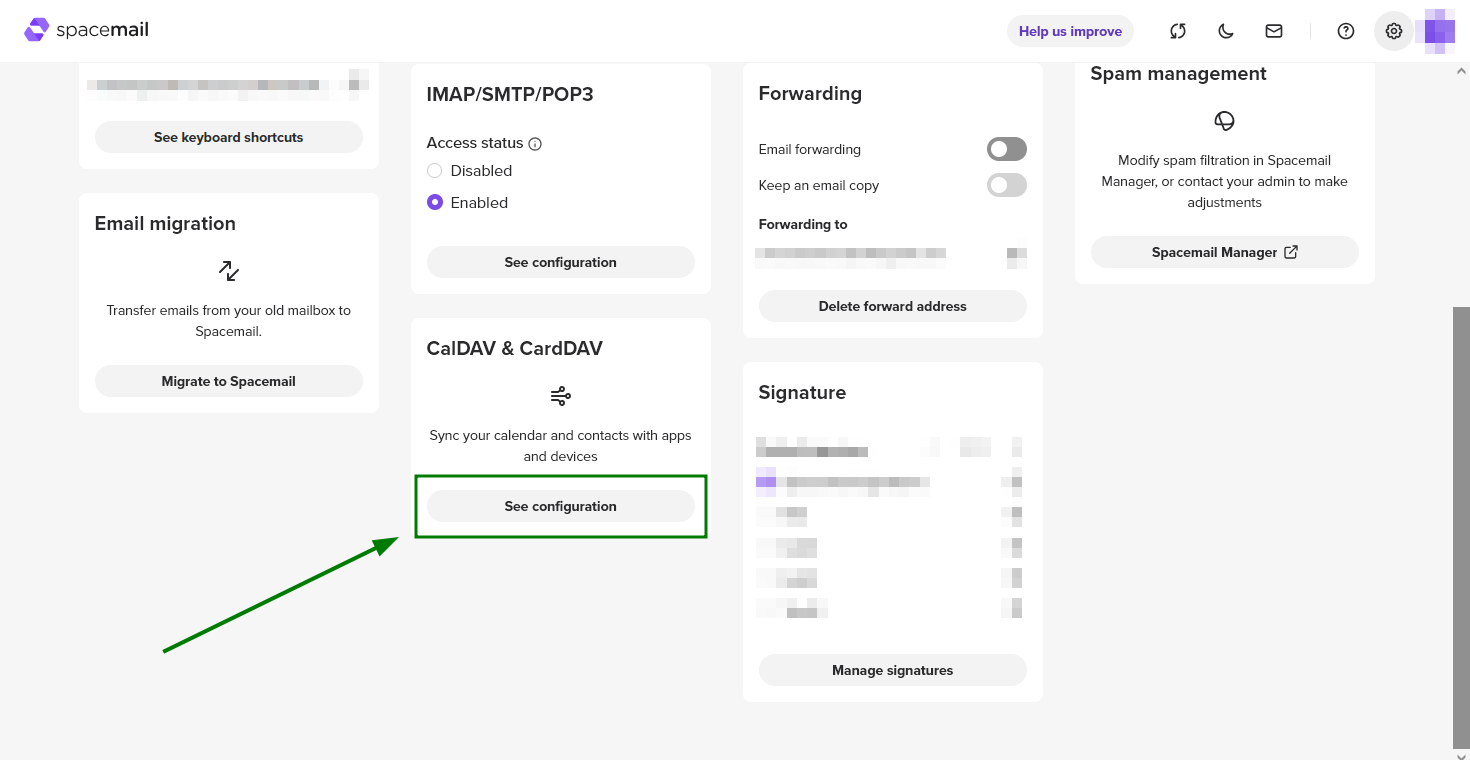
It’s also possible to check them by logging in to your Spacemail mailbox at https://www.spacemail.com/login > Settings > CalDAV & CardDAV > See configuration:
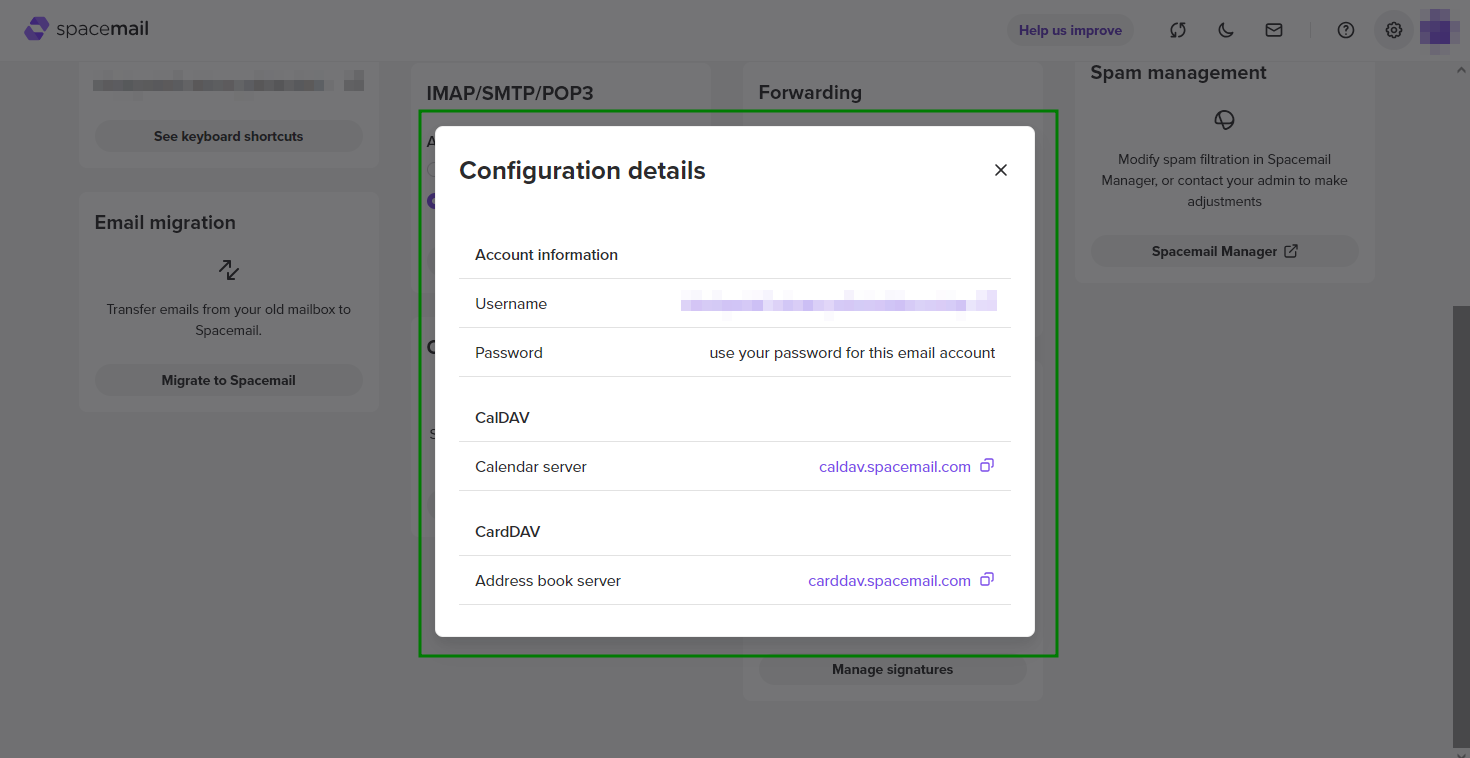
To configure a CalDAV account in Apple Calendar, follow the instructions below:
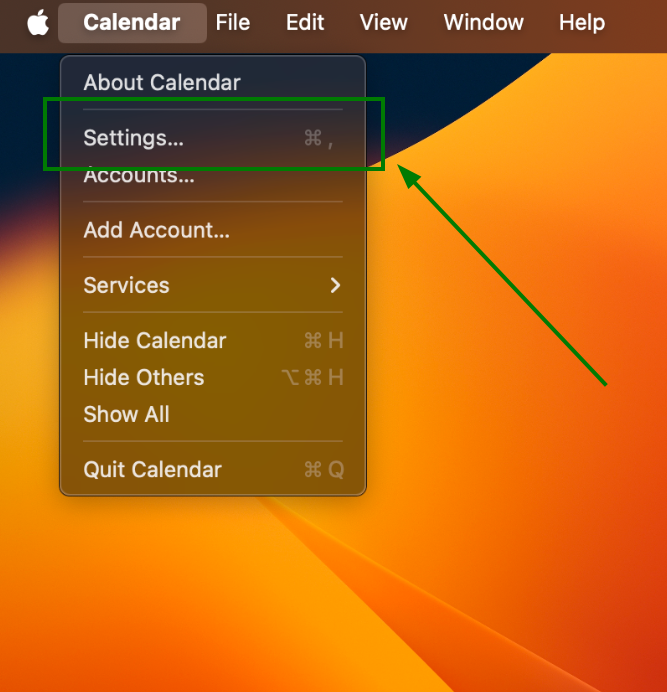
Open the Apple Calendar Settings:
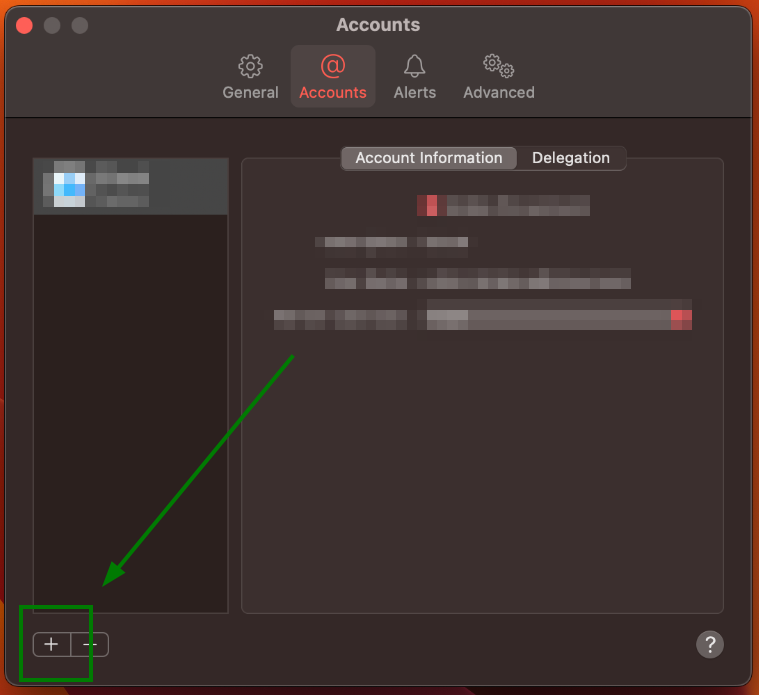
In the Accounts window, click + to add a new CalDAV account:
Choose Other CalDAV Account and click Continue:
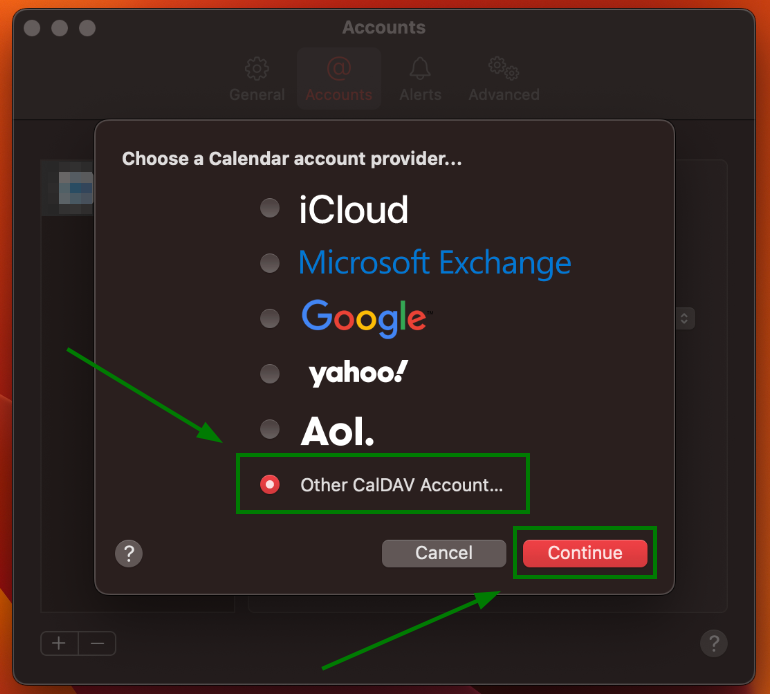
Once done, a new window to fill in the CalDAV account settings should appear.
The settings should be filled in as follows:
Account Type: Manual
User Name: Your Spacemail address (note: our test email address spstest@spaceship.com is used as an example)
Password: Password for your Spacemail account
Server Address: caldav.spacemail.com
To add your CalDAV account, click Sign in: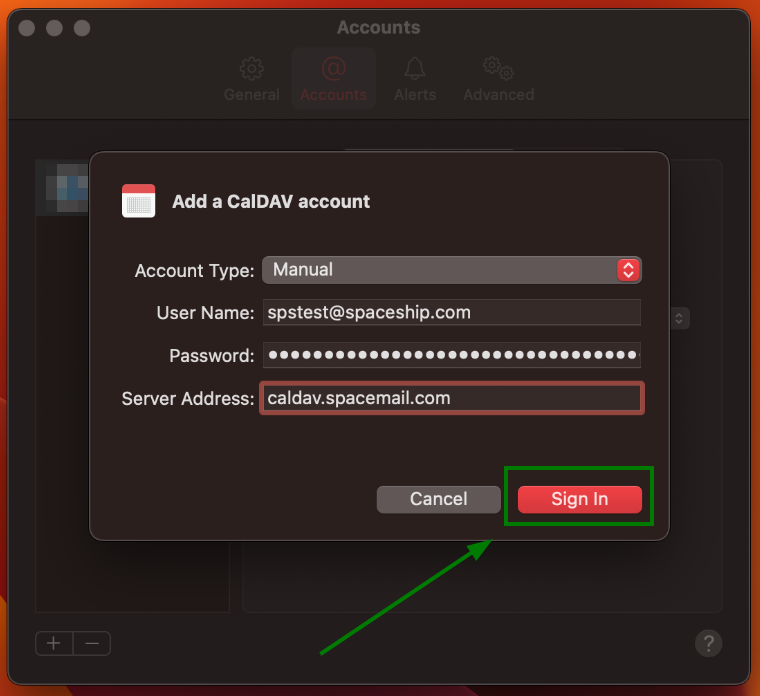
To end the setup, close the Accounts window:
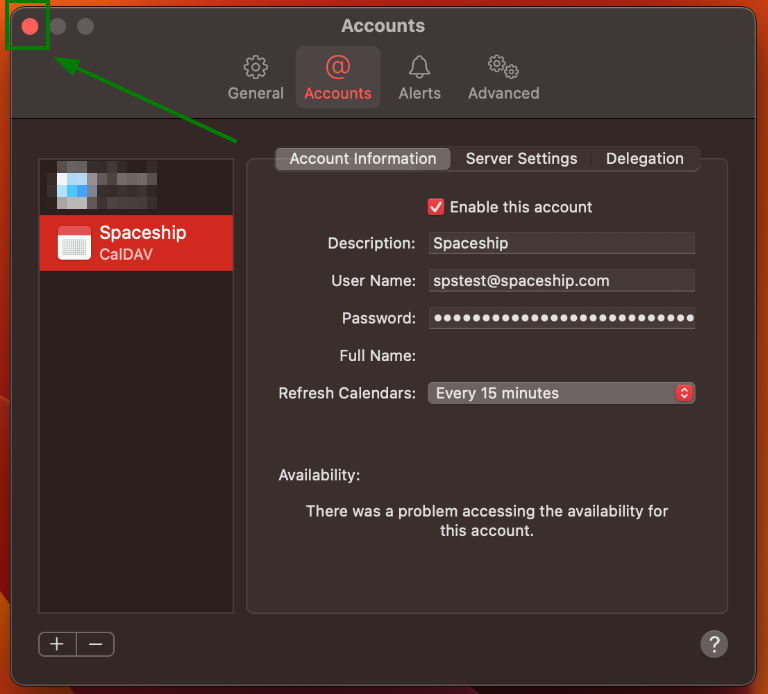
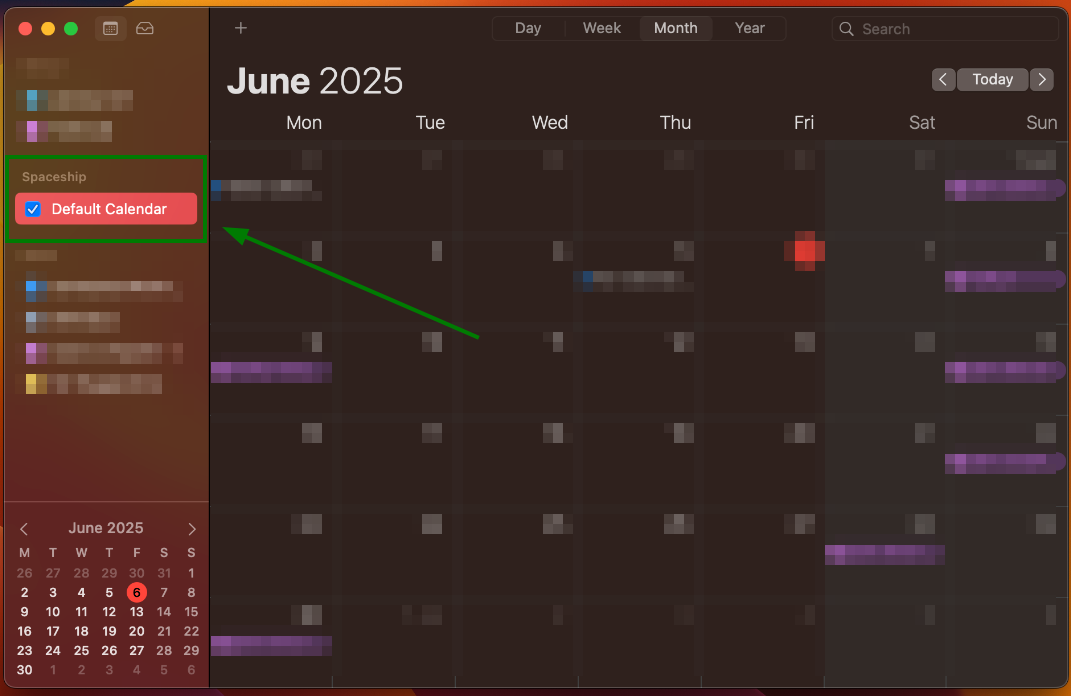
The Spacemail CalDAV account should be added to Apple Calendar:
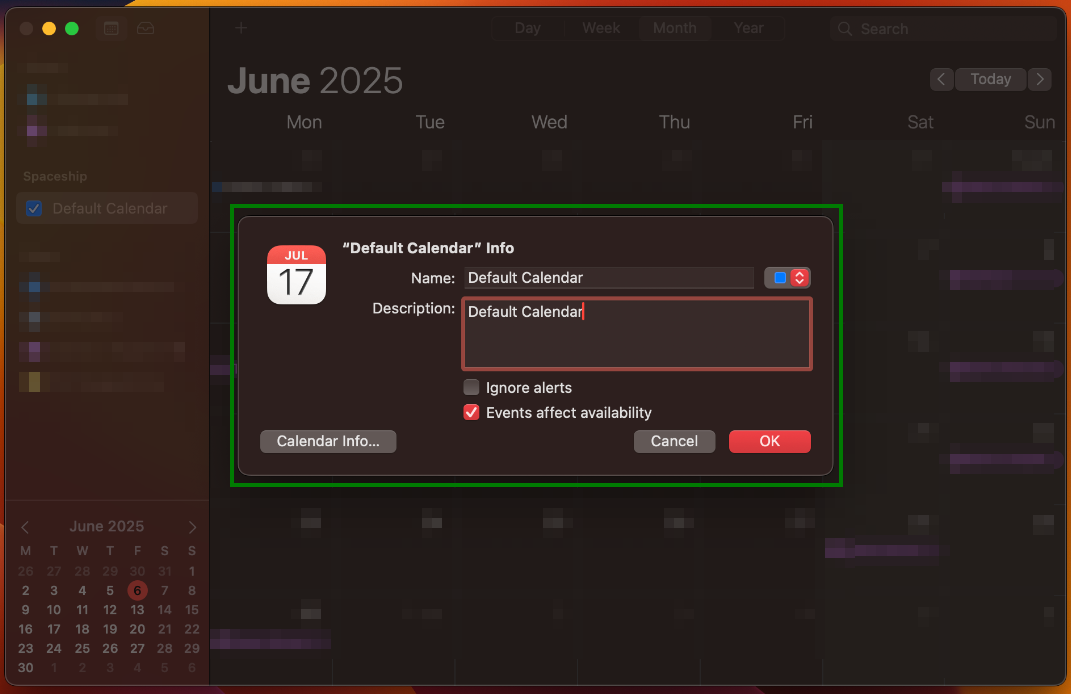
You can further manage this by right-clicking the Spacemail calendar and selecting Get Info:
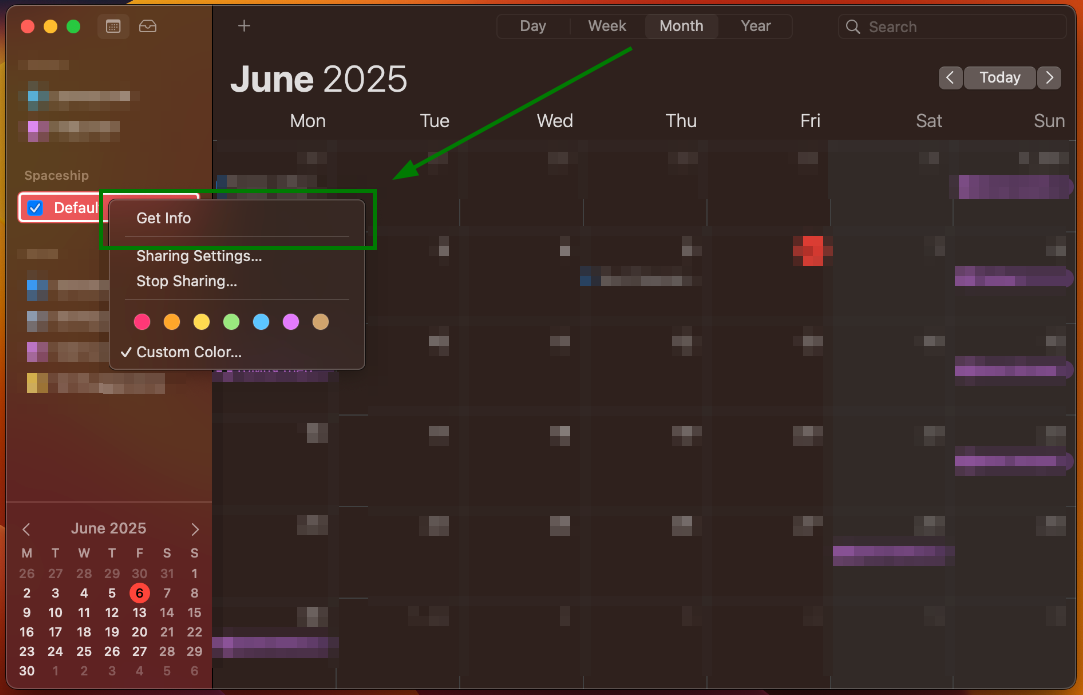
From there, you can modify the calendar name, description, and CalDAV account settings by clicking the Calendar Info button: