How to set up OpenVPN Command Line on Linux
This guide describes the command-line setup of the OpenVPN connection type on the most popular Linux distributions. The guide uses Ubuntu 20 for demonstration purposes.
The following is required to set up OpenVPN on Linux:
A secure FastVPN connection, if you do not have one, can be signed up for here!
Access to your FastVPN account panel in order to get your network credentials and server list.
Follow the steps below to configure OpenVPN on Linux devices via CLI :
1. Log in as a root user. If you are not a root user, then run the following command and tap the Enter key:
sudo -i
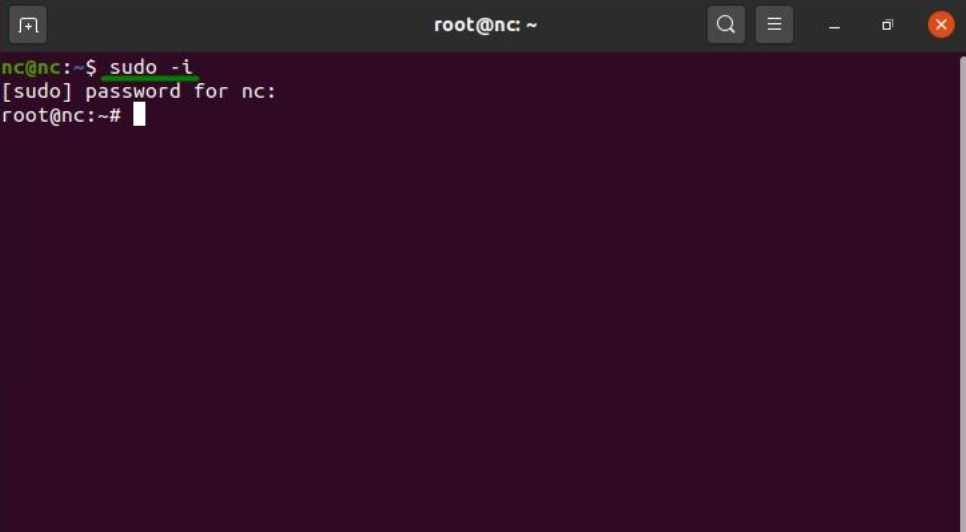
2. Type your root password and tap the Enter key:
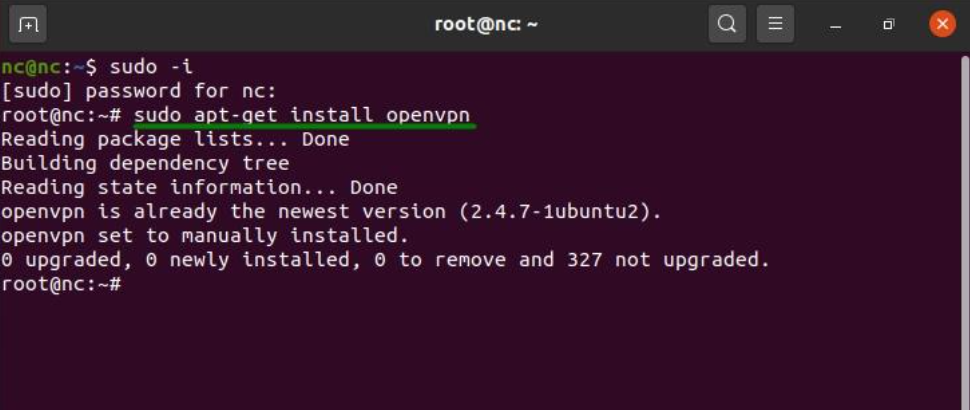
3. The first step is to install the OpenVPN package on your Linux system. Type the command below to install the OpenVPN package and tap Enter.
For Debian, Ubuntu, Mint:
sudo apt-get install openvpn
For Fedora, CentOS:
sudo yum install openvpn
or
sudo dnf install openvpn
For Arch, Manjaro:
sudo pacman -S openvpn
For openSUSE:
zypper install openvpn
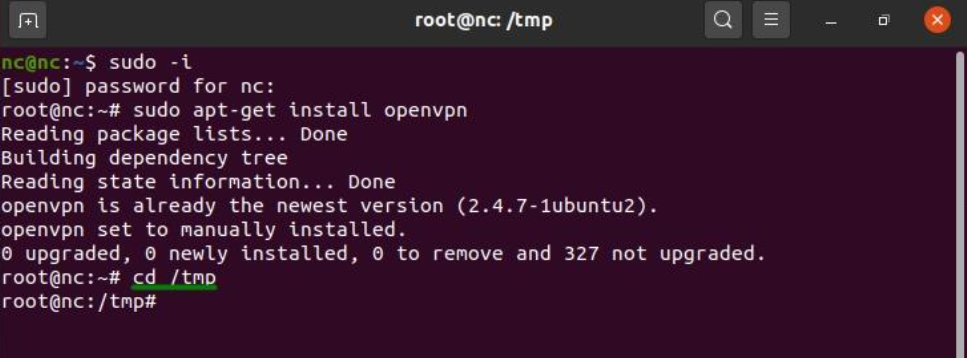
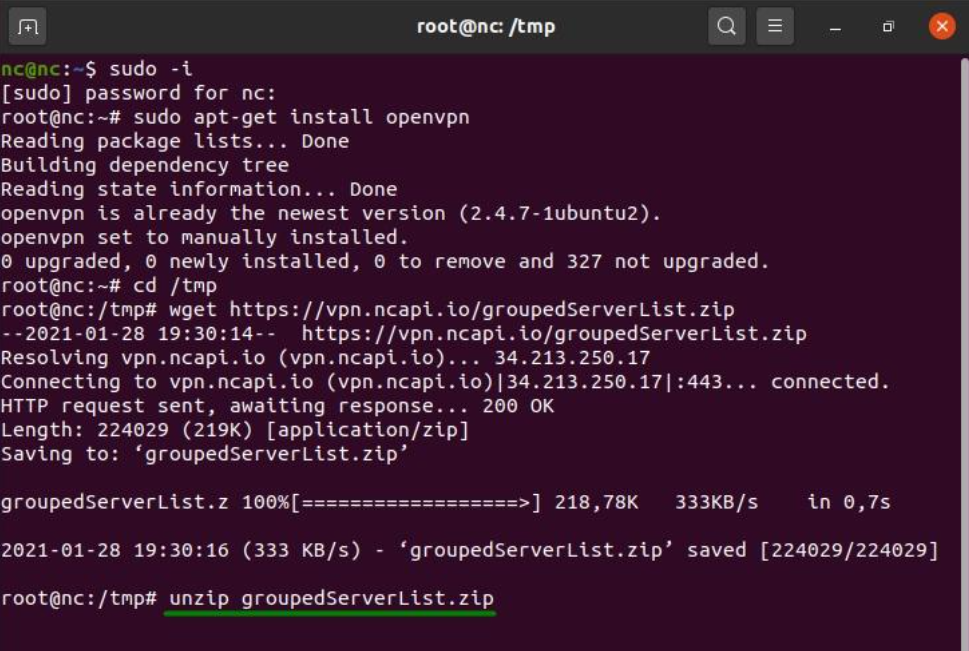
4. Enter the following command to change a directory for FastVPN config files:
cd /tmp
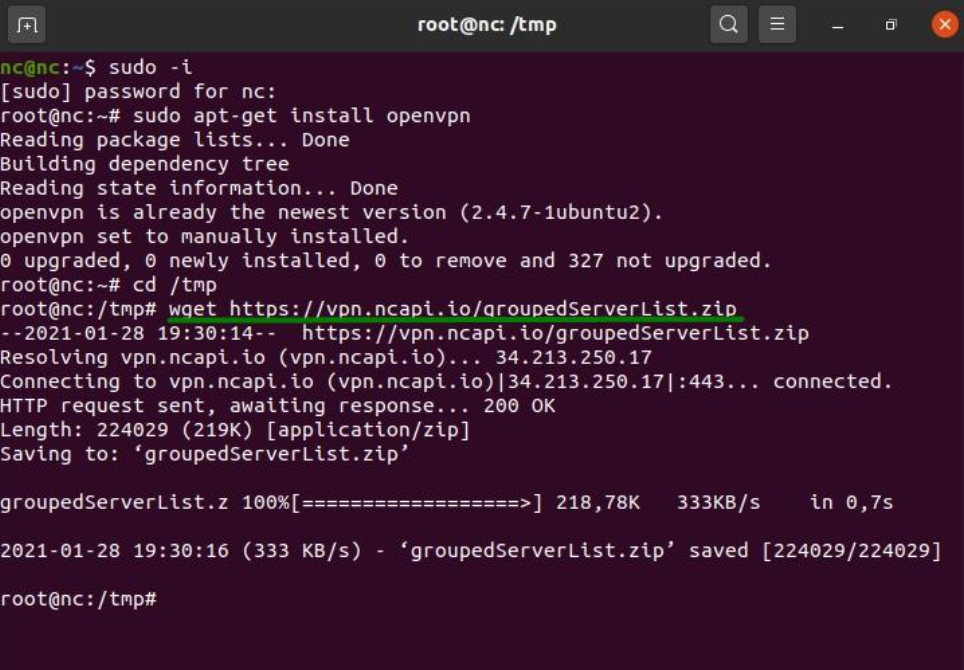
5. Enter the following command to save the FastVPN OpenVPN config zip file from our repository. Hit the Enter key and proceed to the next step:
wget https://vpn.ncapi.io/groupedServerList.zip
6. Unzip the config files into your Documents directory by entering the command below. Tap the Enter key:
unzip groupedServerList.zip
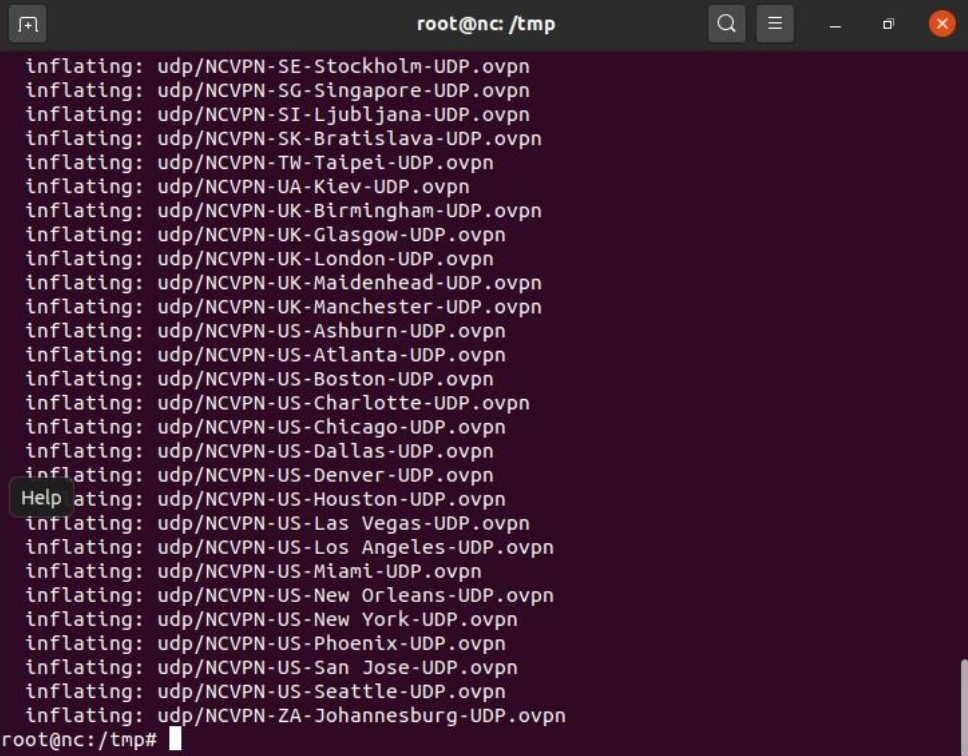
7. The previously entered commands will unzip the downloaded configuration files. It will be shown in the terminal window, similar to what is shown in the screenshot below. After the download is complete, and the prompt appears, move to the next step:
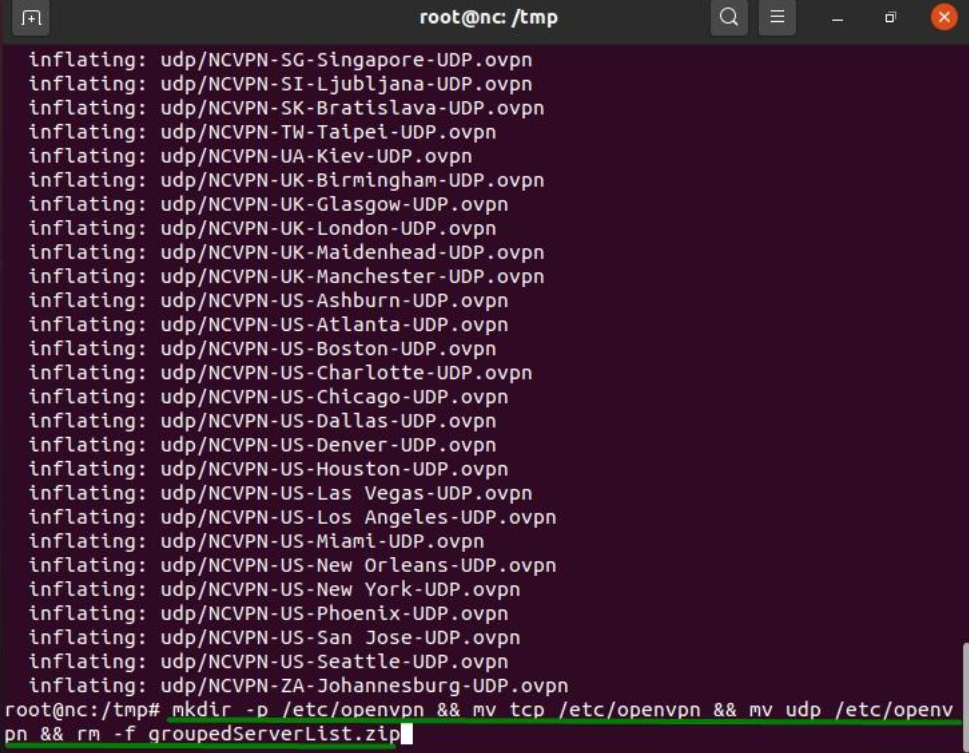
8. Enter the below command to create an openvpn directory and move ovpn config files there:
mkdir -p /etc/openvpn && mv tcp /etc/openvpn && mv udp /etc/openvpn && rm -f groupedServerList.zip
9. Depending on which protocol is preferable for you, you can connect to FastVPN using the following commands:
For UDP:
sudo openvpn --config /etc/openvpn/udp/NCVPN-AU-Melbourne-UDP.ovpn --daemon
For TCP:
sudo openvpn --config /etc/openvpn/tcp/NCVPN-AU-Melbourne-TCP.ovpn --daemon
NOTE: "NCVPN-AU-Melbourne-TCP.ovpn" and "NCVPN-AU-Melbourne-TCP.ovpn" can be changed to any preferred location from groupedServerList.zip
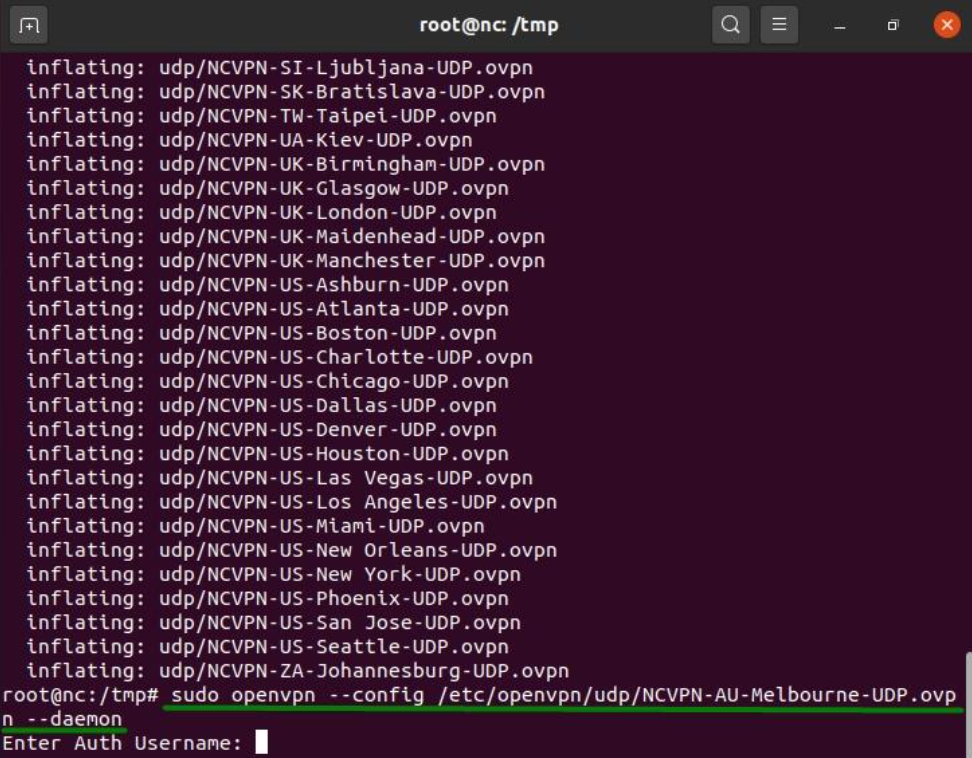
10. Enter your FastVPN Auth Username and Auth Password available from the FastVPN Account Panel:
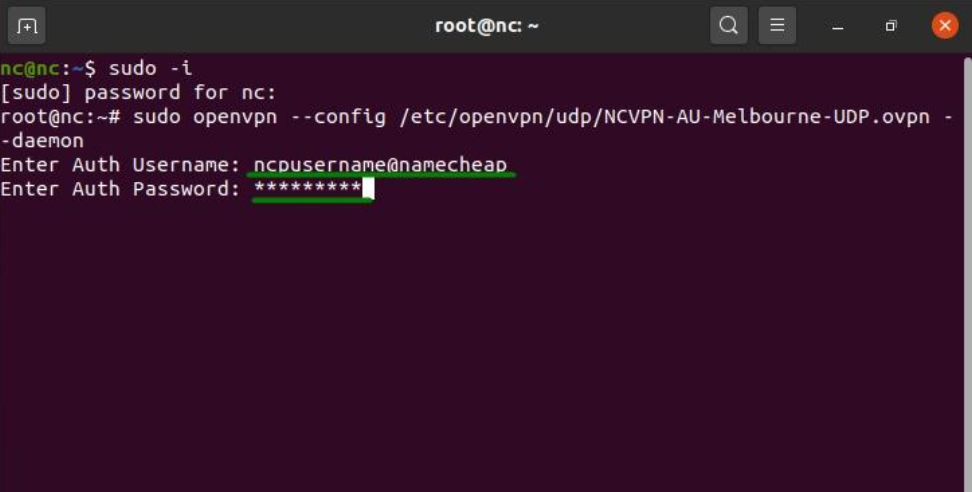
11. Congratulations! Setting up your VPN connection with FastVPN is ready.
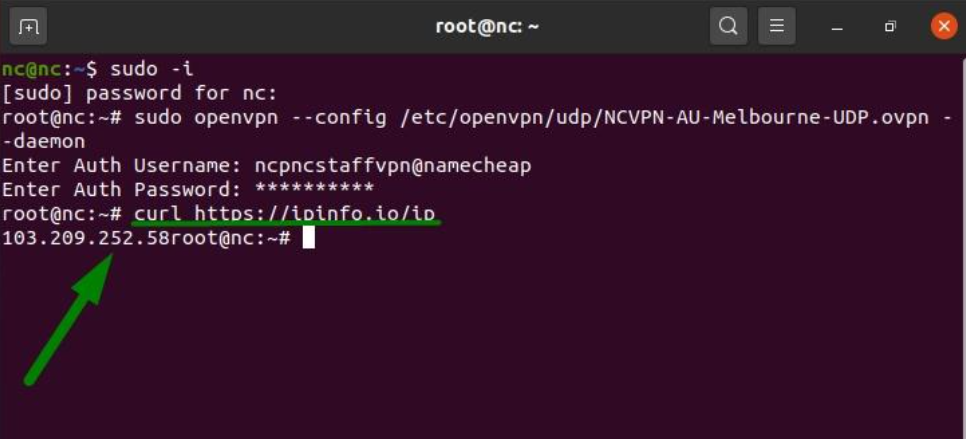
12. To verify that your VPN connection is successful, wait for about a minute and enter the command below:
curl https://ipinfo.io/ip
You will see your new public IP:
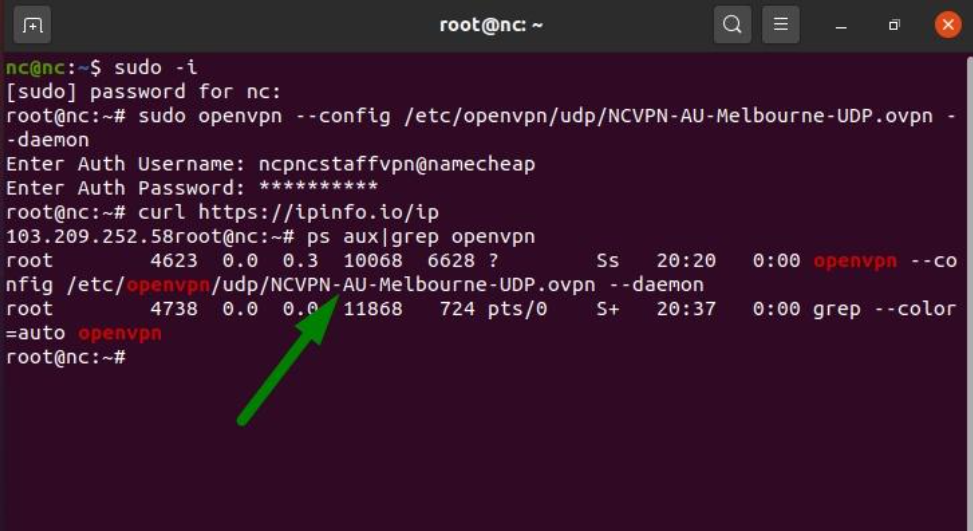
NOTE: You can check what VPN connection is currently running by entering:
ps aux|grep openvpn
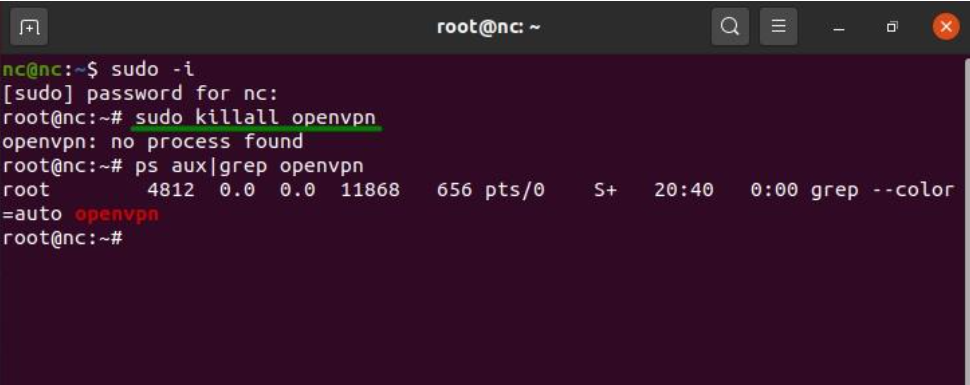
13. In order to change your VPN connection, you need to stop all active VPN connections first. For this, run the command:
sudo killall openvpn
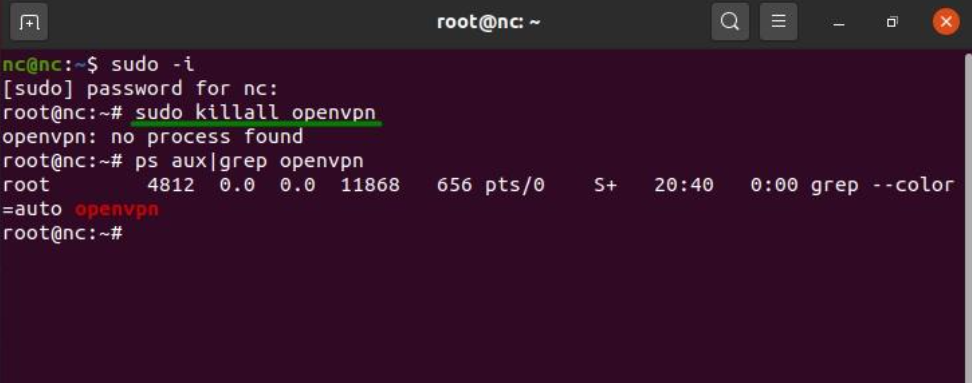
After that, please follow Steps 8-9 to connect to any other preferred location.
14. To disconnect from VPN, use the following command:
sudo killall openvpn
15. That's it! Now FastVPN is successfully configured on your Linux.
If you need any further assistance, please contact our Support Team.