How to use WordPress with Spaceship Hosting
With Spaceship Web Hosting, you can get WordPress up and running in minutes.
Just install WordPress, log in to your dashboard, pick a theme, add plugins, and start creating your pages. This guide gives you the exact steps, from setup to security, so you can launch your site quickly and keep it running smoothly.
There are two ways you can install WordPress on Spaceship Web Hosting: via Hosting Manager in your Spaceship account, and via Softaculous in cPanel. What’s the difference?
Option 1. Hosting Manager Installation:
Simpler and more streamlined for beginners.
Fewer customization options during setup.
Direct integration with your Spaceship dashboard for easy management.
Option 2. Softaculous in cPanel:
Offers more advanced options and flexibility (such as choosing plugins, language, and backup management).
Allows you to install many other CMSs and scripts, not just WordPress.
Useful for users who want more control over the installation process or need to manage multiple installations.
Also, all your WordPress installations can be managed in one place - WordPress Manager by Softaculous (read below in the article).
Choose the most convenient way for installation and follow these simple steps to create your WordPress website:
Option 1. Installing WordPress from Hosting Manager
Step 1. Install WordPress
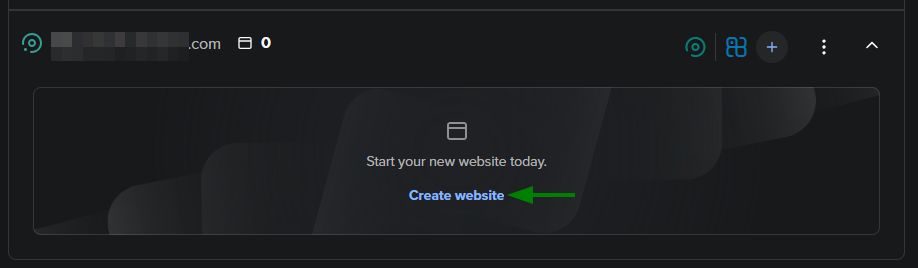
1) Go to the Hosting Manager.
2) Click Create website under your domain name:
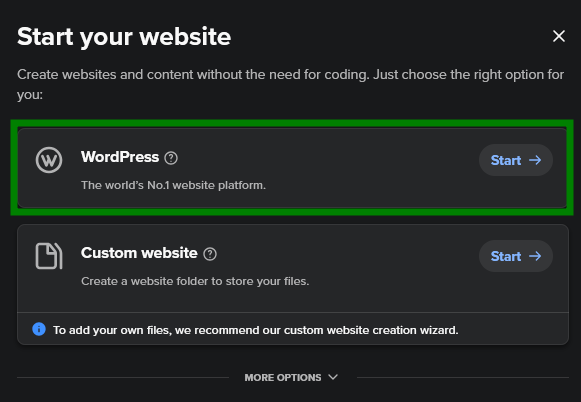
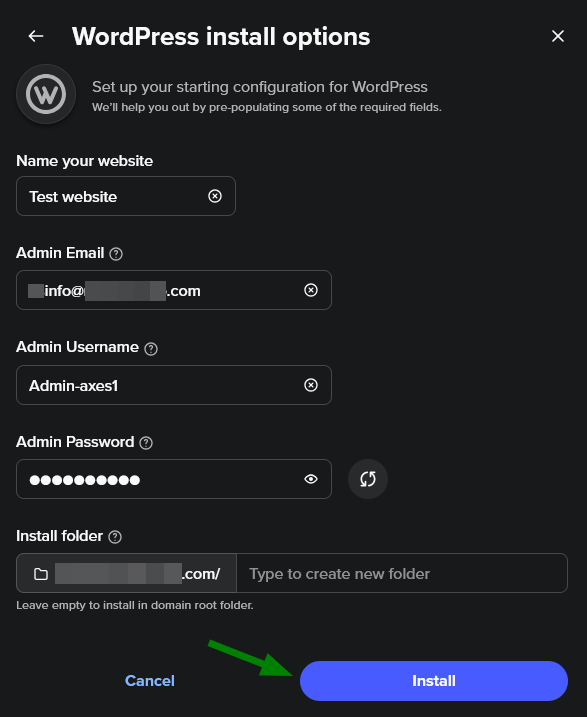
3) Choose WordPress and fill in the required details (site name, admin username, password, and email). Click Install and wait for the process to finish:
Step 2. Access WordPress Admin
1) In the Hosting Manager, find your domain and click the WordPress button next to your installation:
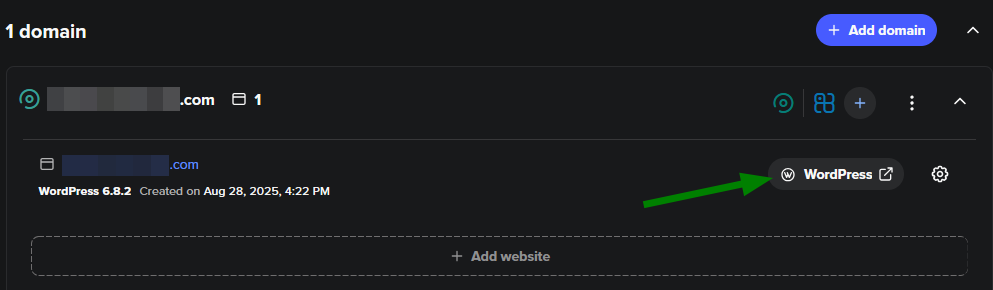
2) This will log you into your WordPress dashboard, where you can manage your site:

Step 3. Choose a Theme
1) In the WordPress dashboard, go to Appearance > Themes:
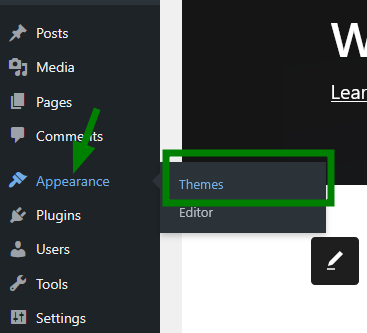
2) Here, you can select a default theme or click +Add Theme to browse thousands of options and pick the one that fits your website best:
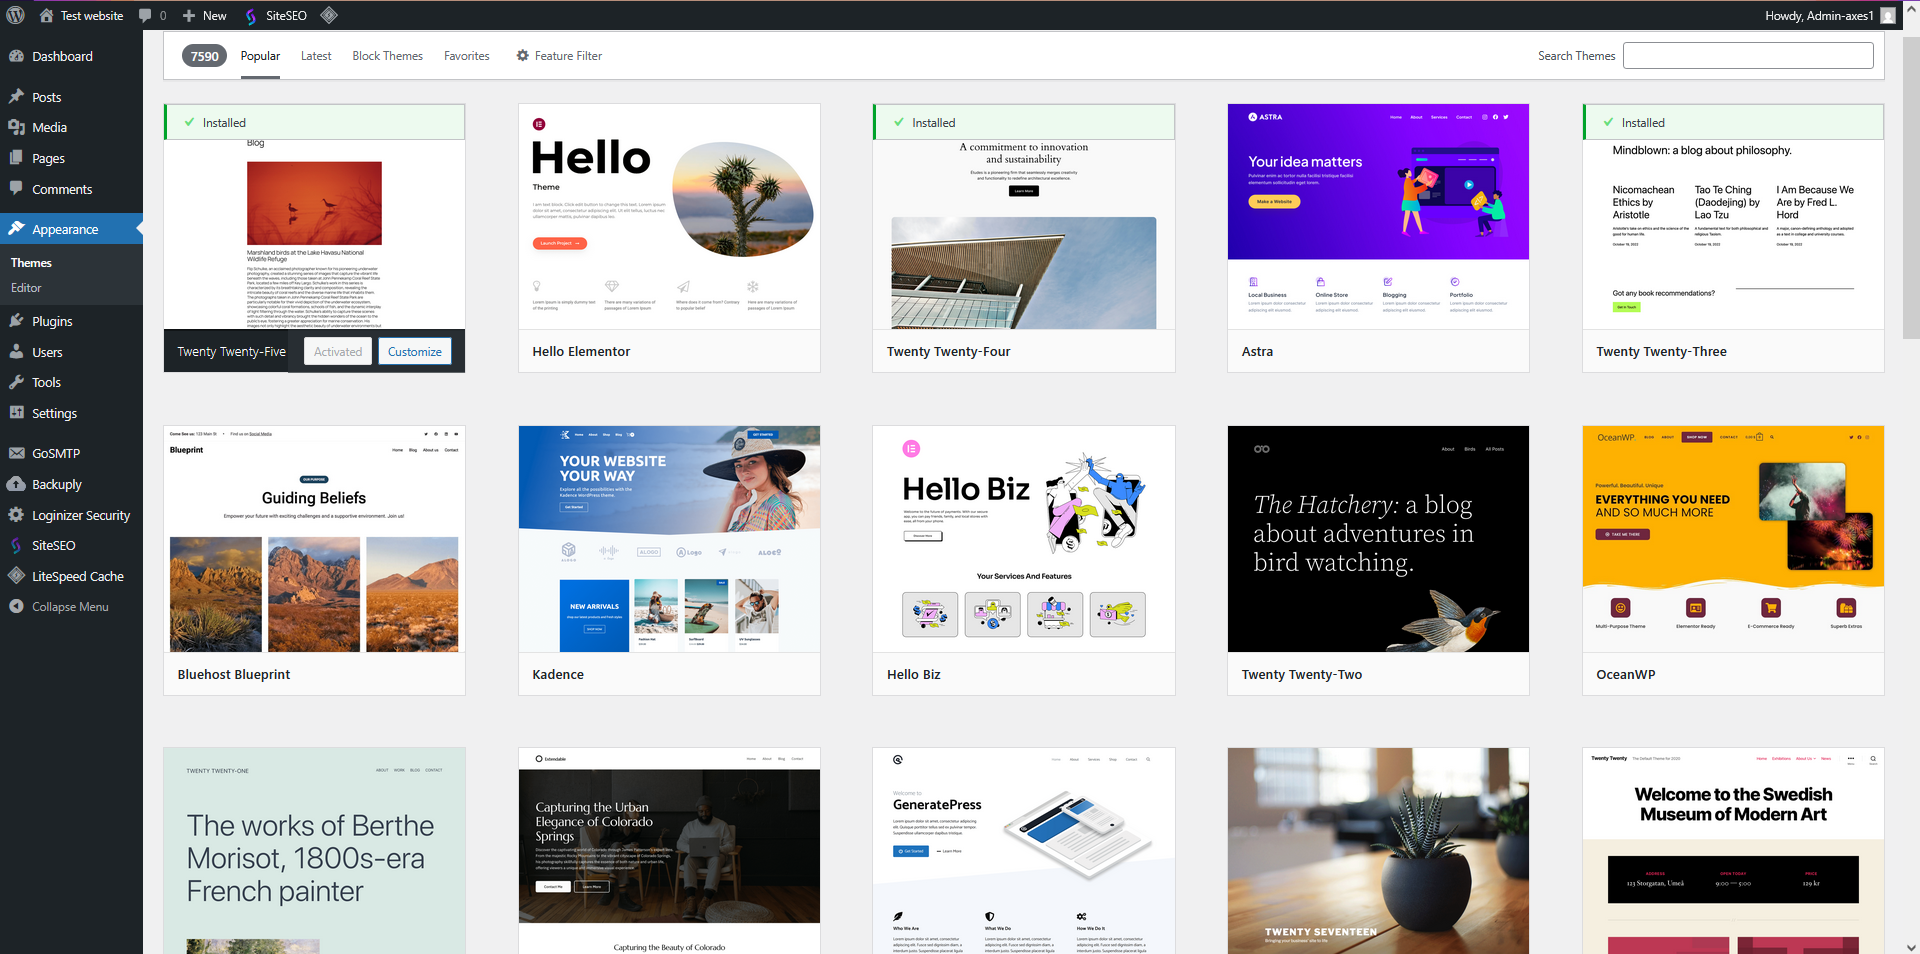
3) Click Install and then Activate the theme.
Step 4. Install Essential Plugins
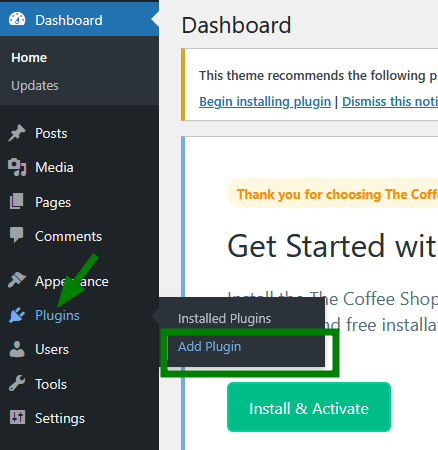
1) You can install plugins suggested by your theme (if any are present) or go to Plugins > Add Plugin in your dashboard:
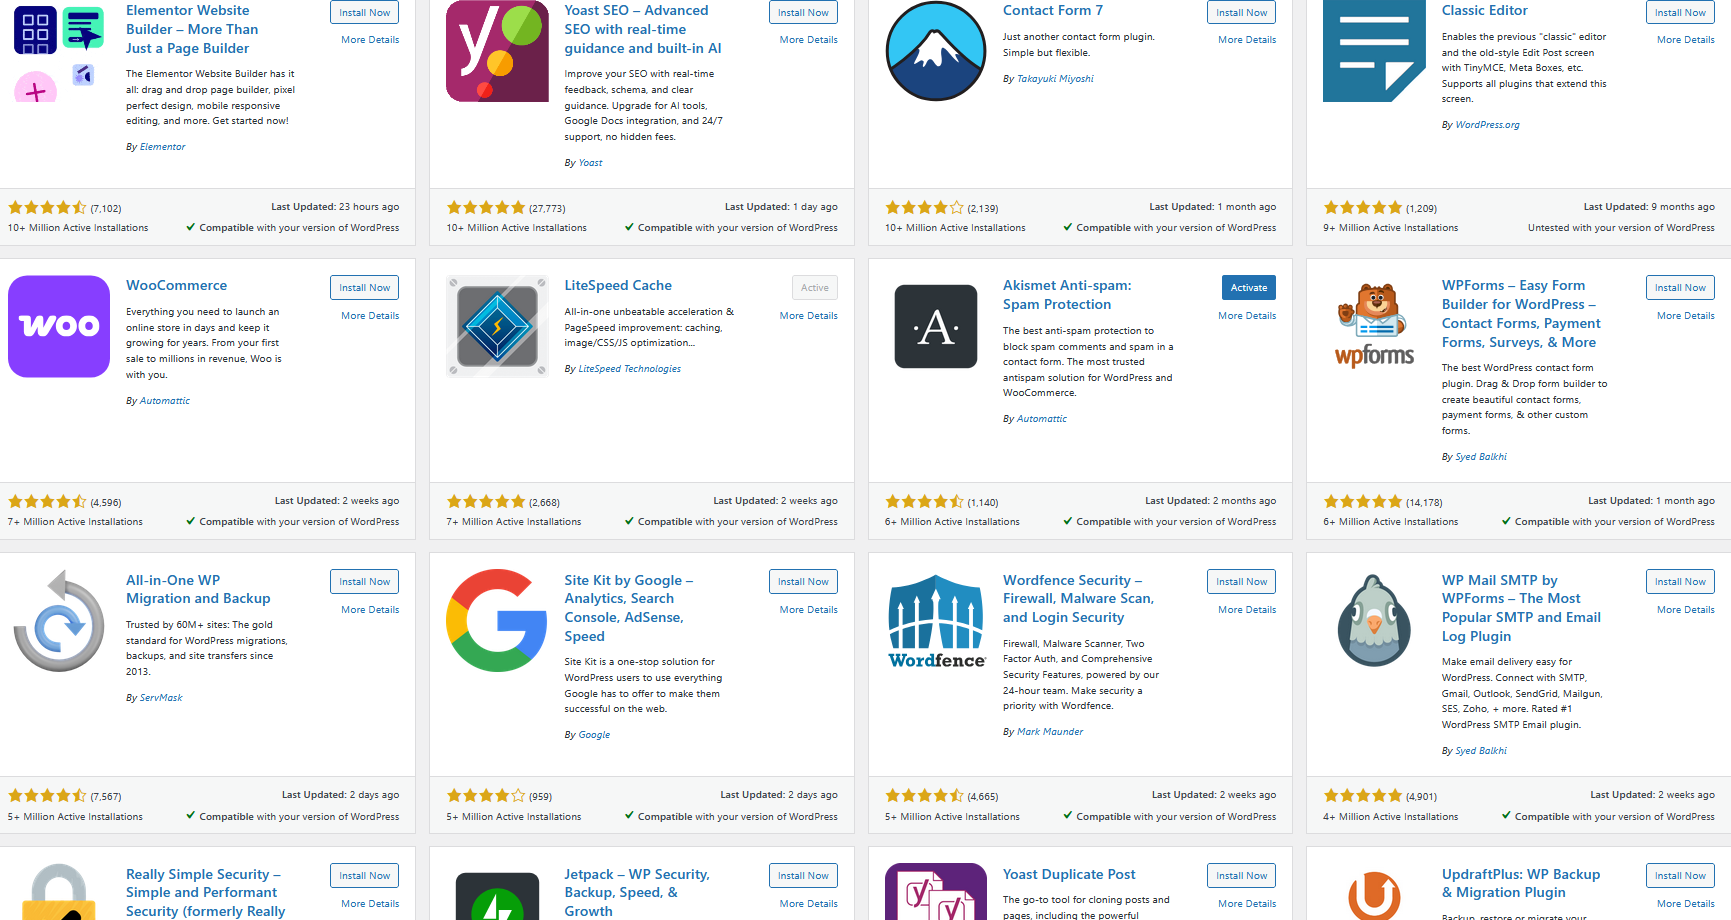
2) Search for and install plugins for security (e.g., Wordfence), SEO (e.g., Yoast SEO), and a contact form if needed (Contact Form 7 or WP Mail SMTP):
Step 5. Create Main Pages
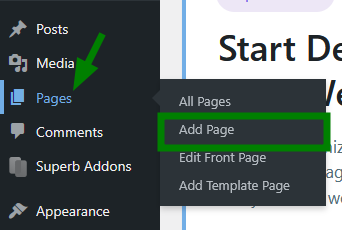
Go to Pages > Add Page to create pages like Home, About, and Contact. Publish each page after editing.
Step 6. Adjust Site Settings
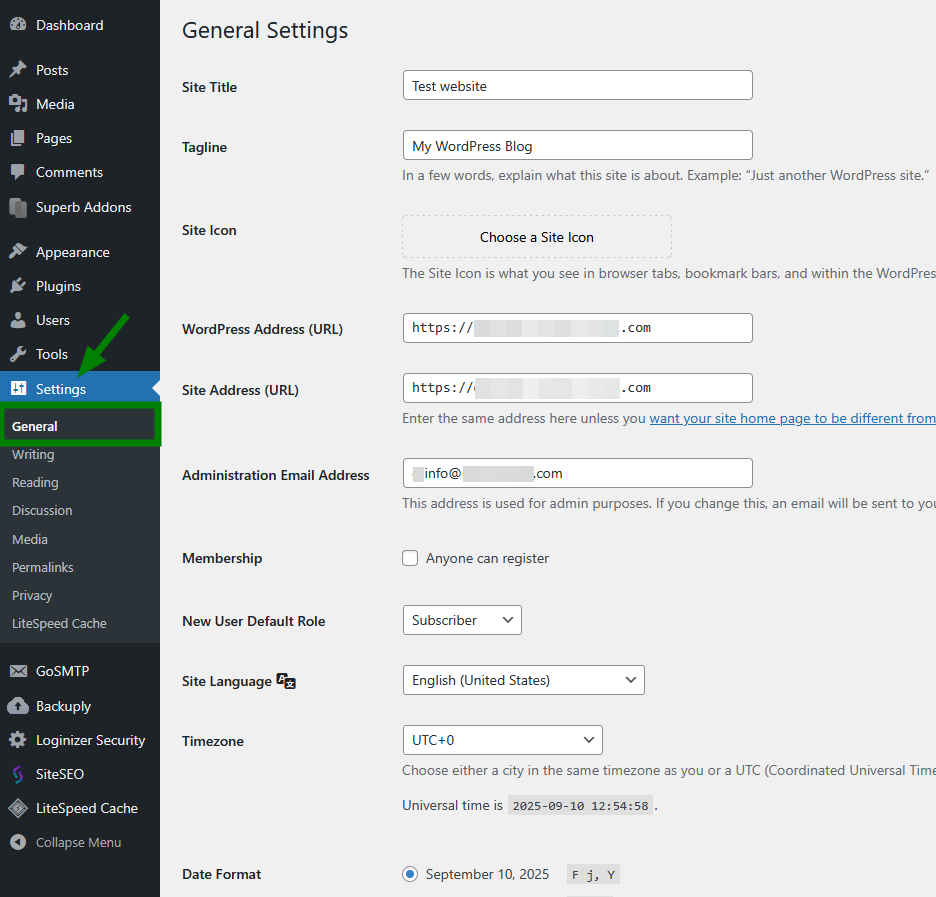
1) Go to Settings > General to set your site title, tagline, timezone, and other needed settings:
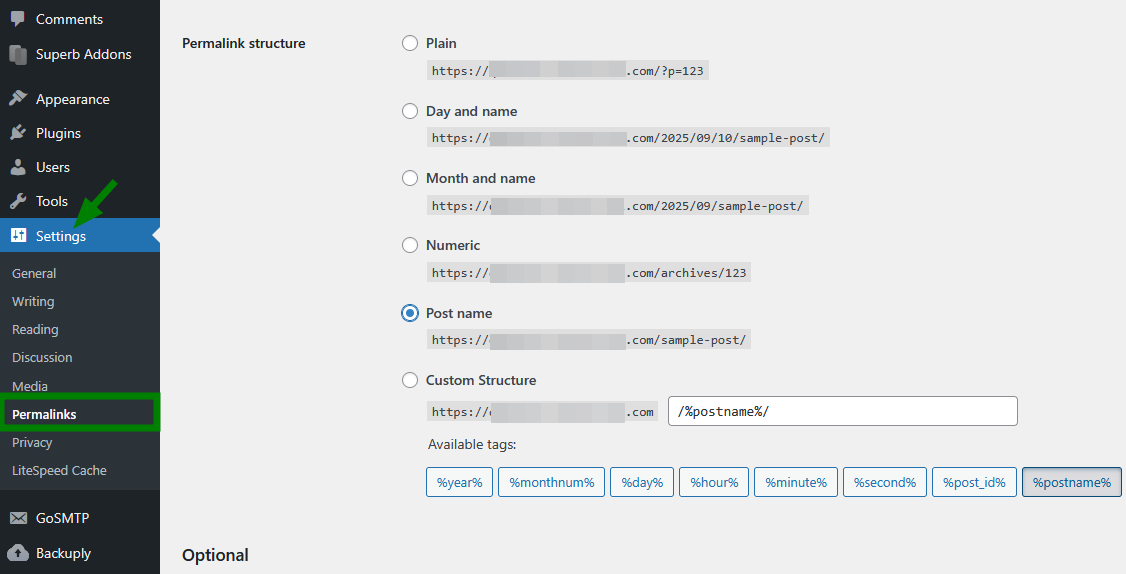
2) Then, go to Settings > Permalinks and choose a structure ("Post name" is recommended):
Step 7. Secure Your Site
Use a strong admin password and keep it safe.
Keep WordPress, themes, and plugins updated.
Set up a backup plugin in WordPress to always keep a copy of your website. You can also manage backups in cPanel > Backup or via Softaculous. For full account backups, automatic backups can be enabled in your Hosting Manager if available (Autobackup is an addon starting from $5.88/month).
SSL certificates are installed automatically if your domain is pointed to Spaceship hosting, and if SSL was selected during the unboxing process. Your site will use HTTPS by default.
You may find this article useful for your website and the entire hosting account as well: "How to secure your hosting account from hackers: essential security tips".
Step 8. Manage Files (if needed)
To access your WordPress files, open the Hosting Manager, find your domain, click Manage next to your installation, select Files and Storage > Manage files. You’ll be redirected to File Manager in cPanel.
That’s it!
Option 2. Installing WordPress from cPanel > Softaculous
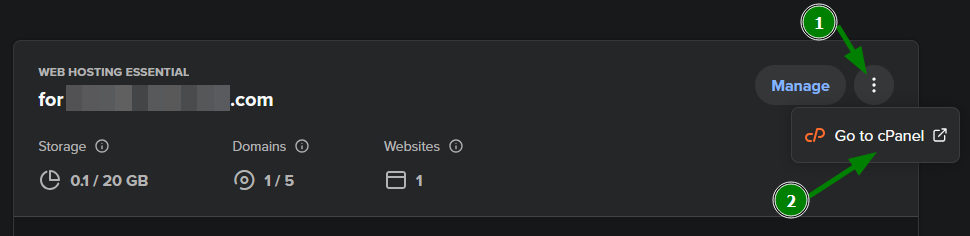
1) In Hosting Manager, find your hosting plan and click on three dots (⋮) next to it. Click Go to cPanel in the side panel (this will open cPanel for your hosting):
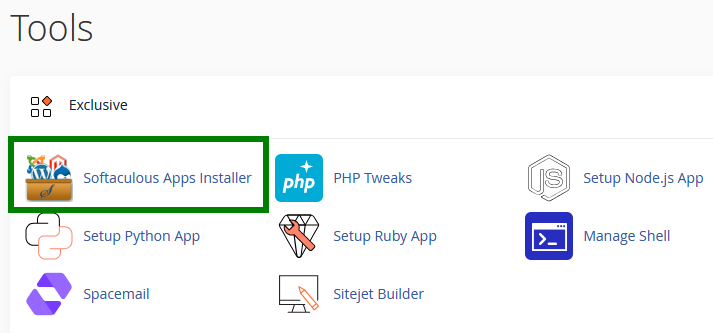
2) In cPanel, locate the Softaculous Apps Installer (in the "Exclusive" section):
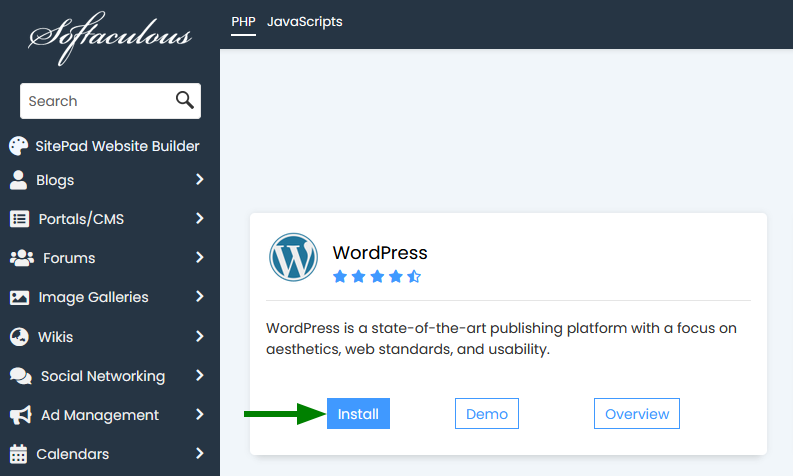
3) Click Install next to the WordPress window:
4) Fill in the required details:
Choose the domain for installation.
Set the directory if needed (leave blank to install at the root, or type a folder name for a subdirectory - will be created automatically).
Choose the WordPress version - the latest is recommended.
Complete the site settings and admin account details:

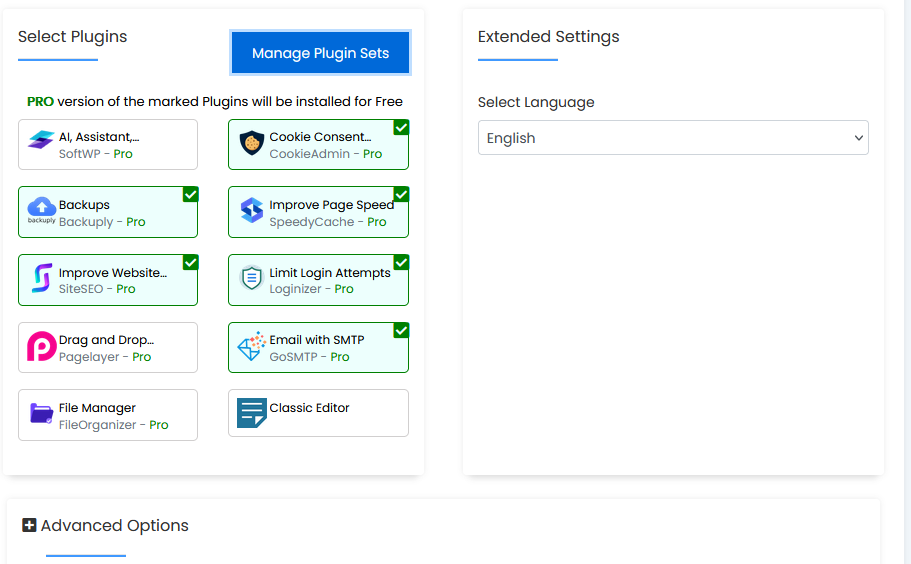
Select plugins and language if needed:
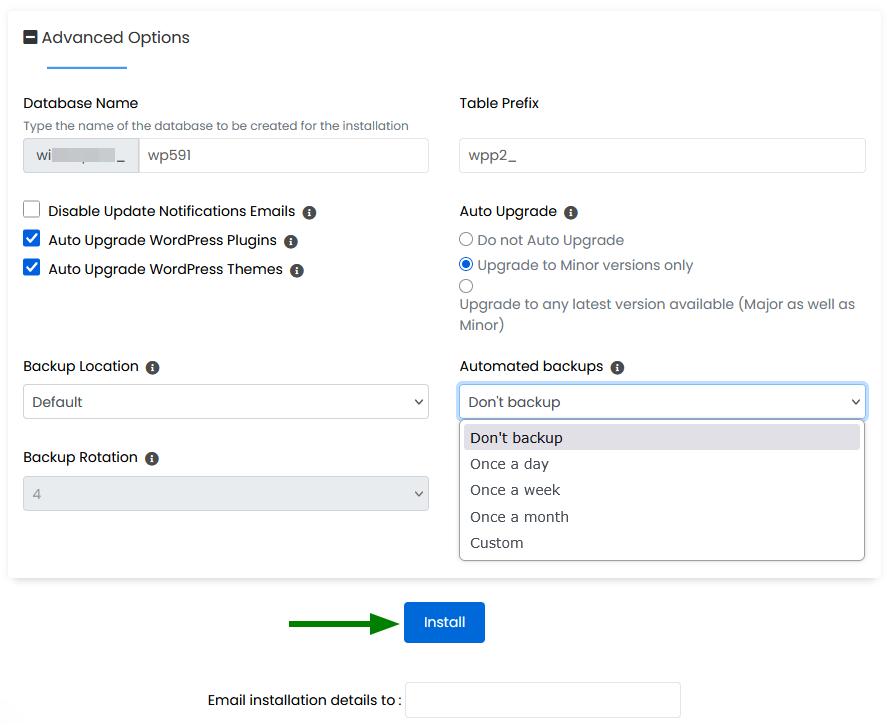
5) In Advanced Options, you can edit Database details if needed, manage Auto Upgrades, and set up Backup options.
Click Install once you’re ready:
6) After the installation is completed, you can access your WordPress dashboard and start building up your website as we described in Option 1 (starting from Step 3).
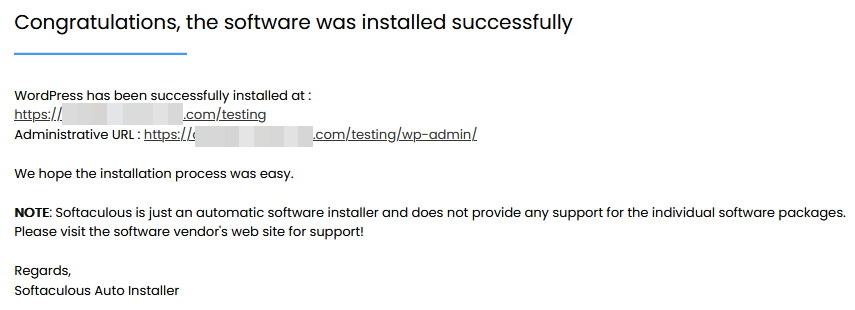
That's it!
WordPress Manager
WordPress Manager lets you manage all WordPress installations in one place. It allows you to update several settings for the WordPress installation without even having to log in to the WordPress admin panel.
To locate it, follow the steps below:
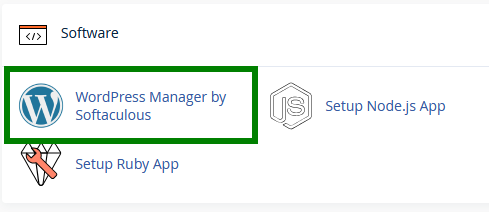
1) In your cPanel, locate WordPress Manager by Softaculous under the Software section:
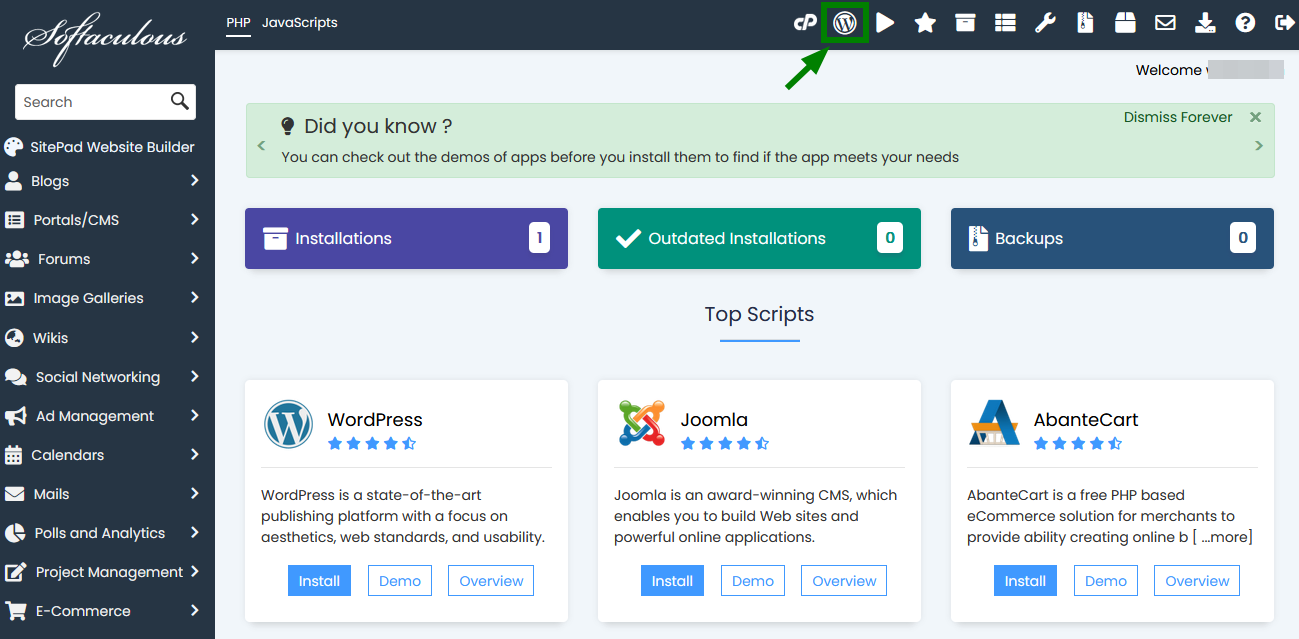
Or open the WordPress Manager tab in Softaculous:
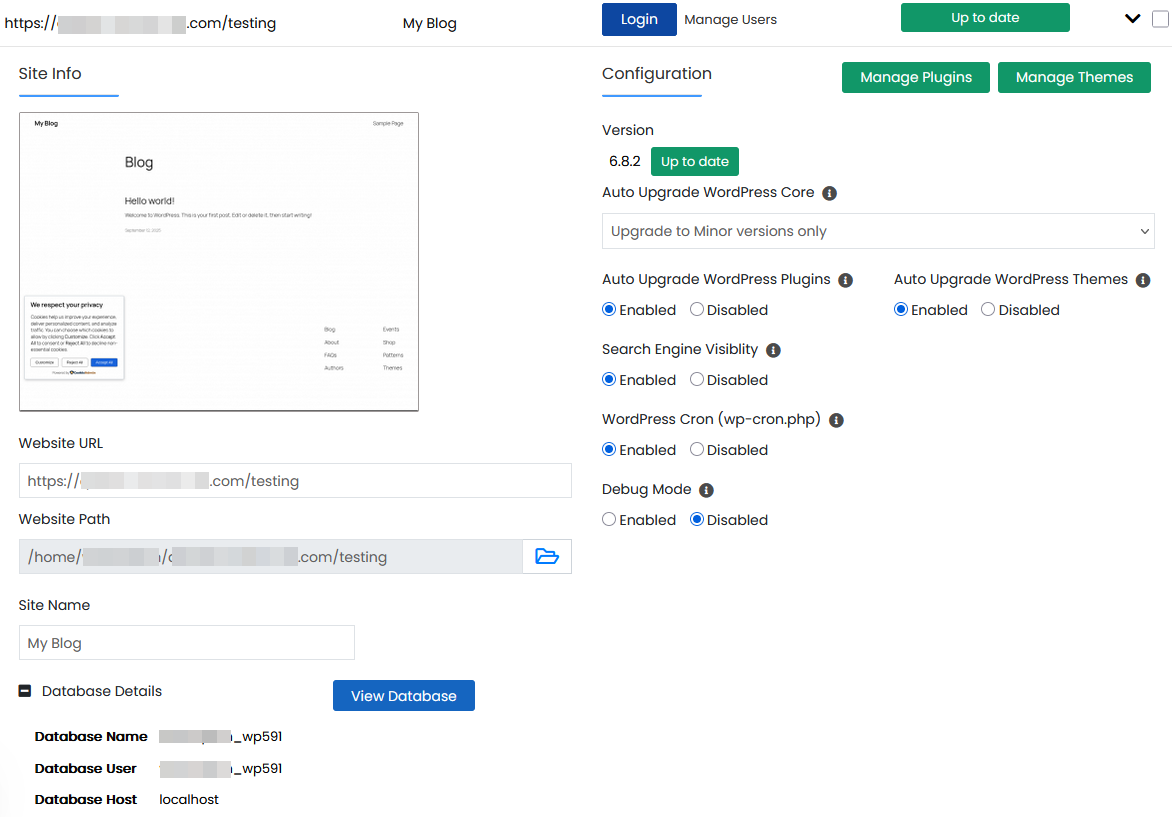
2) Select the necessary WordPress installation:
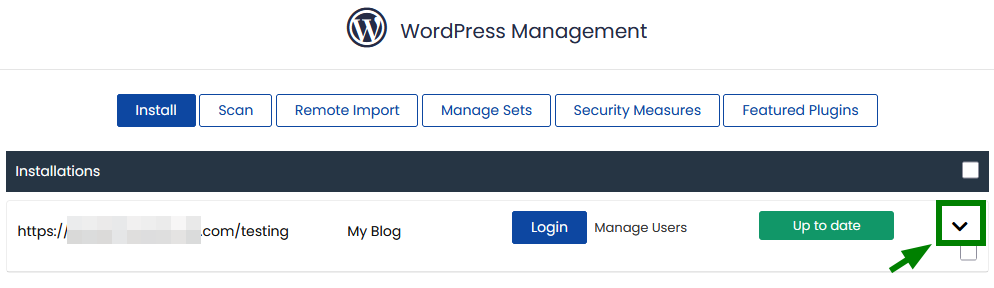
3) It is possible to do the following using the WordPress Manager tab:
access WordPress admin panel;
upgrade an installation;
upgrade core settings;
upgrade plugins/themes settings;
enable/disable search engine visibility;
enable/disable WordPress cron;
enable/disable WordPress debug mode;
change website URL and path;
change site name;
change password;
manage plugins;
manage themes.

Here are some articles that can be useful for your WordPress website: