How to deploy OpenClaw on Starlight Hyperlift
OpenClaw is an open-source, autonomous AI agent framework designed to function as a highly integrated personal assistant. It serves as a local runtime that connects Large Language Models (LLMs) to a user’s personal data and system environment.
This article provides step-by-step instructions to deploy OpenClaw (formerly known as Clawdbot or Moltbot) on Spaceship Starlight™ Hyperlift. OpenClaw is deployed as a long-running Gateway service on Hyperlift, administered via the remote openclawCLI and Control UI, and managed via the Hyperlift Manager menu.
All the details on deploying the OpenClaw template on Hyperlift can be found here.
Note 1: The software is available for Hyperlift Medium, Large, and Extra Large plans, with a limit of only one OpenClaw deployment per Hyperlift subscription.
Note 2: To deploy OpenClaw on Hyperlift, you should have an active AI provider API key.
How to order the service?
During "Unboxing"
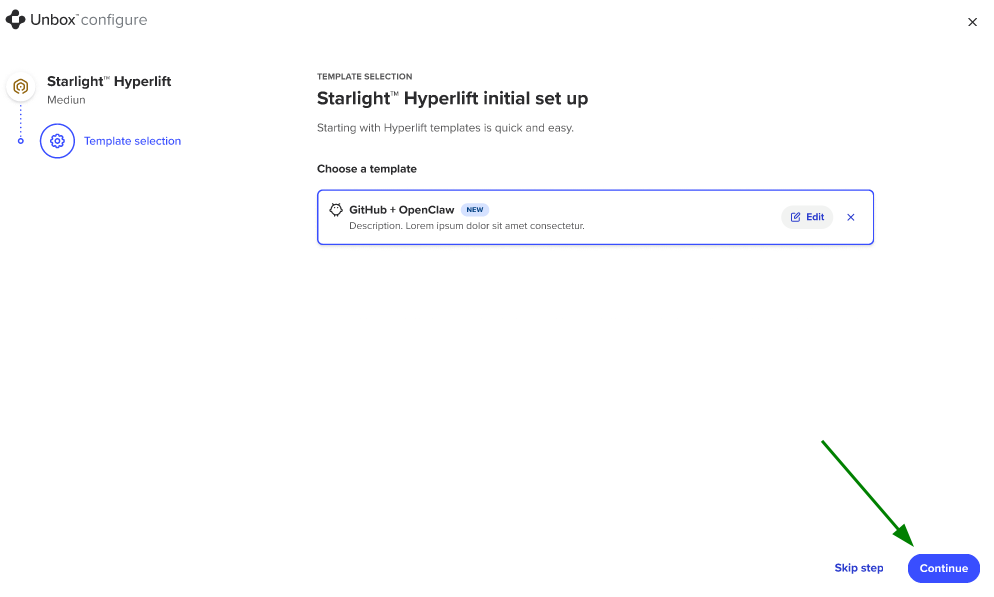
After you purchase the Hyperlift plan, you have to unbox the subscription. During the unboxing process, there is the "Configure template" step at which you will be able to add the “OpenClaw AI Assistant” template:
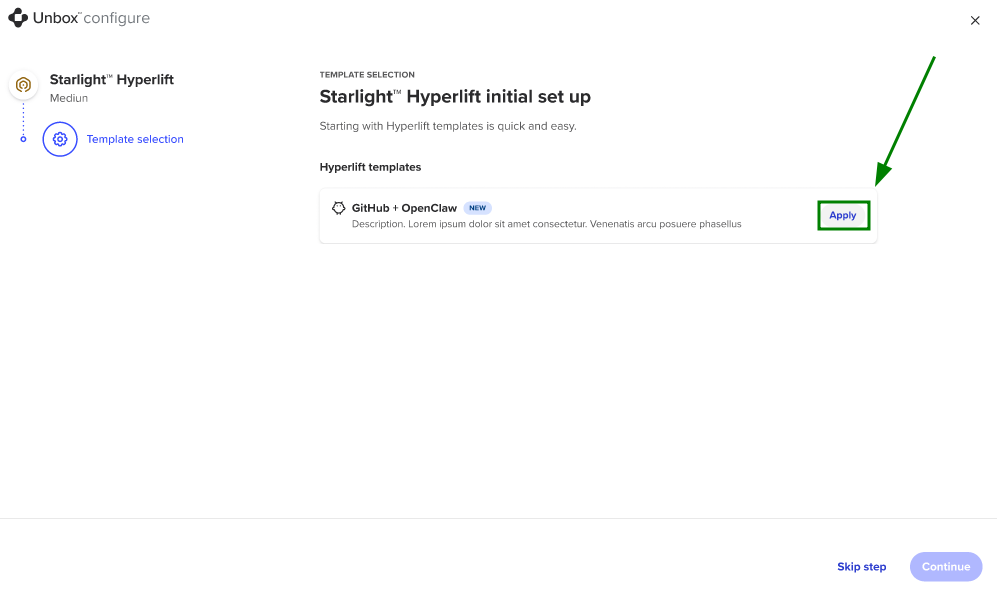
To set up OpenClaw, fill in the following information:
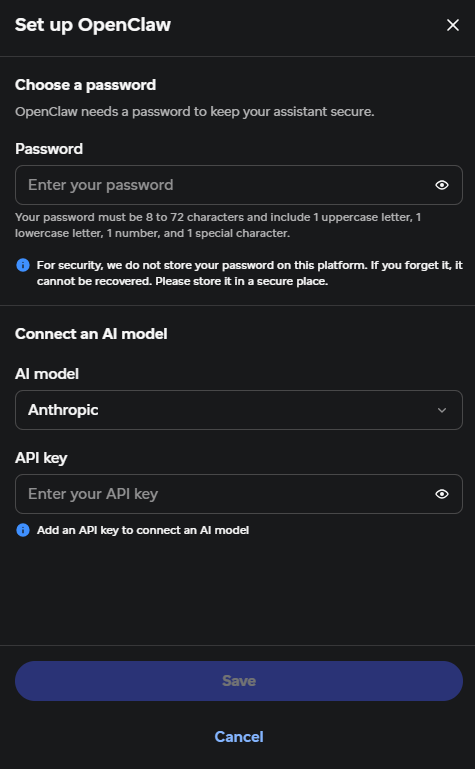
Set up your password - set a gateway password;
Connect your AI model - choose the provider of your AI model from the drop-down list and enter the AI provider API key.
The following AI providers' options are available:Anthropic;
OpenAI;
Google (Gemini);
xAI;
OpenRouter;
Mistral;
Custom AI Model option for anything else.
Save the changes.
Note: You can skip the setup OpenClaw step during the Hyperlift subscription unboxing and complete it later in Hyperlift Manager.
Save the changes and click on Continue:
Via the “Starlight Hyperlift Manager” menu
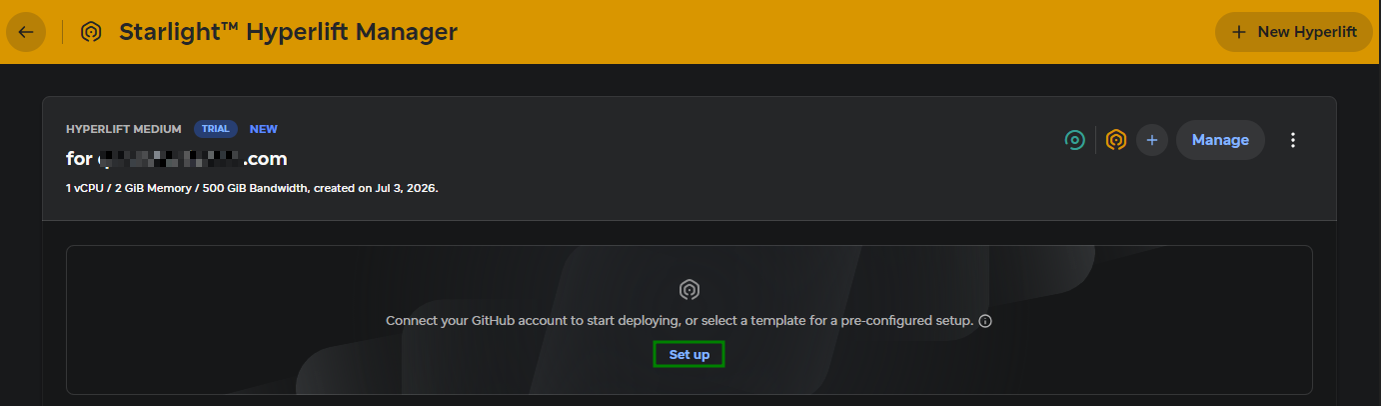
It is also possible to add the OpenClaw template to your Hyperlift subscription after its purchase and unboxing, directly from the Starlight Hyperlift Manager menu:
Click on the Set up button:
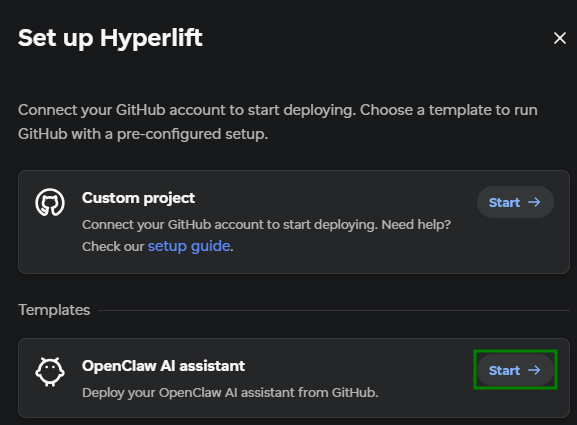
Select the OpenClaw AI assistant template for a pre-configured setup and click on Start:
Set up OpenClaw by following the same flow as during the Hyperlift subscription “Unboxing” stage.
How to manage OpenClaw via the “Starlight Hyperlift Manager” menu
Once the “OpenClaw AI assistant” template is added and configured with Hyperlift, you can locate it in the Starlight Hyperlift Manager menu > right below the Hyperlift service associated with it:
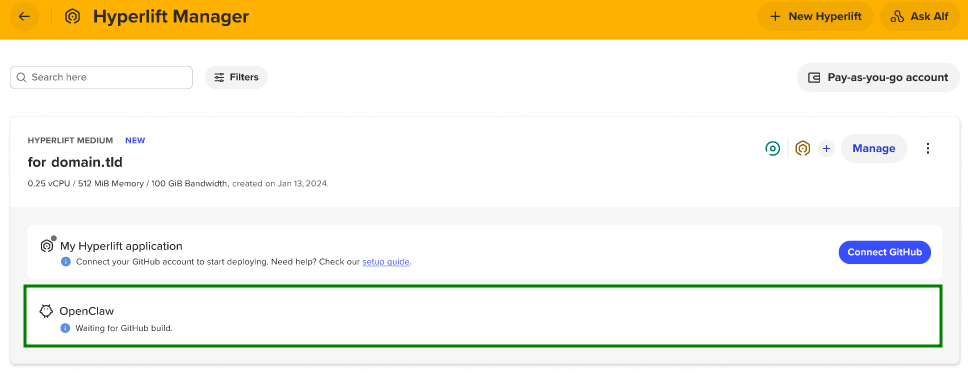
To deploy OpenClaw on Hyperlift, you should first build and deploy your GitHub application. For this, a new repository is created automatically in your GitHub account from this template. Read our guidance to complete this.
Once it's done, the OpenClaw button will appear for your OpenClaw template, by clicking on which, you will be navigated to your OpenClaw dashboard login page:
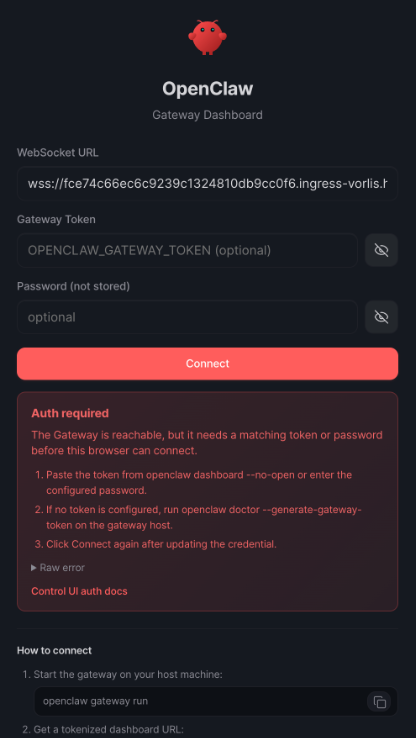
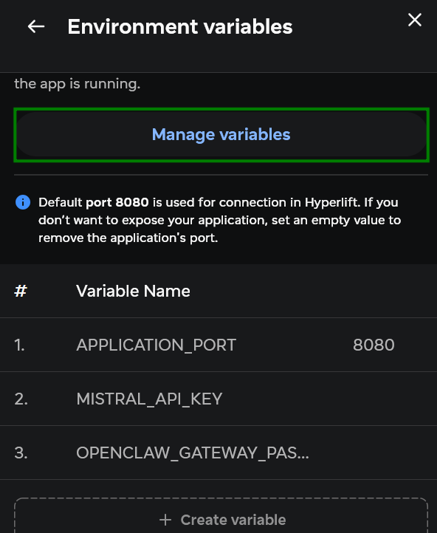
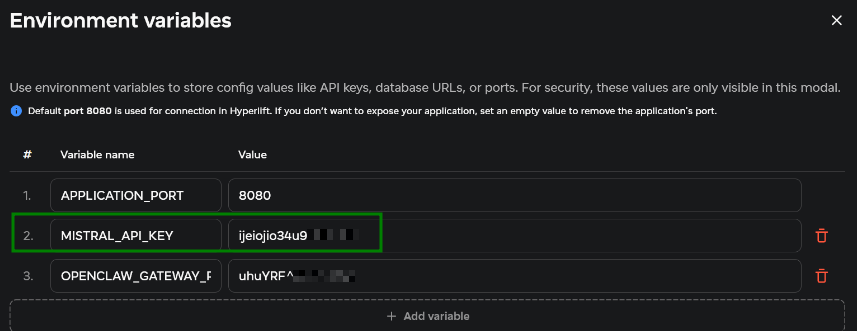
Note: If you have forgotten or lost your OpenClaw gateway password, you can update it via Starlight Hyperlift Manager - click on “Manage” to open the split menu - navigate to Environmental variables. Click the Manage variables button, update the password by editing the OPENCLAW_GATEWAY_PASSWORD line, and save the changes.
For more detailed instructions, please refer to the similar flow for updating the API key.
The corresponding OpenClaw menu is also added to the side panel:
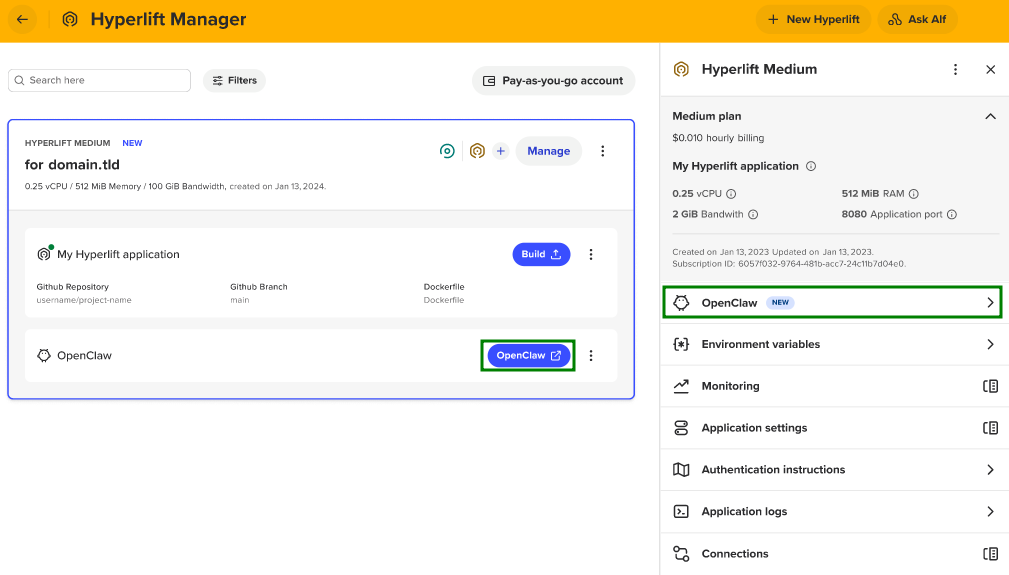
You can also open the split menu by clicking on the three-dot button > OpenClaw settings:
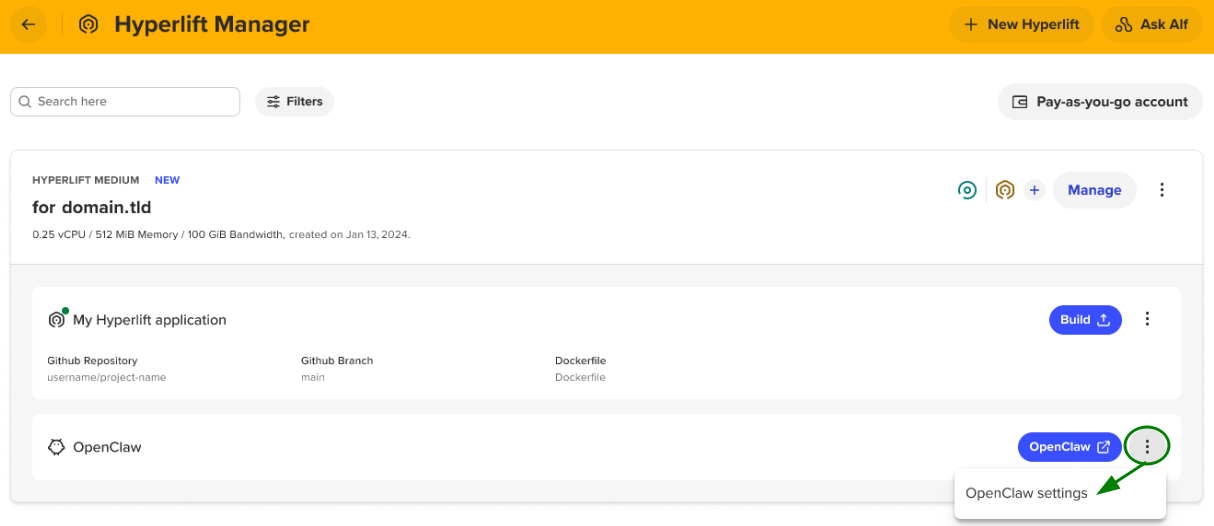
From this split menu, you can do the following:
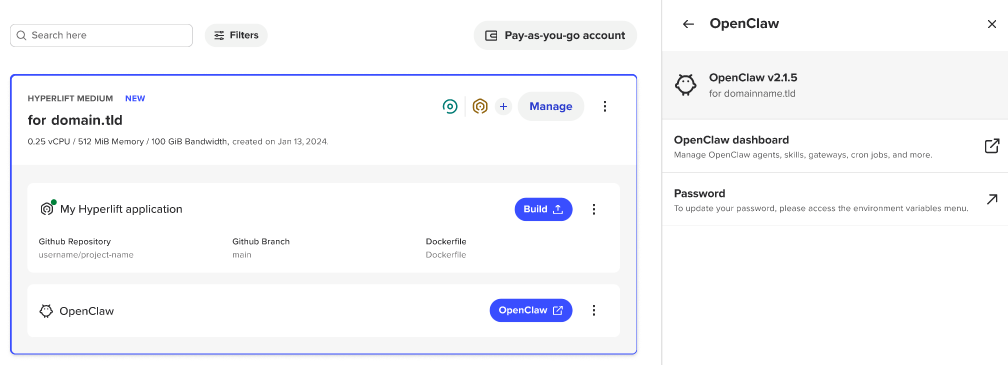
OpenClaw dashboard - navigates to the dashboard;
Password - redirects to the page from where the OpenClaw password can be updated.
Fixing API validation error
In case you have added an incorrect API key for your AI model while setting up OpenClaw, the following error will be displayed to you inside the OpenClaw dashboard:

To fix the issue, you need to update the API key to the correct one. You can do it from Starlight Hyperlift Manager - click on “Manage” to open the split menu - navigate to Environmental variables. Click on the Manage variables buttonand update the required record, which corresponds to your API key, and save the changes: