Как да настроите Node.js приложение в Spaceship Web Hosting
Инструментът Setup Node.js App в Spaceship Web Hosting ви позволява да внедрявате и управлявате Node.js приложения директно от контролния панел. Функцията се захранва от CloudLinux и стартира приложенията чрез Passenger.
Това ръководство обяснява как работи интерфейсът, как да създадете приложение и как да го управлявате.
Преглед
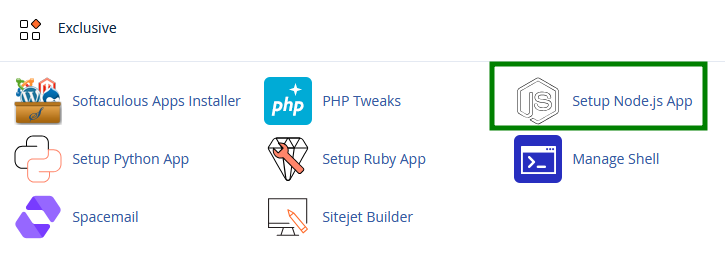
След като влезете в cPanel, отворете Setup Node.js App в секцията Exclusive:
В горната част на страницата ще видите бутона Create Application. Под него ще бъдат изброени всички съществуващи Node.js приложения. Всеки запис на приложение показва неговите конфигурационни детайли и опции за управление:
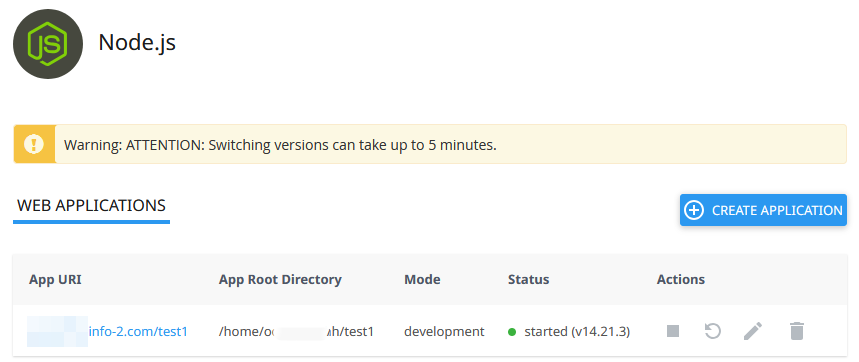
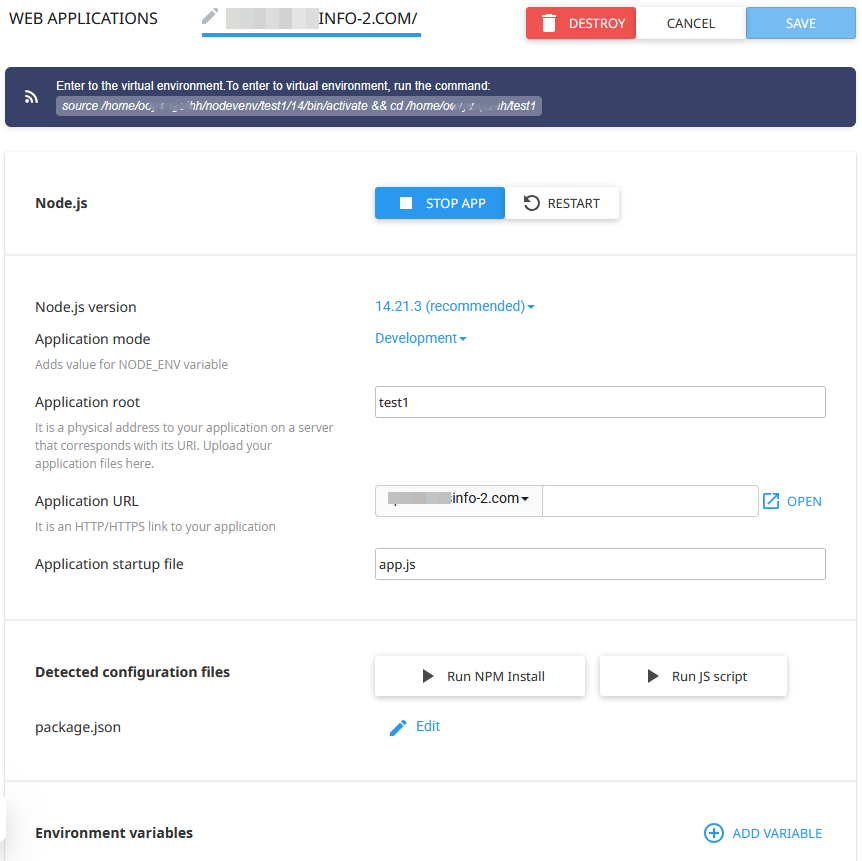
За всяко създадено приложение интерфейсът ви позволява да видите общите му детайли, включително URL (URI), коренова директория, режим (development или production) и текущ статус.
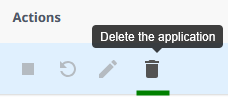
От същата страница можете да рестартирате или спрете приложението, редактирате неговата конфигурация и променливи на средата или да го премахнете напълно.
Съвет: Таблицата с приложения може да се сортира чрез кликване върху заглавията на колоните, като App URI, Root Directory, Mode или Status. Това улеснява управлението на множество приложения в един и същ акаунт.
Как да създадете приложение
След като натиснете бутона +Create Application, ще трябва да конфигурирате приложението си, като въведете следните параметри:
Node.js версия
Изберете версията, изисквана от вашето приложение. Винаги се уверявайте, че е съвместима с вашия package.json файл.Режим на приложението
Изберете между Development и Production. За работещи уебсайтове се препоръчва Production режим.Корен на приложението
Посочете директорията, в която ще се съхраняват файловете на приложението. Това ще създаде съответната папка под /home/username.URL на приложението
Изберете домейна или поддомейна, на който приложението ще бъде достъпно.Стартиращ файл на приложението
Въведете основния файл, който стартира вашето приложение (например app.js или server.js)
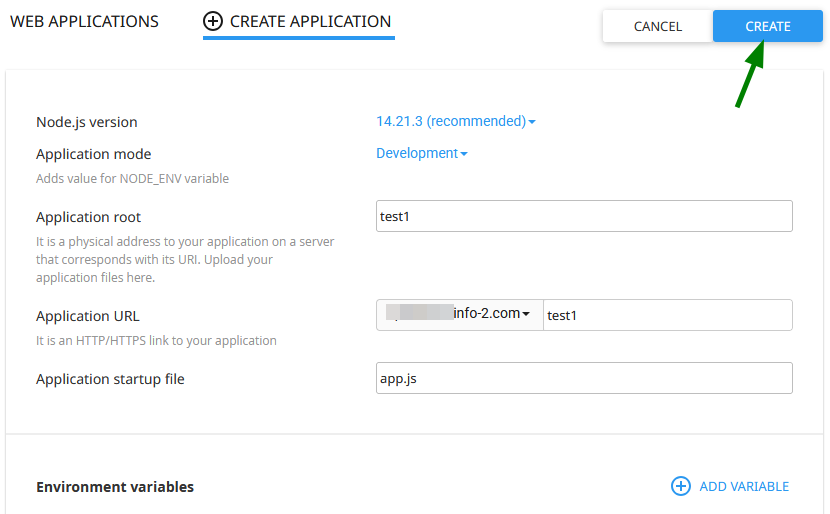
След като въведете всички настройки, кликнете върху Create. Ще се появи съобщение за успех, след което системата ще инициализира средата и ще покаже детайлите на вашето приложение.
Управление на приложението
След внедряване, вашето приложение може да се управлява от същия интерфейс. Тук можете да:
Редактирате вашето приложение
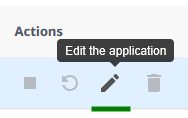
Страницата за редактиране се отваря:
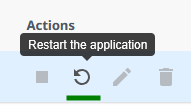
Рестартирате

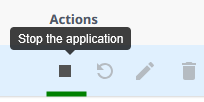
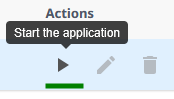
Спрете/стартирате


Изтриете

Забележка: Премахването на приложението изтрива конфигурацията, но не премахва автоматично файловете на проекта, освен ако не го направите ръчно.
Качване на файлове и инсталиране на зависимости
След като приложението е създадено, качете файловете на вашия проект (включително package.json) в посочената коренова директория на приложението.
След това можете да инсталирате зависимостите по два начина:
Вътре в Setup Node.js App >> Run NPM Install:
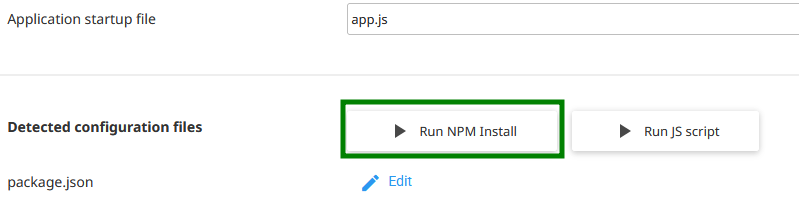
Системата ще прочете вашия package.json файл и ще инсталира всички необходими модули.Чрез SSH >> виртуална среда.
За да влезете във виртуалната среда чрез SSH, изпълнете маркираната команда, посочена в горната част на страницата:
След това изпълнете командатаnpm install. Това постига същия резултат, но ви дава гъвкавост да:Инсталирате конкретни пакети (
npm install package-name)Инсталирате други модули/зависимости за разработка
Изпълнявате build скриптове (
npm run build)Отстранявате
npmгрешки директно.
Задаване на променливи на средата
Променливите на средата могат да се конфигурират в настройките на приложението. Можете да дефинирате променливи като NODE_ENV, API ключове, данни за достъп до база данни и др.
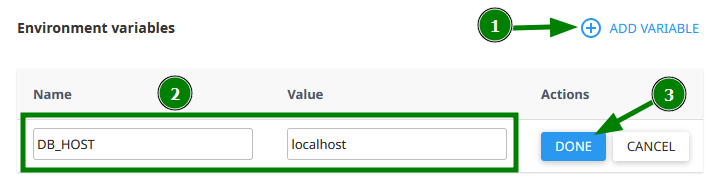
Запазете промените и рестартирайте приложението след това.