How to activate a cPanel licence
After the cPanel (WHM) software package has been successfully installed on a Virtual Machine (VM), the next required step is to register or sign in (if you already have an active account) with the cPanel licence service.
NB: Due to the closed default SMTP port on our Virtual Machines, the native cPanel email service is currently unavailable. However, it’s possible to set up and use some third-party mail services (for example, SendGrid or Mailgun).
This guide provides step-by-step instructions on how to carry out the process correctly.
Once the cPanel software package is installed, a temporary link to the WHM login will be generated in the https://[server_ip_address]:2087 format.
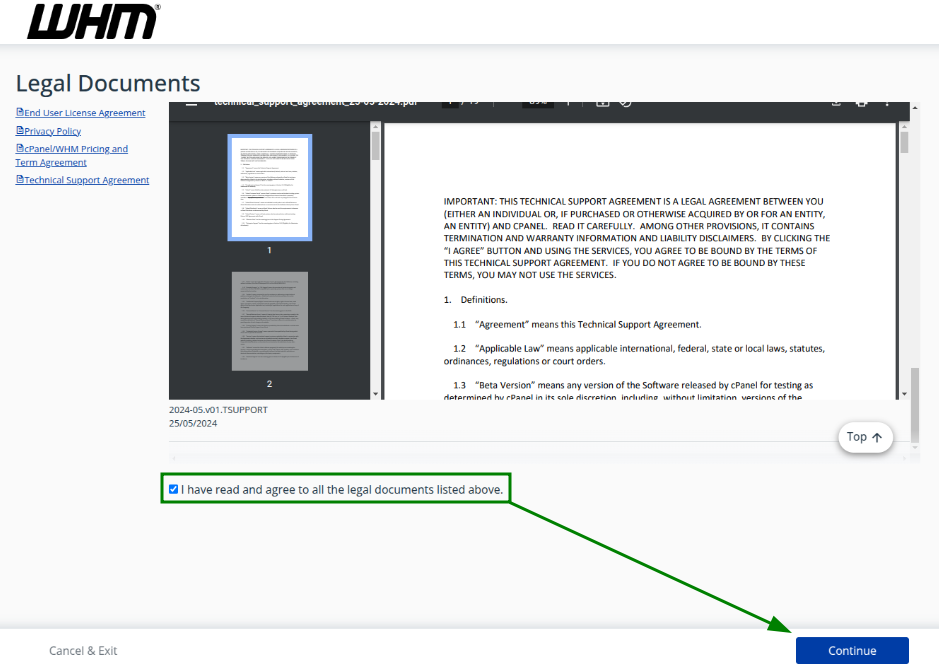
You can also get the link from the /var/log/cpanel-install.log log file in cPanel >> the File Manager menu. The WHM login link will be listed at the end of the file after information about successful installation.Use the generated login link to access your WHM account. Check the legal documents provided for your review, tick the “I have read” box, and click “Continue”:
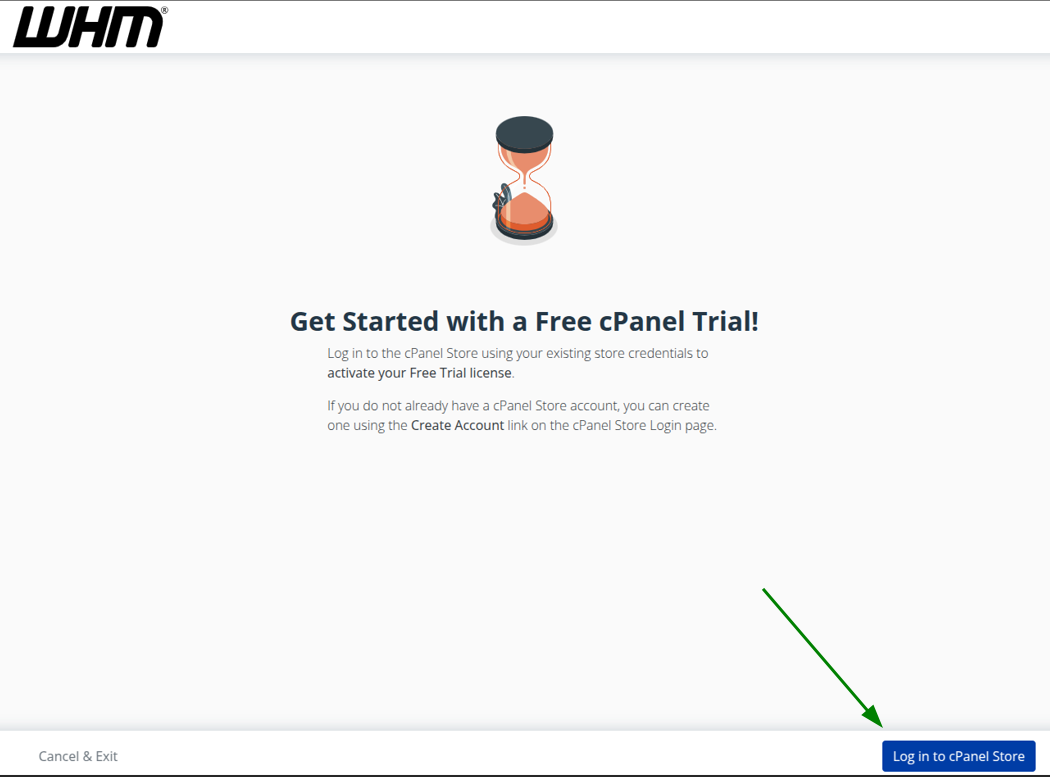
The next step is to log in to the cPanel Store. Click on the corresponding button as shown in the screenshot:
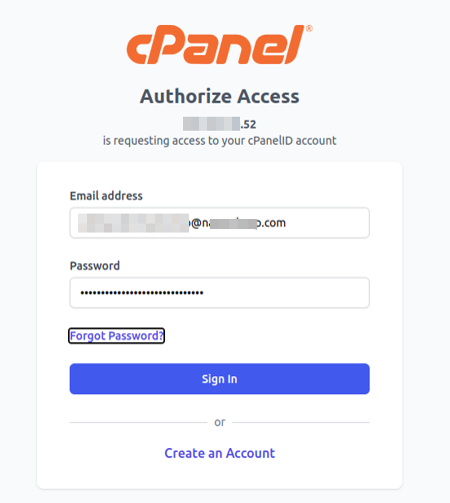
On the next page, sign in to your cPanel account. If you do not have an account yet, you can register at this step by clicking on the “Create an Account” option:
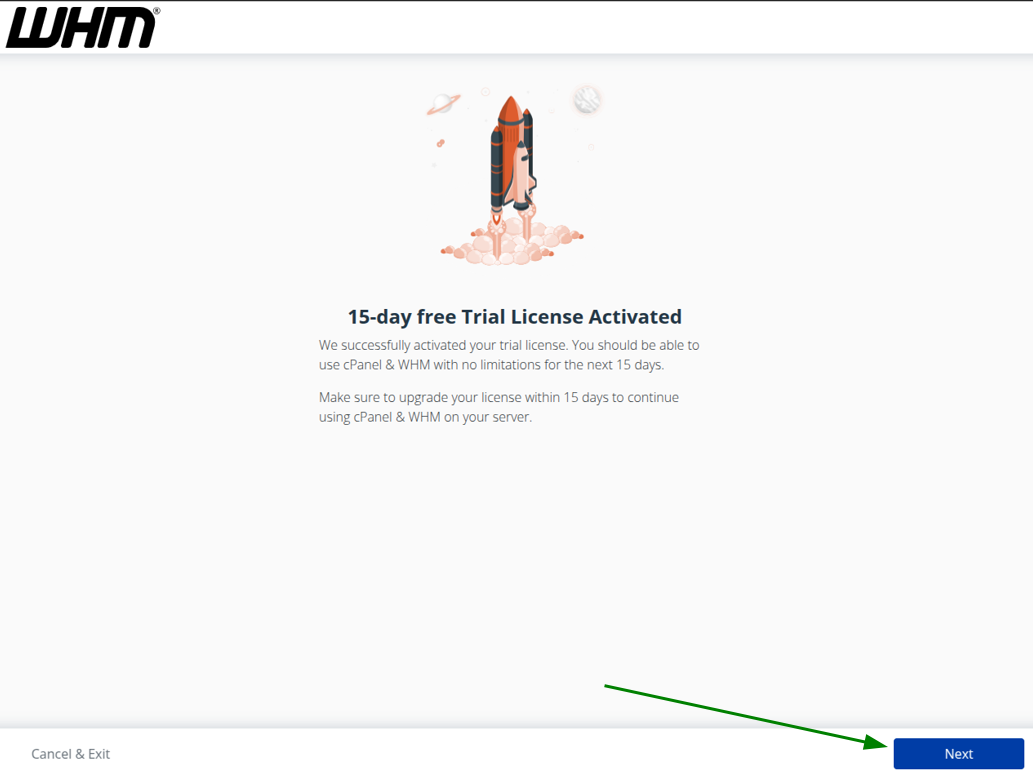
Once done, the information page about the 15-day free Trial licence activation will be displayed. Read it and click “Next”:
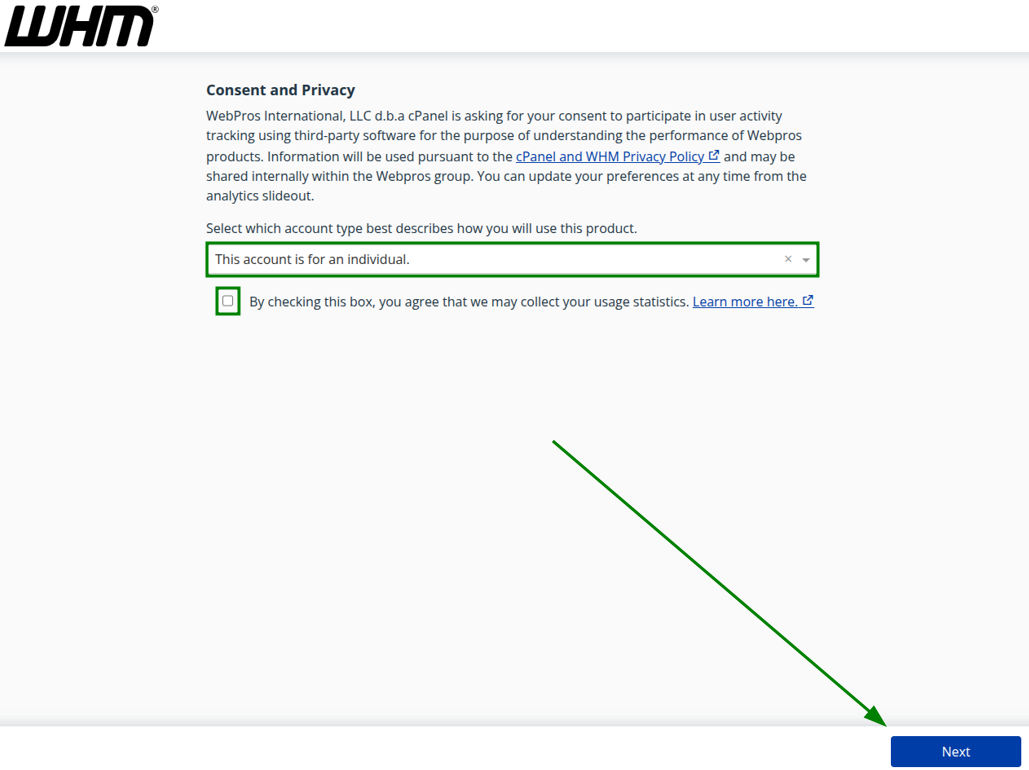
The next page is about Consent and Privacy. Select the account type that describes how you will use the cPanel product, tick the check box (if needed), and click on “Next”:
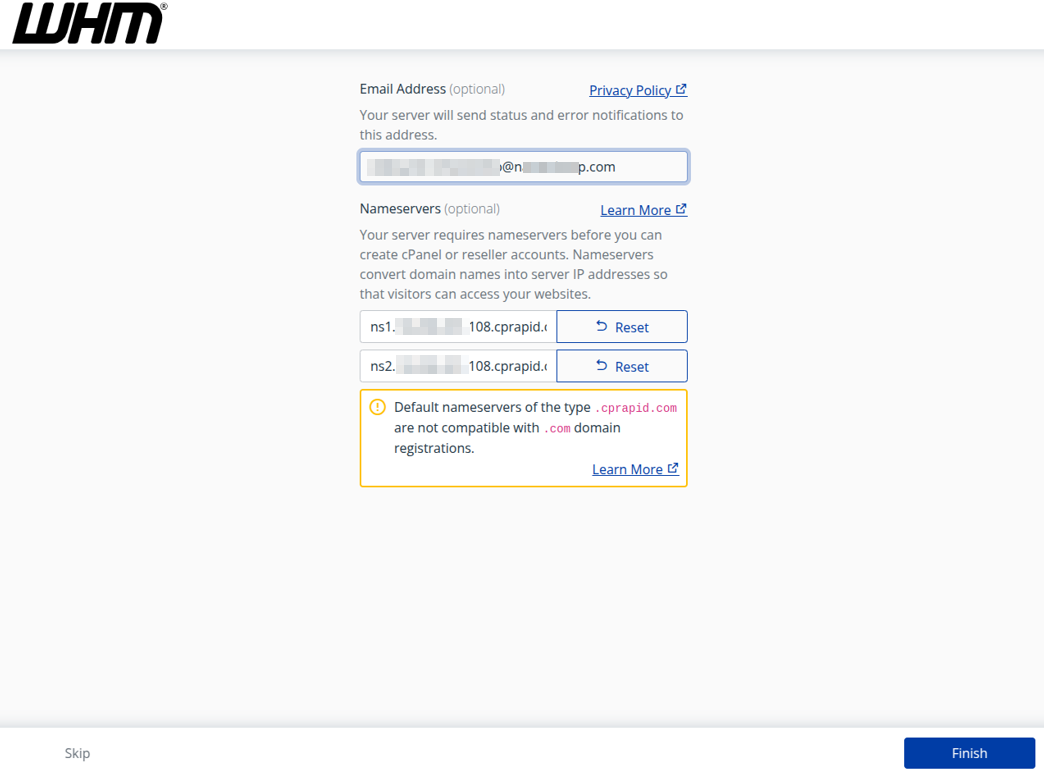
Check the server setup wizard page and finish the process by clicking on the “Finish” button:
From the “Feature Showcase” page, you can check and enable the suggested cPanel features that may be useful. The page may appear from time to time when some updates or new features are available.
Enable the required features and click on “Save Settings” or skip the step to enable features and click on “Exit to WHM”: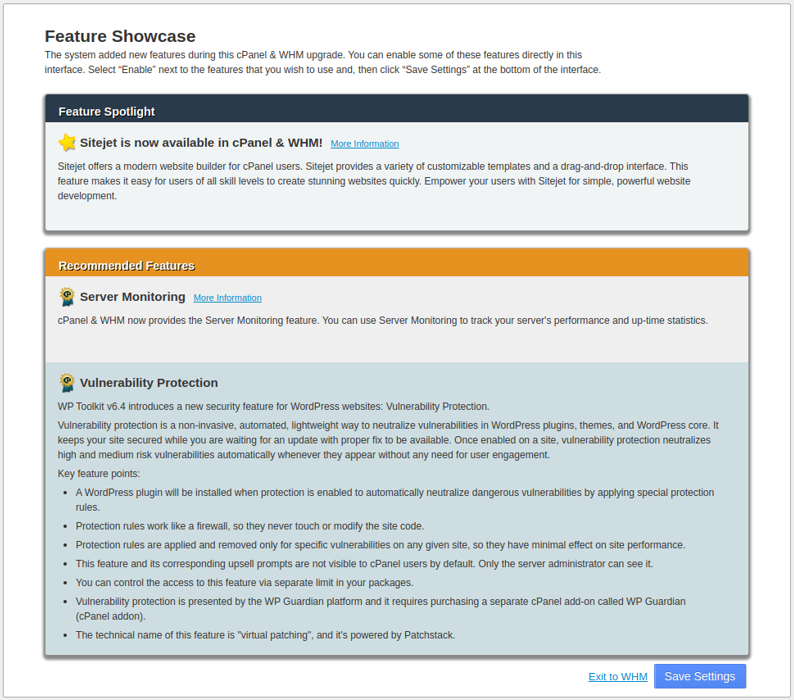
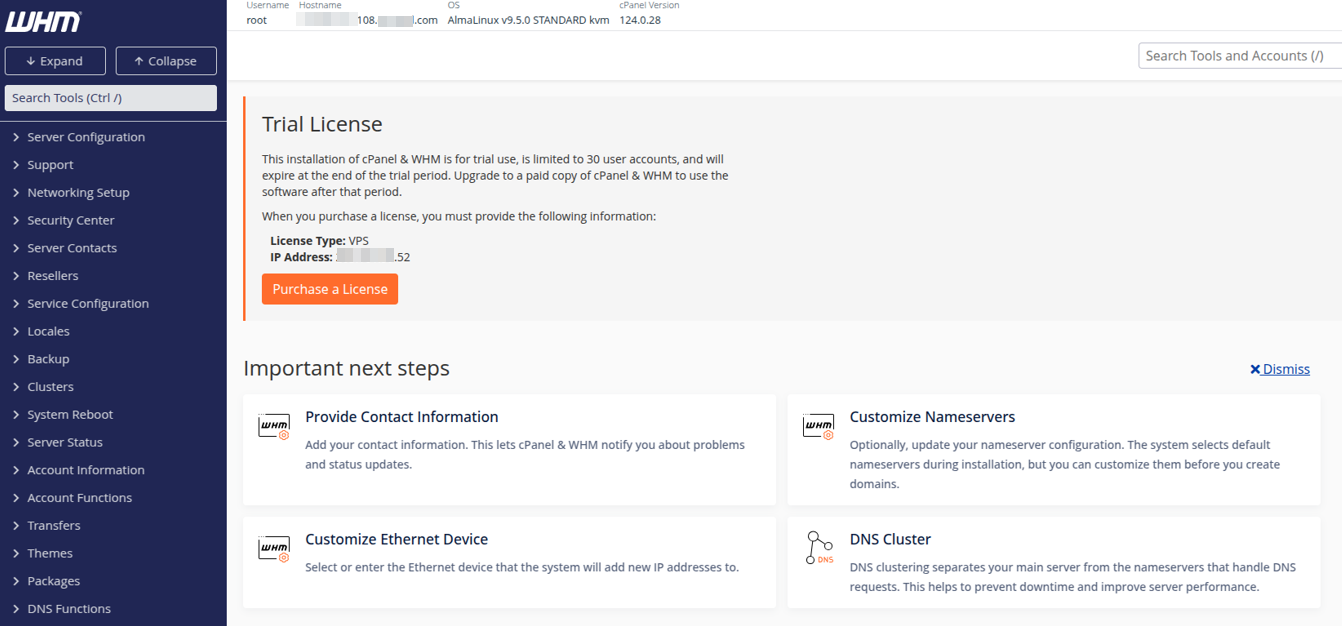
That’s it. You can now start working from the WHM account: