Spacemail CalDAV-oppsett i Apple Kalender
Denne artikkelen gir trinnvis veiledning for å konfigurere Spacemail-kalenderen i Apple Kalender via CalDAV-protokollen.
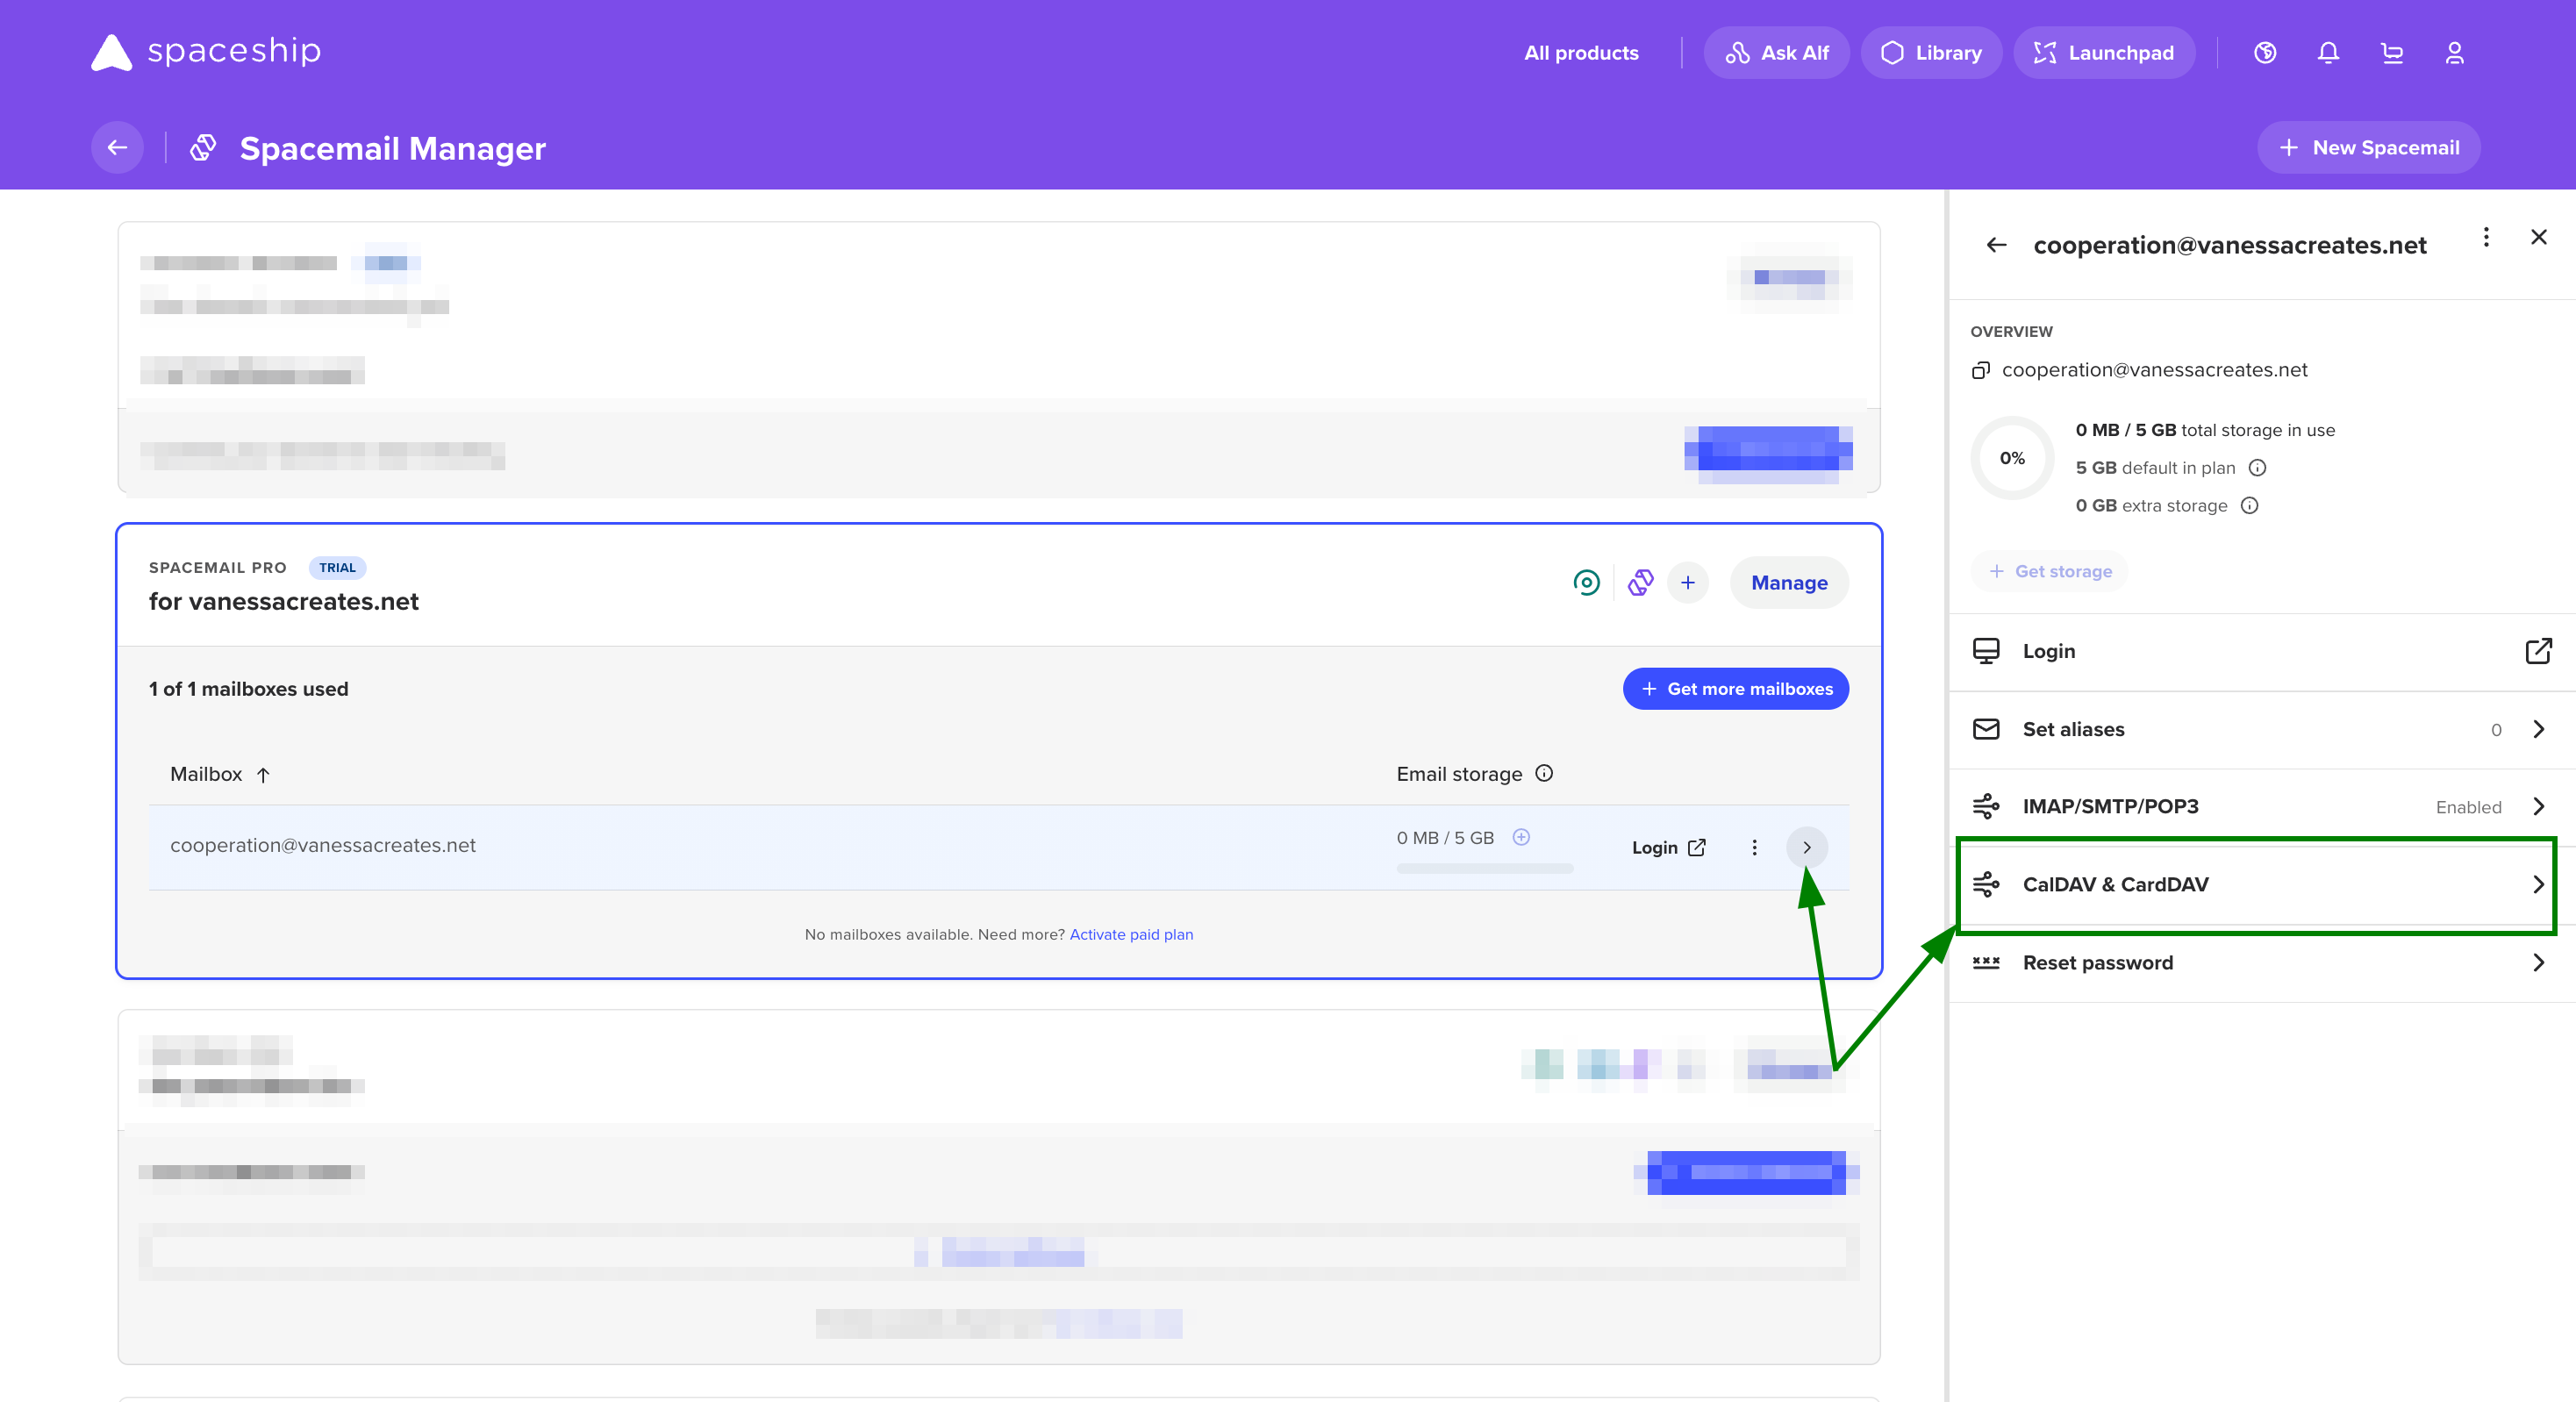
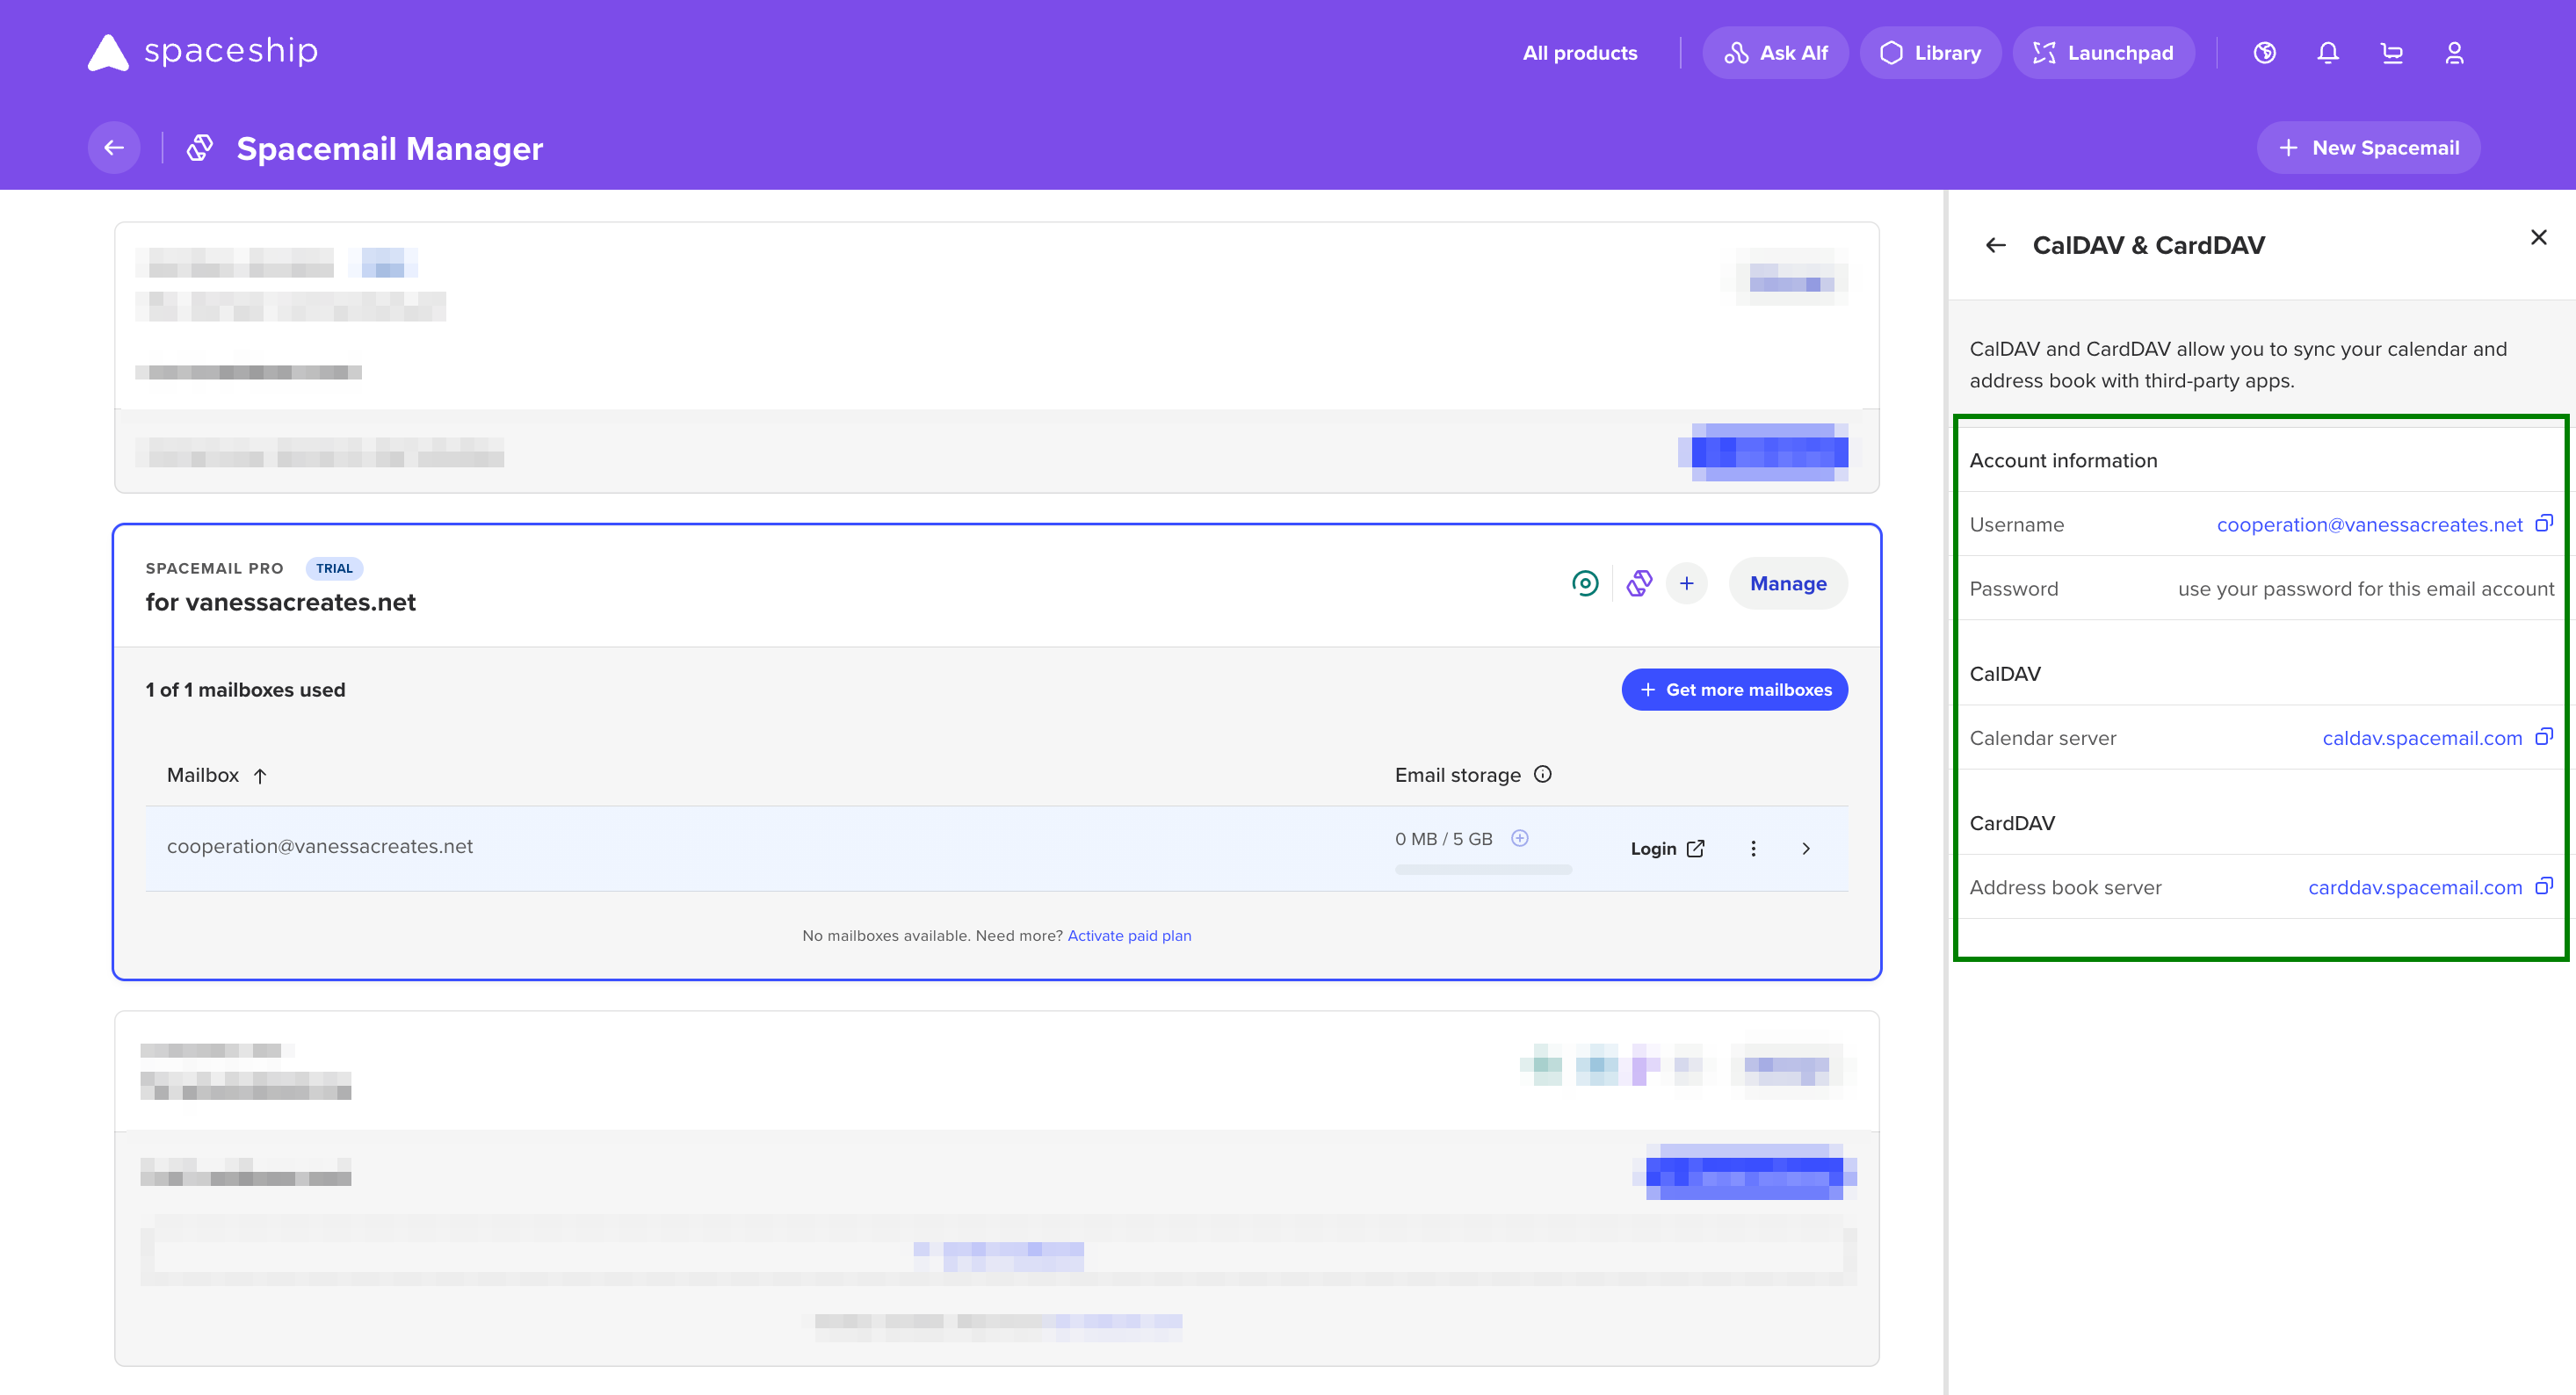
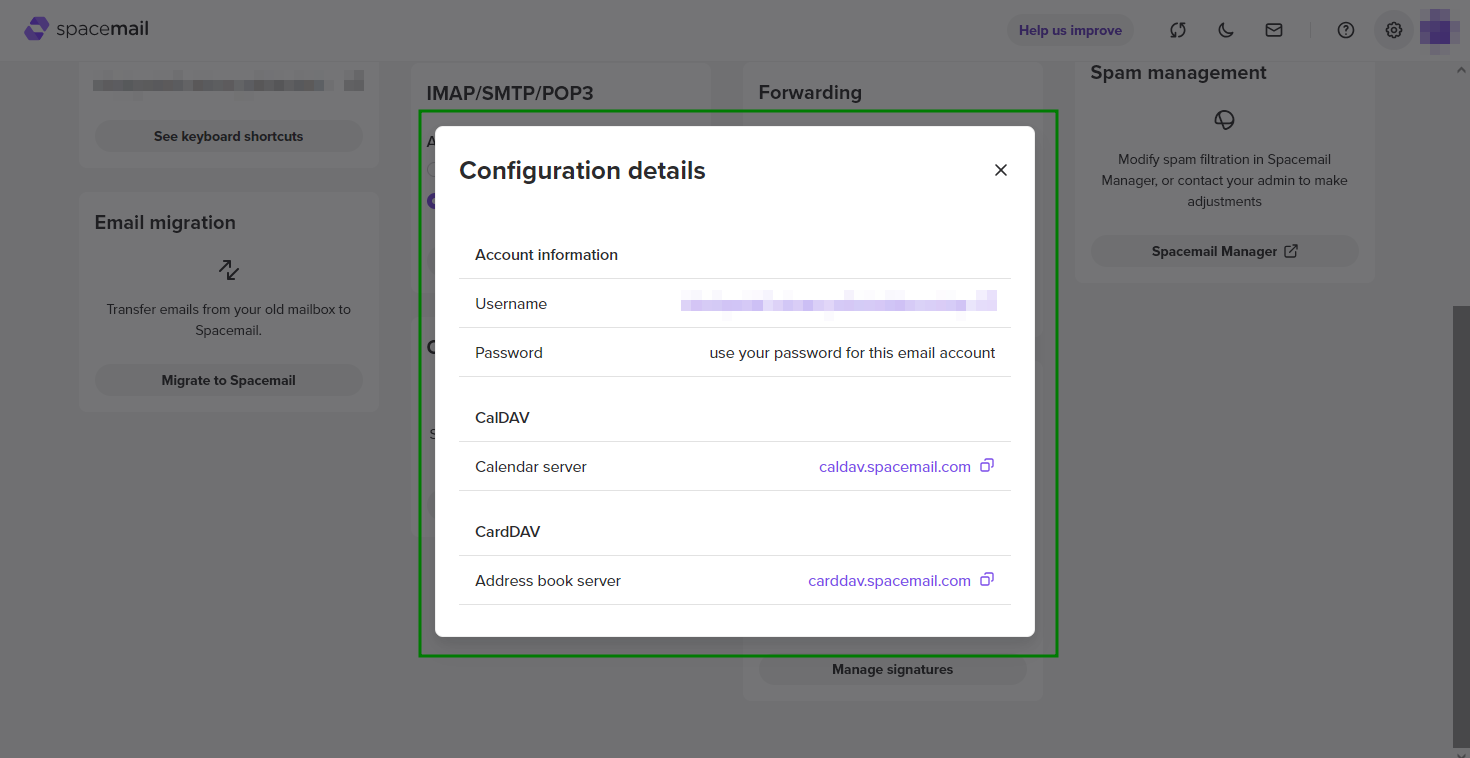
Merk: Du kan sjekke konfigurasjonsdetaljene ved å klikke på en postboks i Spacemail Manager; du vil se en knapp merket “CalDAV & CardDAV” i sidepanelet for postboksen. Når du klikker på denne knappen, åpnes et detaljert panel som viser all protokollinformasjon:
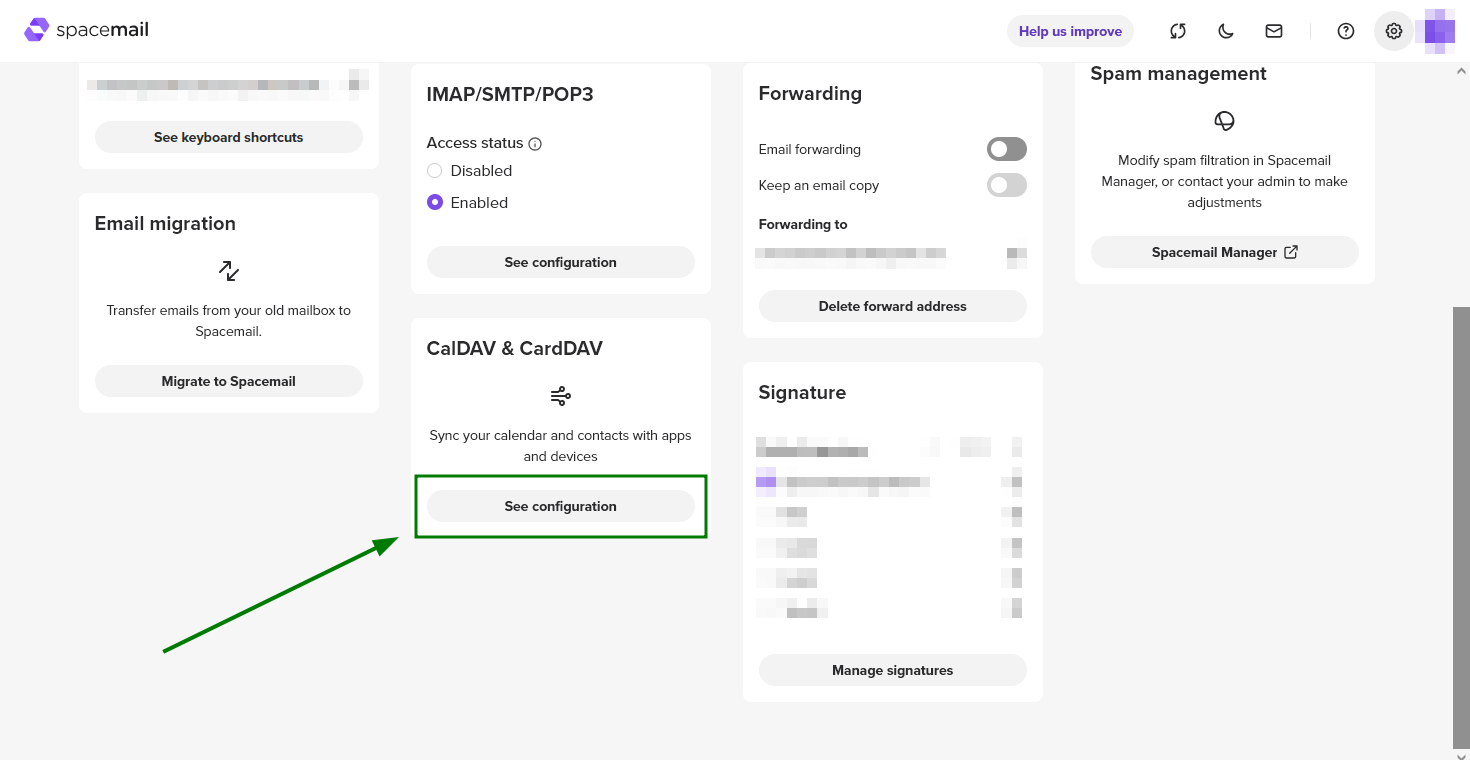
Det er også mulig å sjekke dem ved å logge inn på din Spacemail-postboks på https://www.spacemail.com/login > Innstillinger > CalDAV & CardDAV > Se konfigurasjon:
For å konfigurere en CalDAV-konto i Apple Kalender, følg instruksjonene nedenfor:
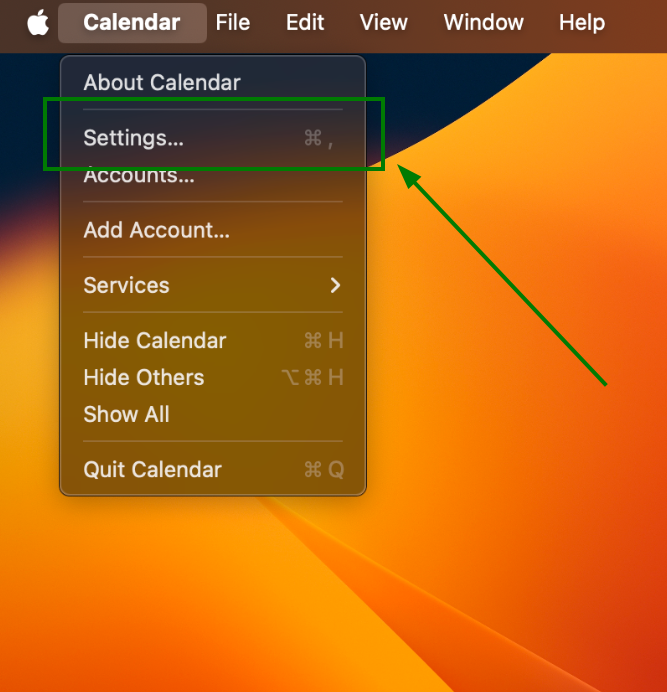
Åpne Apple Kalender Innstillinger:
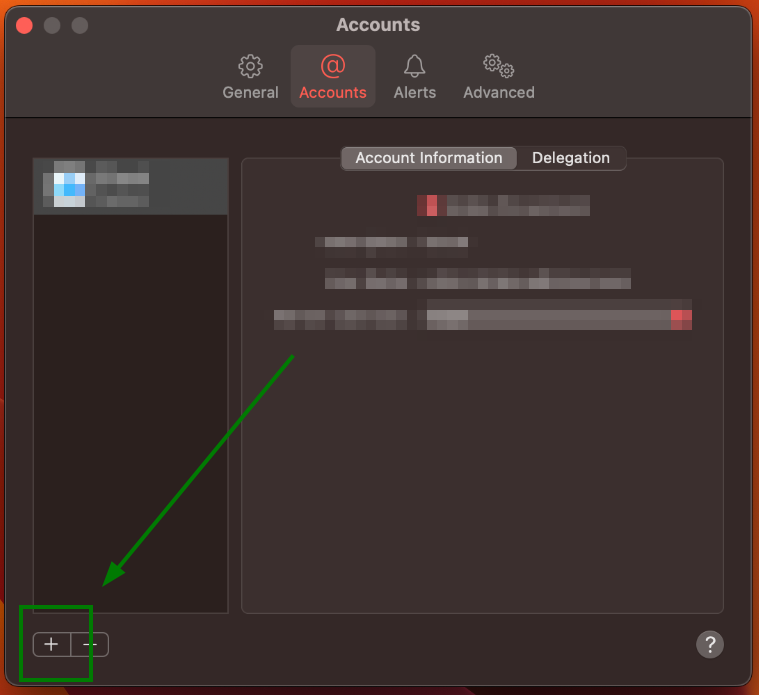
I vinduet Kontoer, klikk + for å legge til en ny CalDAV-konto:
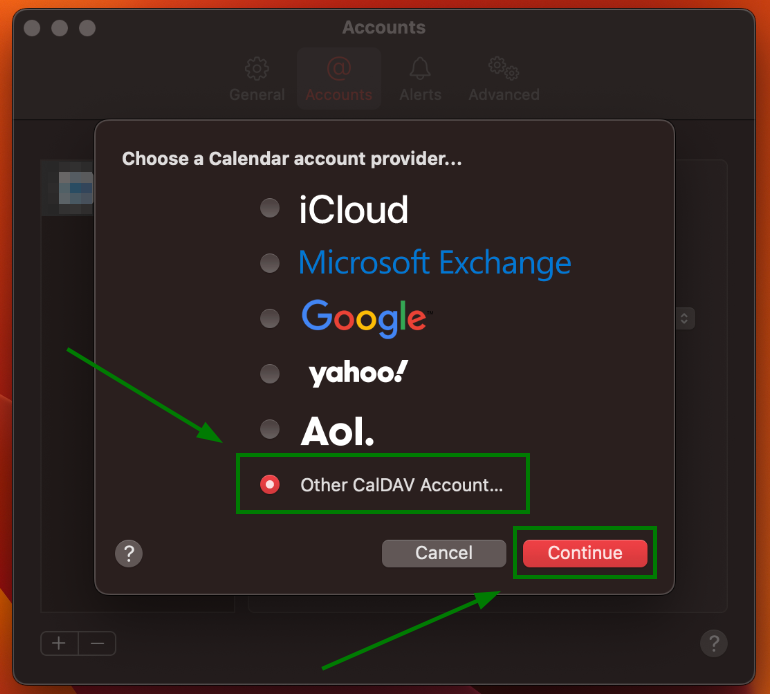
Velg Annen CalDAV-konto og klikk Fortsett:
Når dette er gjort, skal et nytt vindu for å fylle inn CalDAV-kontoinnstillingene vises.
Innstillingene skal fylles ut som følger:
Kontotype: Manuell
Brukernavn: Din Spacemail-adresse (merk: vår test-e-postadresse spstest@spaceship.com brukes som eksempel)
Passord: Passordet til din Spacemail-konto
Serveradresse: caldav.spacemail.com
For å legge til din CalDAV-konto, klikk Logg inn: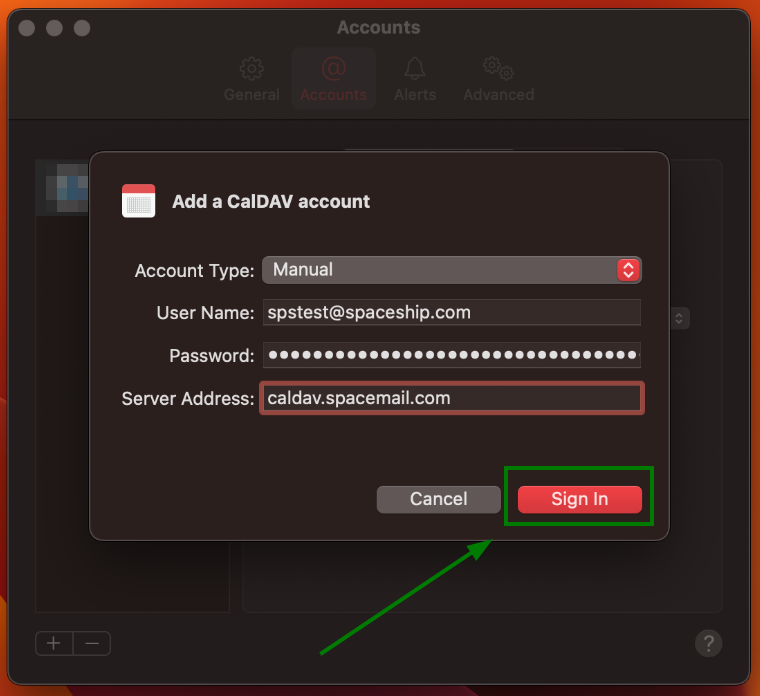
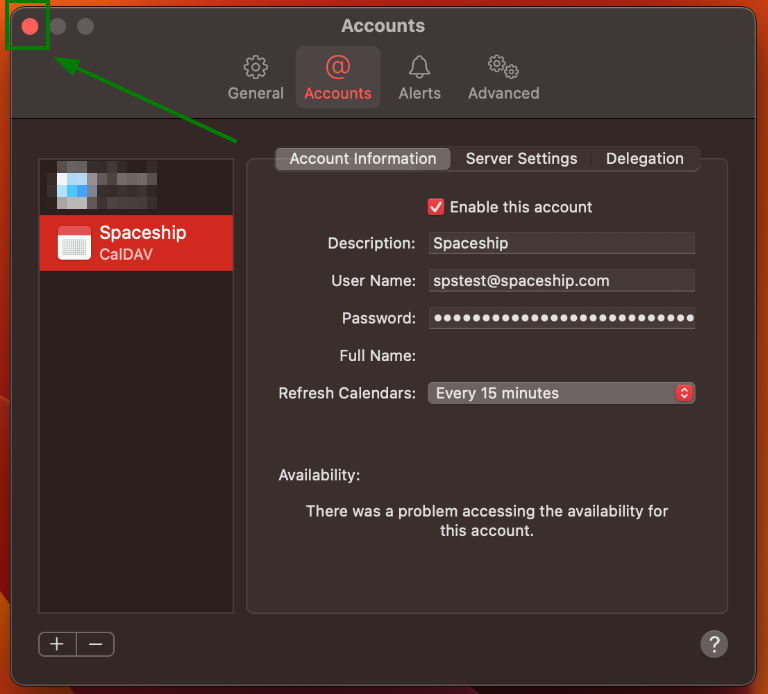
For å fullføre oppsettet, lukk vinduet Kontoer:
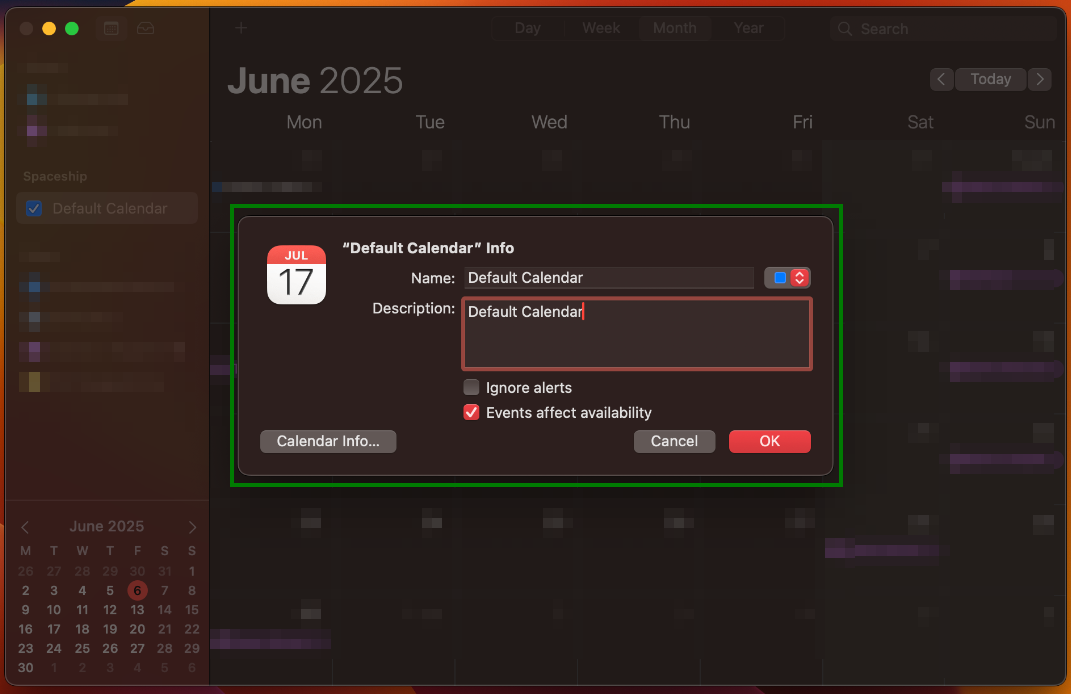
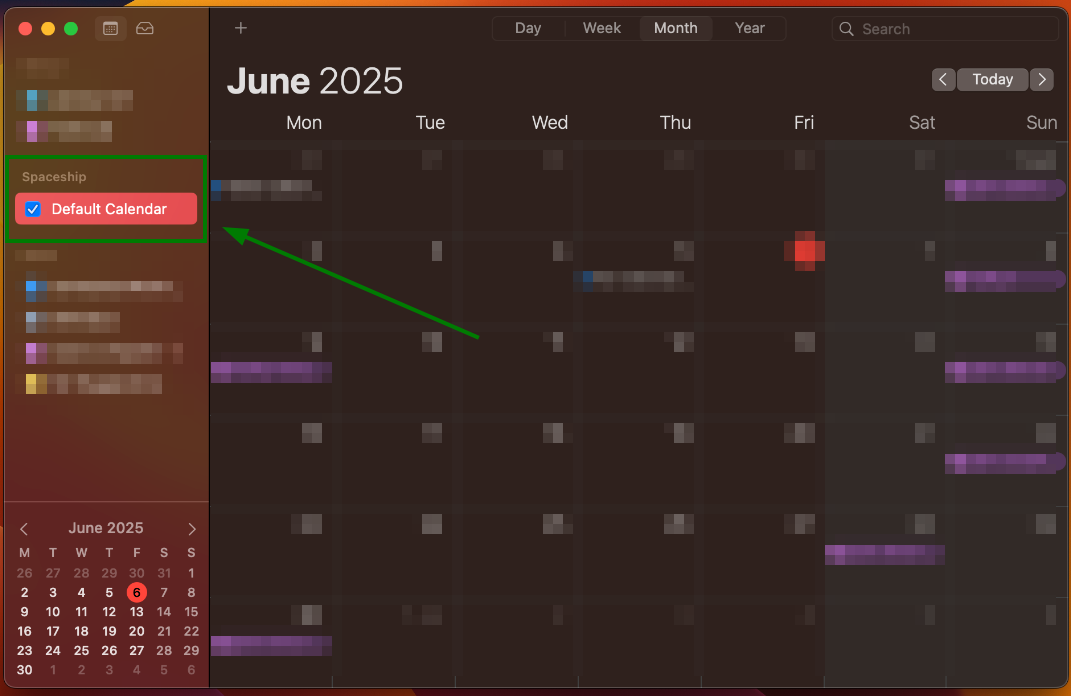
Spacemail CalDAV-kontoen skal nå være lagt til i Apple Kalender:
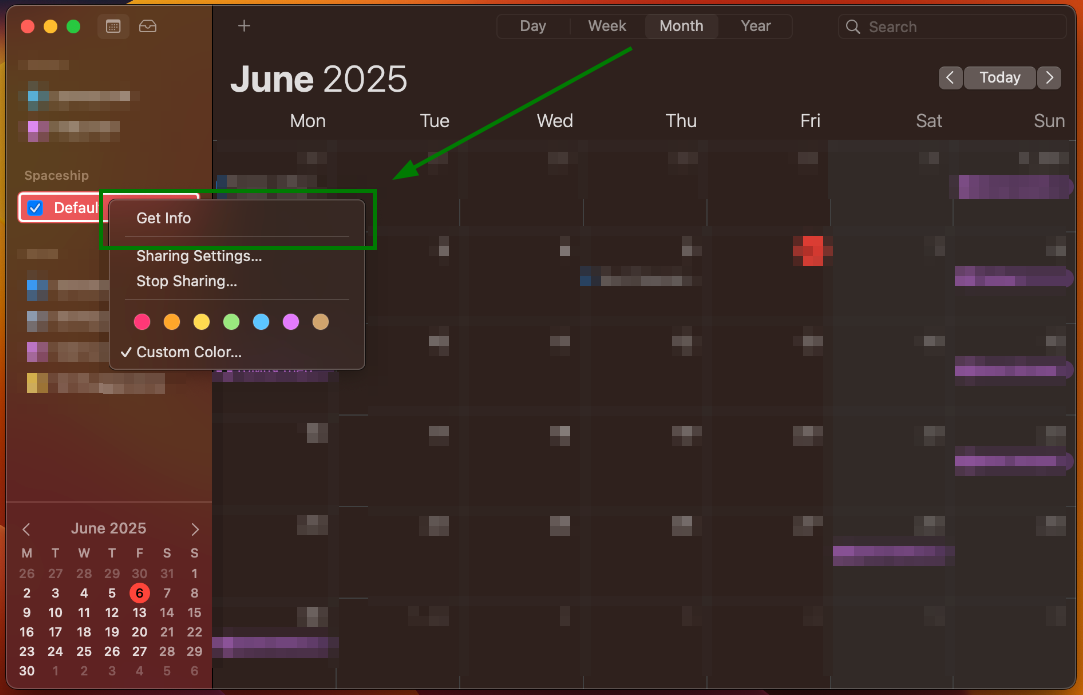
Du kan administrere dette videre ved å høyreklikke på Spacemail-kalenderen og velge Hent info:
Derfra kan du endre kalendernavn, beskrivelse og CalDAV-kontoinnstillinger ved å klikke på Kalenderinfo-knappen: