How to style forms in Contact Form 7 using CSS in WordPress
Want your WordPress forms to look as sharp as the rest of your site? With Contact Form 7, you have complete control over your form’s appearance using CSS. This guide takes you through the step-by-step process of styling Contact Form 7 forms, allowing you to create a seamless, branded experience for your visitors.
Why style Contact Form 7 forms?
Contact Form 7 is one of the most popular WordPress plugins for building forms—but its default look is basic. Custom styling in classic WordPress themes lets you:
Match your site’s branding
Improve usability and accessibility
Make forms more inviting and professional
Step 1: Identify your form’s CSS selectors
Before you start styling, you need to know which CSS selectors target your form elements.
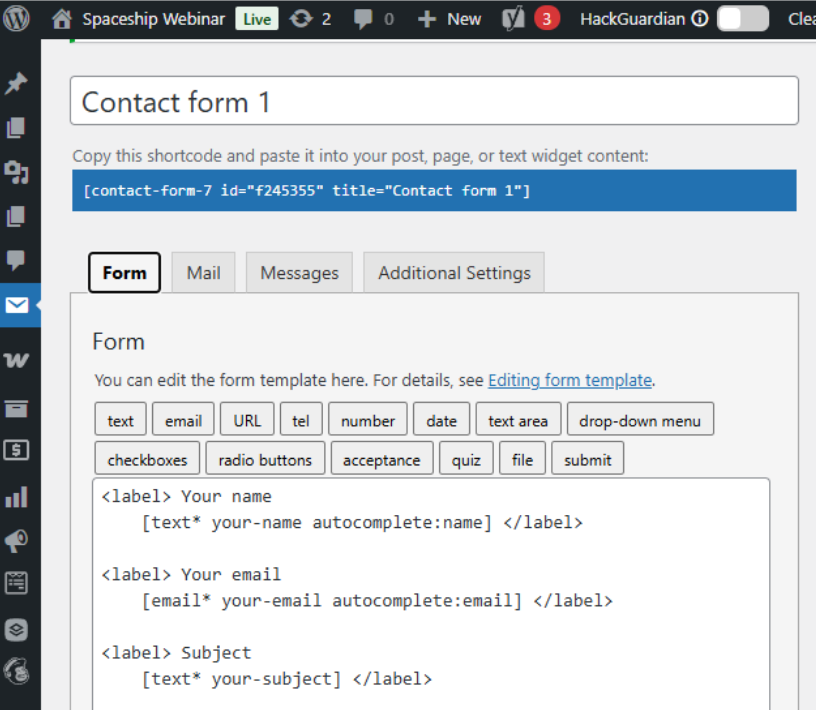
Each Contact Form 7 form is wrapped in a unique class: .wpcf7
Individual elements like input fields, textareas, and submit buttons use standard HTML tags
Step 2: Add custom CSS to your WordPress site
You can add CSS in two main ways:
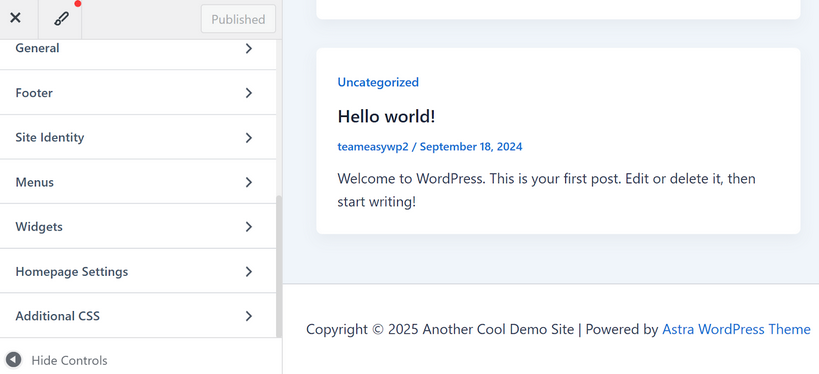
Via the Customiser:
Go to Appearance > Customise > Additional CSS and paste your styles.

NOTE: Add your CSS to your child theme’s style.css file for more advanced customisations.
Step 3: Write your custom CSS
Here are some common examples to get you started, using the “text” and “submit” form components as an example:
Style all Contact Form 7 forms
.wpcf7 input[type="text"],
.wpcf7 textarea {
border: 2px solid #0073e6;
padding: 10px;
width: 100%;
font-size: 1em;
}
.wpcf7 input[type="submit"] {
background: #0073e6;
colour: #fff;
border: none;
padding: 12px 30px;
font-size: 1em;
cursor: pointer;
transition: background 0.2s;
}
.wpcf7 input[type="submit"]:hover {
background: #005bb5;
}
Pseudo-classes in CSS, such as :hover, let you style elements based on their state or user interaction. For example, the :hover pseudo-class applies styles when a user moves their mouse pointer over a button or field. This is commonly used to highlight buttons or change their colour when hovered, making your forms more interactive and visually engaging. Other useful pseudo-classes include :focus (when an input is selected) and :active (when an element is being clicked). Using pseudo-classes helps improve user experience by providing immediate feedback as visitors interact with your form.
Target a specific form
Each form has a unique ID, like #wpcf7-f123-o1. Use this to style only that form:
#wpcf7-f123-o1 input[type="text"] {
background: #f9f9f9;
}
Replace f123-o1 with your actual form’s ID. You can find your form’s unique ID by viewing the page where your Contact Form 7 form is embedded, right-clicking on the form, and selecting “Inspect” (or “Inspect Element”) in your browser. Look for the <div> with a class of .wpcf7—the ID will appear as something like id="wpcf7-f123-o1" in the HTML code. Use this ID in your CSS selector to target only that specific form.
Step 4: Use Contact Form 7’s built-in classes
Contact Form 7 automatically adds classes to elements, making targeting even easier. For example:
.wpcf7-form-control – All form controls
.wpcf7-submit – The submit button
You can also add your own classes in the form editor for even more control.
Example
.wpcf7-form-control.wpcf7-text {
border-radius: 5px;
}
.wpcf7-submit {
font-weight: bold;
letter-spacing: 1px;
}
Step 5: Preview and adjust
After saving your CSS, refresh your site to see the changes. Use your browser’s inspector tool to tweak styles in real time before copying them into your site. Be sure to clear your website cache after making changes so that the updates are visible to visitors.
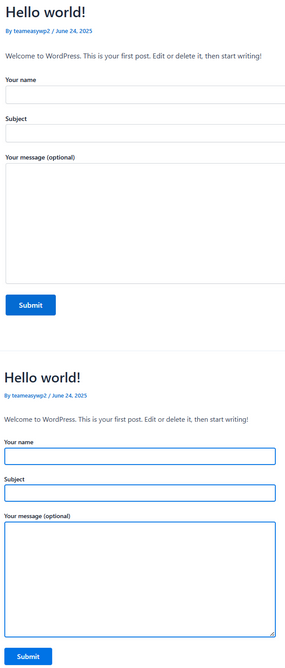
Here are before-and-after examples of a form on a demo website, where we used the CSS code from Step 3 to make the boxes around each form field blue.
Quick tips for better form styling
Keep it accessible: Ensure good colour contrast and readable font sizes
Use spacing: Add padding and margins for a clean, uncluttered look
Highlight errors: Style error messages with a clear colour (like red) to help users fix mistakes
Test on mobile: Make sure your forms look great on all devices
Troubleshooting
If your styles aren’t showing up, try these steps:
Clear your browser and site cache – Sometimes cached files prevent new CSS from displaying. If you use a caching plugin or managed hosting, clear those caches too.
Check for CSS specificity issues – If your styles aren’t being applied, try making your selectors more specific to override existing styles.
Make sure you’re editing the right CSS file or section – Double-check that you’re adding your code in the correct place, such as the Additional CSS panel, your child theme’s style.css, or a custom CSS plugin.
Review CSS classes for typos or errors – Look for misspelt class names, unnecessary spaces, or accidental use of the wrong class. Also, verify that the class you’re targeting actually exists in your form’s HTML.
Check for duplicate or conflicting classes – Ensure that the class you’re using isn’t already applied elsewhere with different styles that might override your changes.
Follow general best practices – Use clear and consistent naming for your classes, end each CSS rule with a semicolon, and always properly close code blocks with a curly brace (}).
Carefully reviewing your code for these common issues will help ensure that your custom styles appear correctly on your site.
Example: Complete custom CSS for a Contact Form 7 form
.wpcf7 input[type="text"],
.wpcf7 input[type="email"],
.wpcf7 textarea {
border: 1px solid #ccc;
border-radius: 4px;
padding: 8px 12px;
margin-bottom: 16px;
width: 100%;
box-sizing: border-box;
}
.wpcf7 input[type="submit"] {
background-colour: #28a745;
colour: white;
border: none;
border-radius: 4px;
padding: 10px 24px;
font-size: 1.1em;
cursor: pointer;
}
.wpcf7 input[type="submit"]:hover {
background-colour: #218838;
}
Here is an example of a form styled with the CSS code above. This CSS code customises the appearance of several key elements in your Contact Form 7 form. It targets all text fields, email fields, and textareas, giving them a light grey border, rounded corners, comfortable padding, and consistent width for a clean, modern look.
The code also styles the submit button with a green background, white text, rounded edges, and bold, easy-to-read font. When users hover over the submit button, the background colour becomes a darker green, providing interactive feedback.

Adding CSS: classic themes vs block themes
The steps in this guide for styling Contact Form 7 forms with CSS are designed for Classic Themes in WordPress. Classic Themes, like the popular Astra, use the Customiser, where you can easily add custom CSS under the “Additional CSS” section. This makes it simple to style your forms and see changes live.
However, if your site uses a Block Theme (sometimes called a Full Site Editing or FSE theme), the process is different. Block Themes don’t always include the Customiser or the “Additional CSS” field by default. Instead, you use the Site Editor to make design changes. While you can adjust global styles for colours, typography, and layout, adding arbitrary custom CSS is not always available in the UI.
What to do if you’re using a Block Theme
Open your WordPress dashboard and go to Appearance > Editor (the Site Editor).
In the Site Editor, look for the Styles panel (the half-shaded circle icon).
Some Block Themes now offer an “Additional CSS” option in the Styles panel, but this depends on your theme and WordPress version.
If you don’t see an option to add custom CSS, you can use a plugin like WPCode to add custom CSS site-wide. WPCode is beginner-friendly and works with any theme, ensuring you can still style your forms even if your theme doesn’t support direct CSS editing in the UI. Just be aware that installing this plugin may affect the style of other pre-existing forms on your website.
Additional resources
Styling your Contact Form 7 forms is a simple but powerful way to elevate your site’s user experience. With just a few lines of CSS, you can make your forms look and feel like a natural part of your brand.